

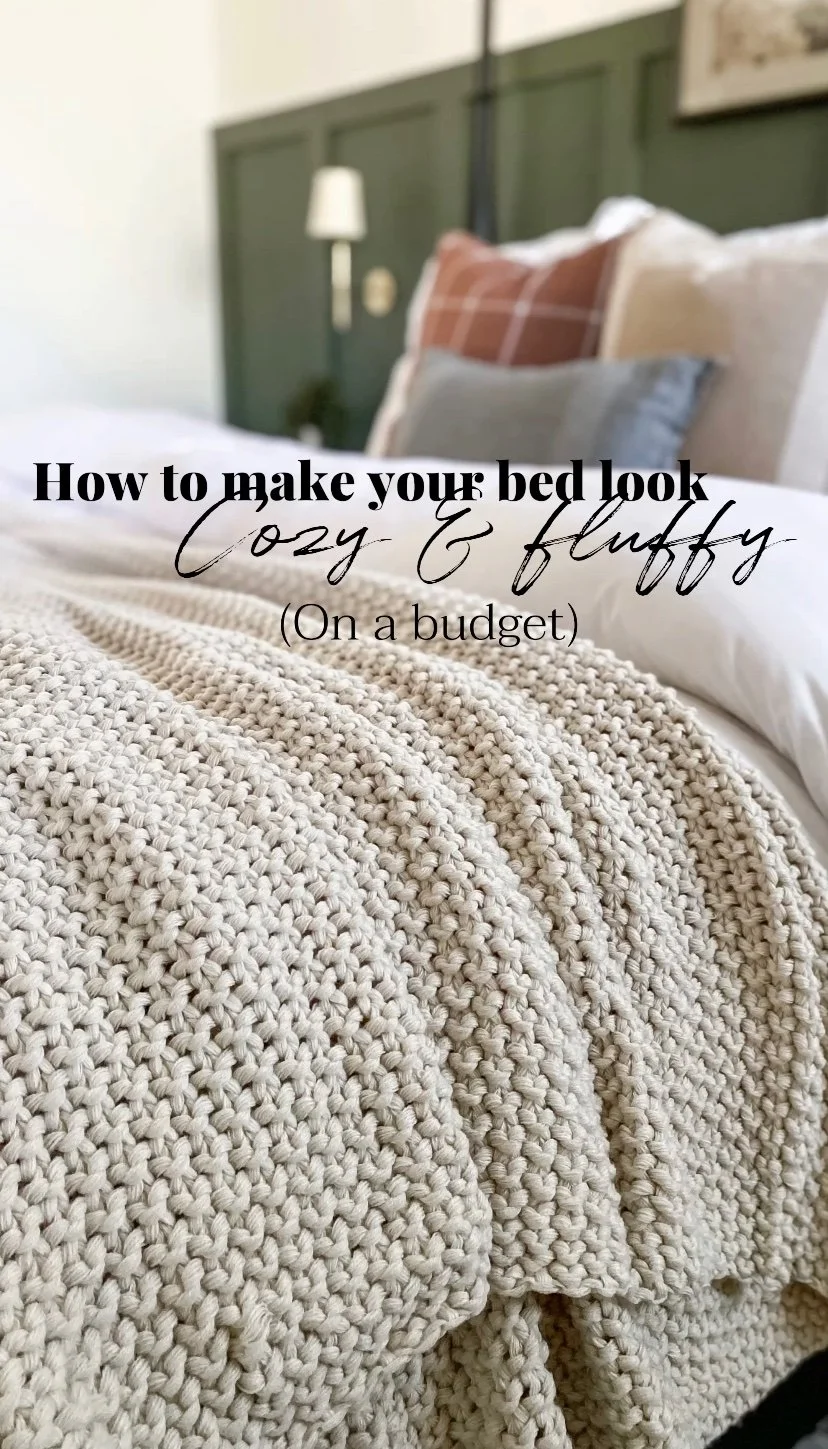
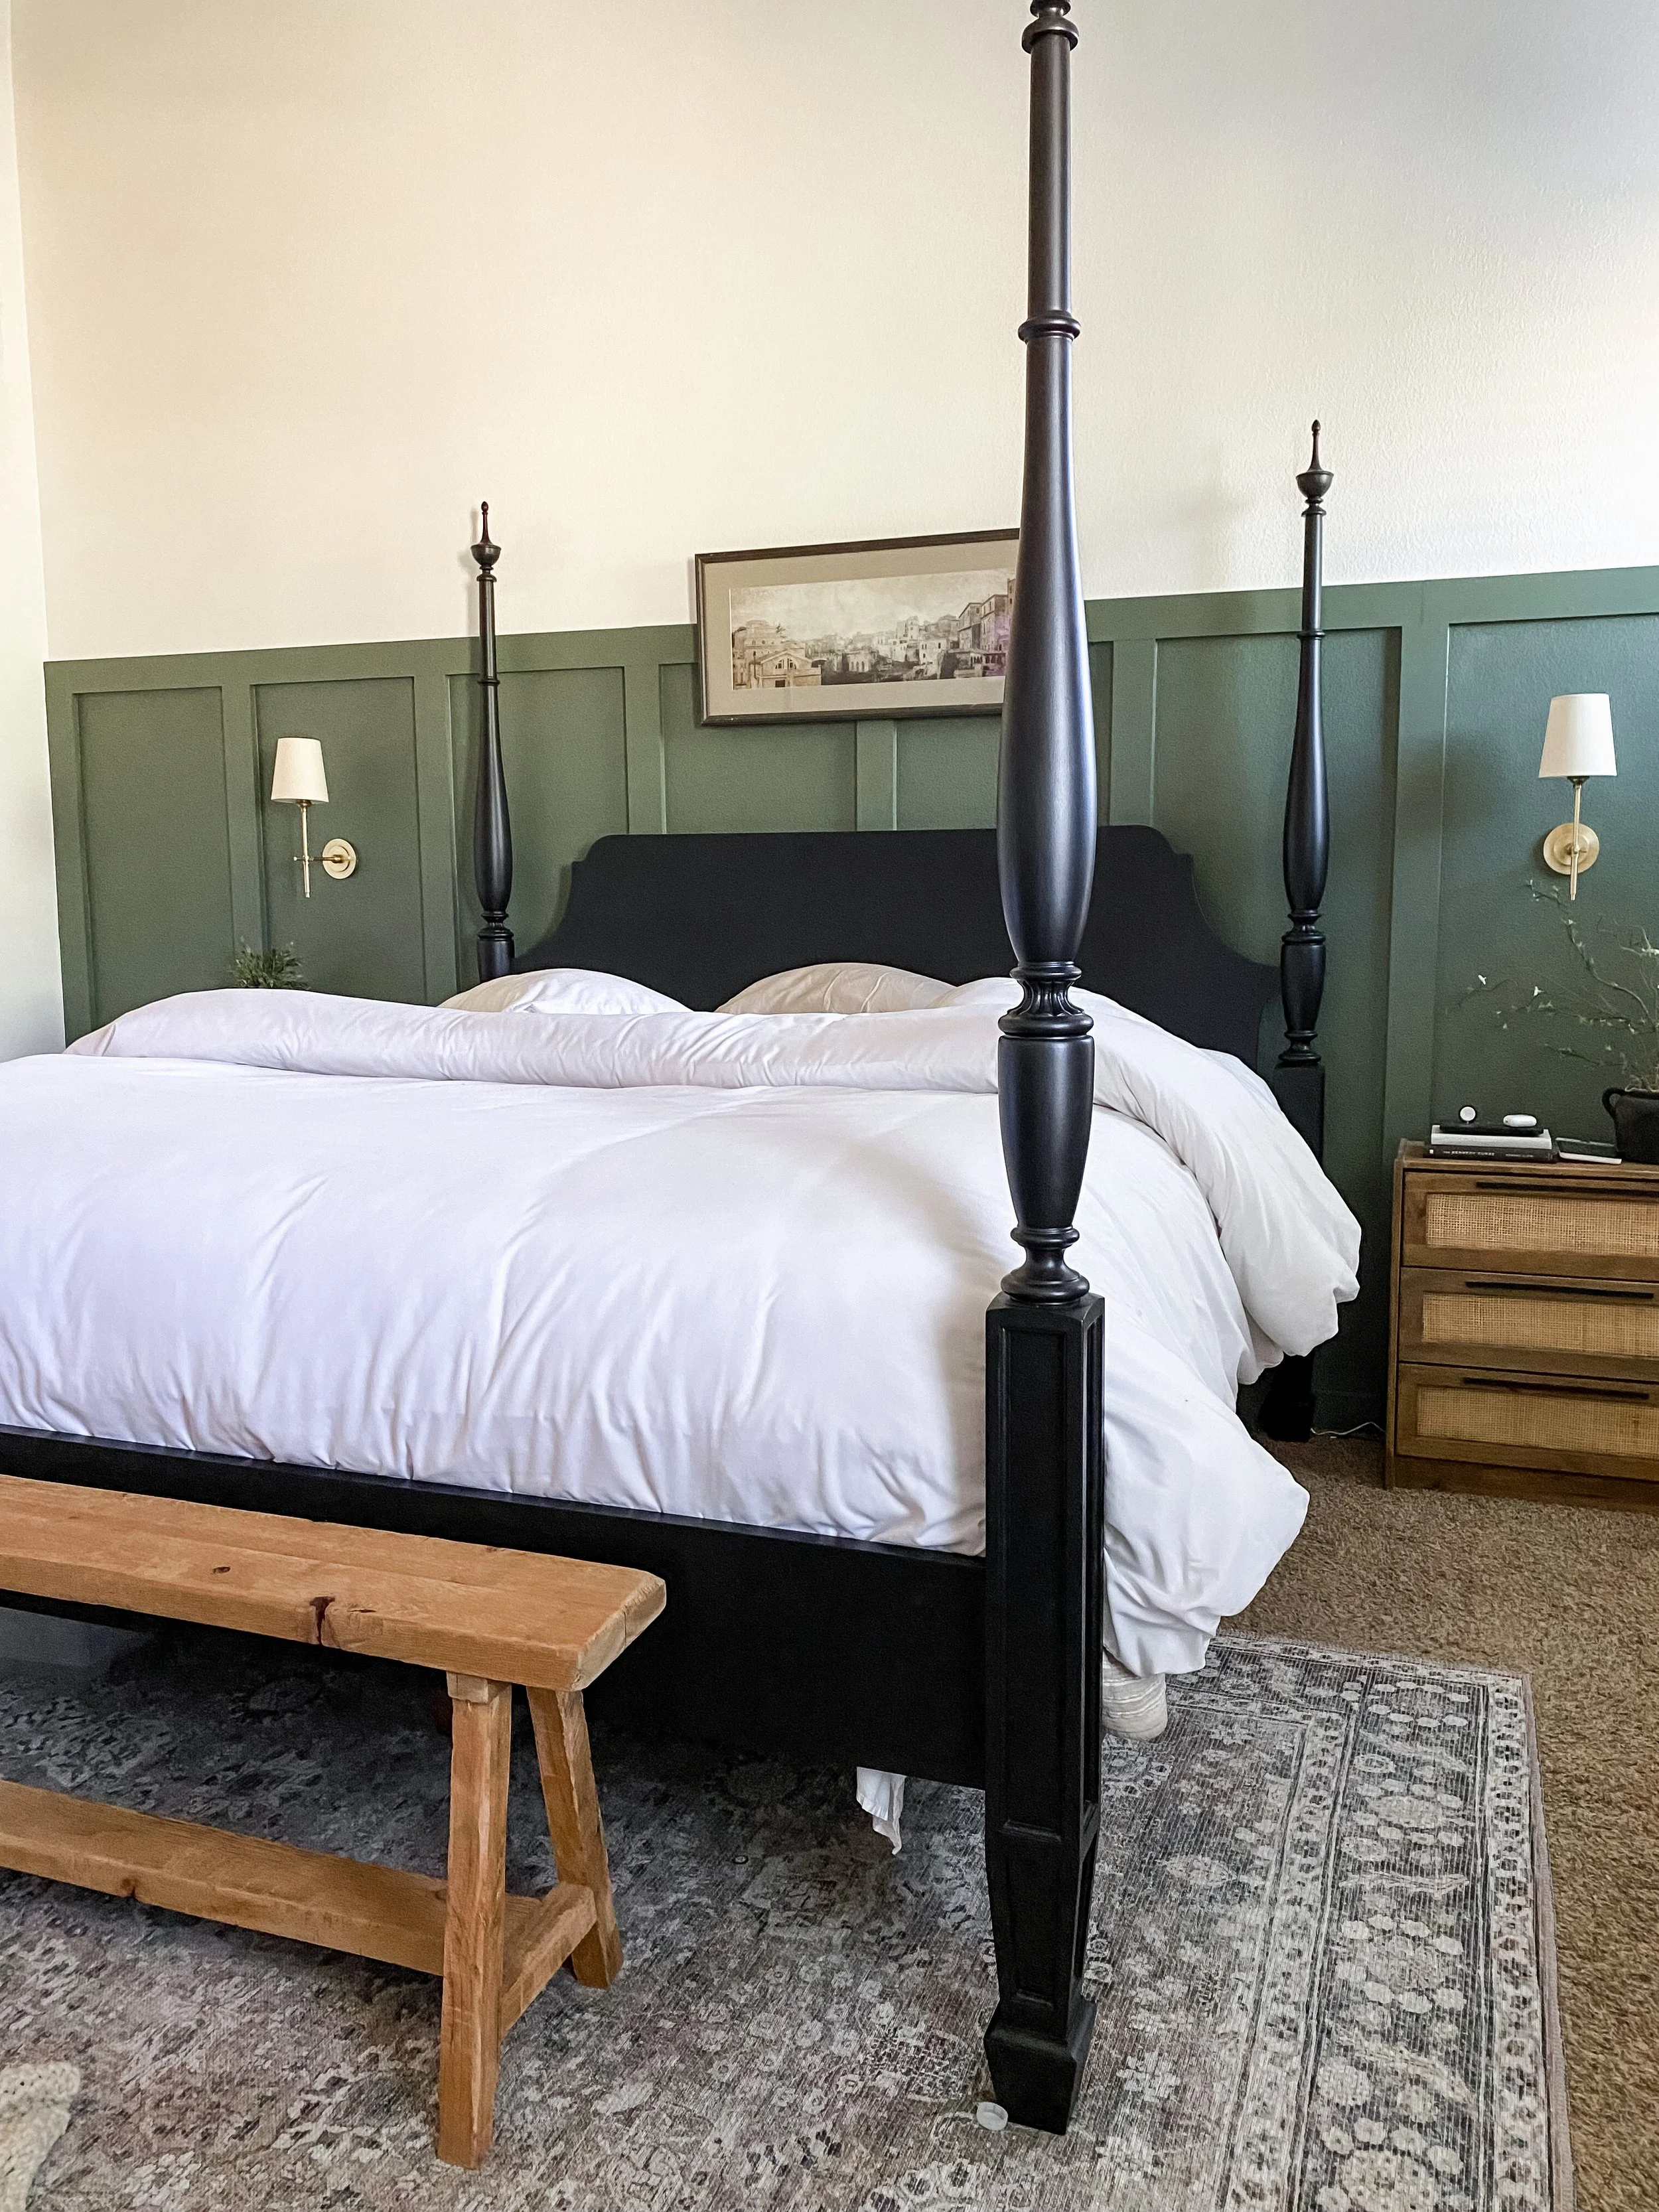
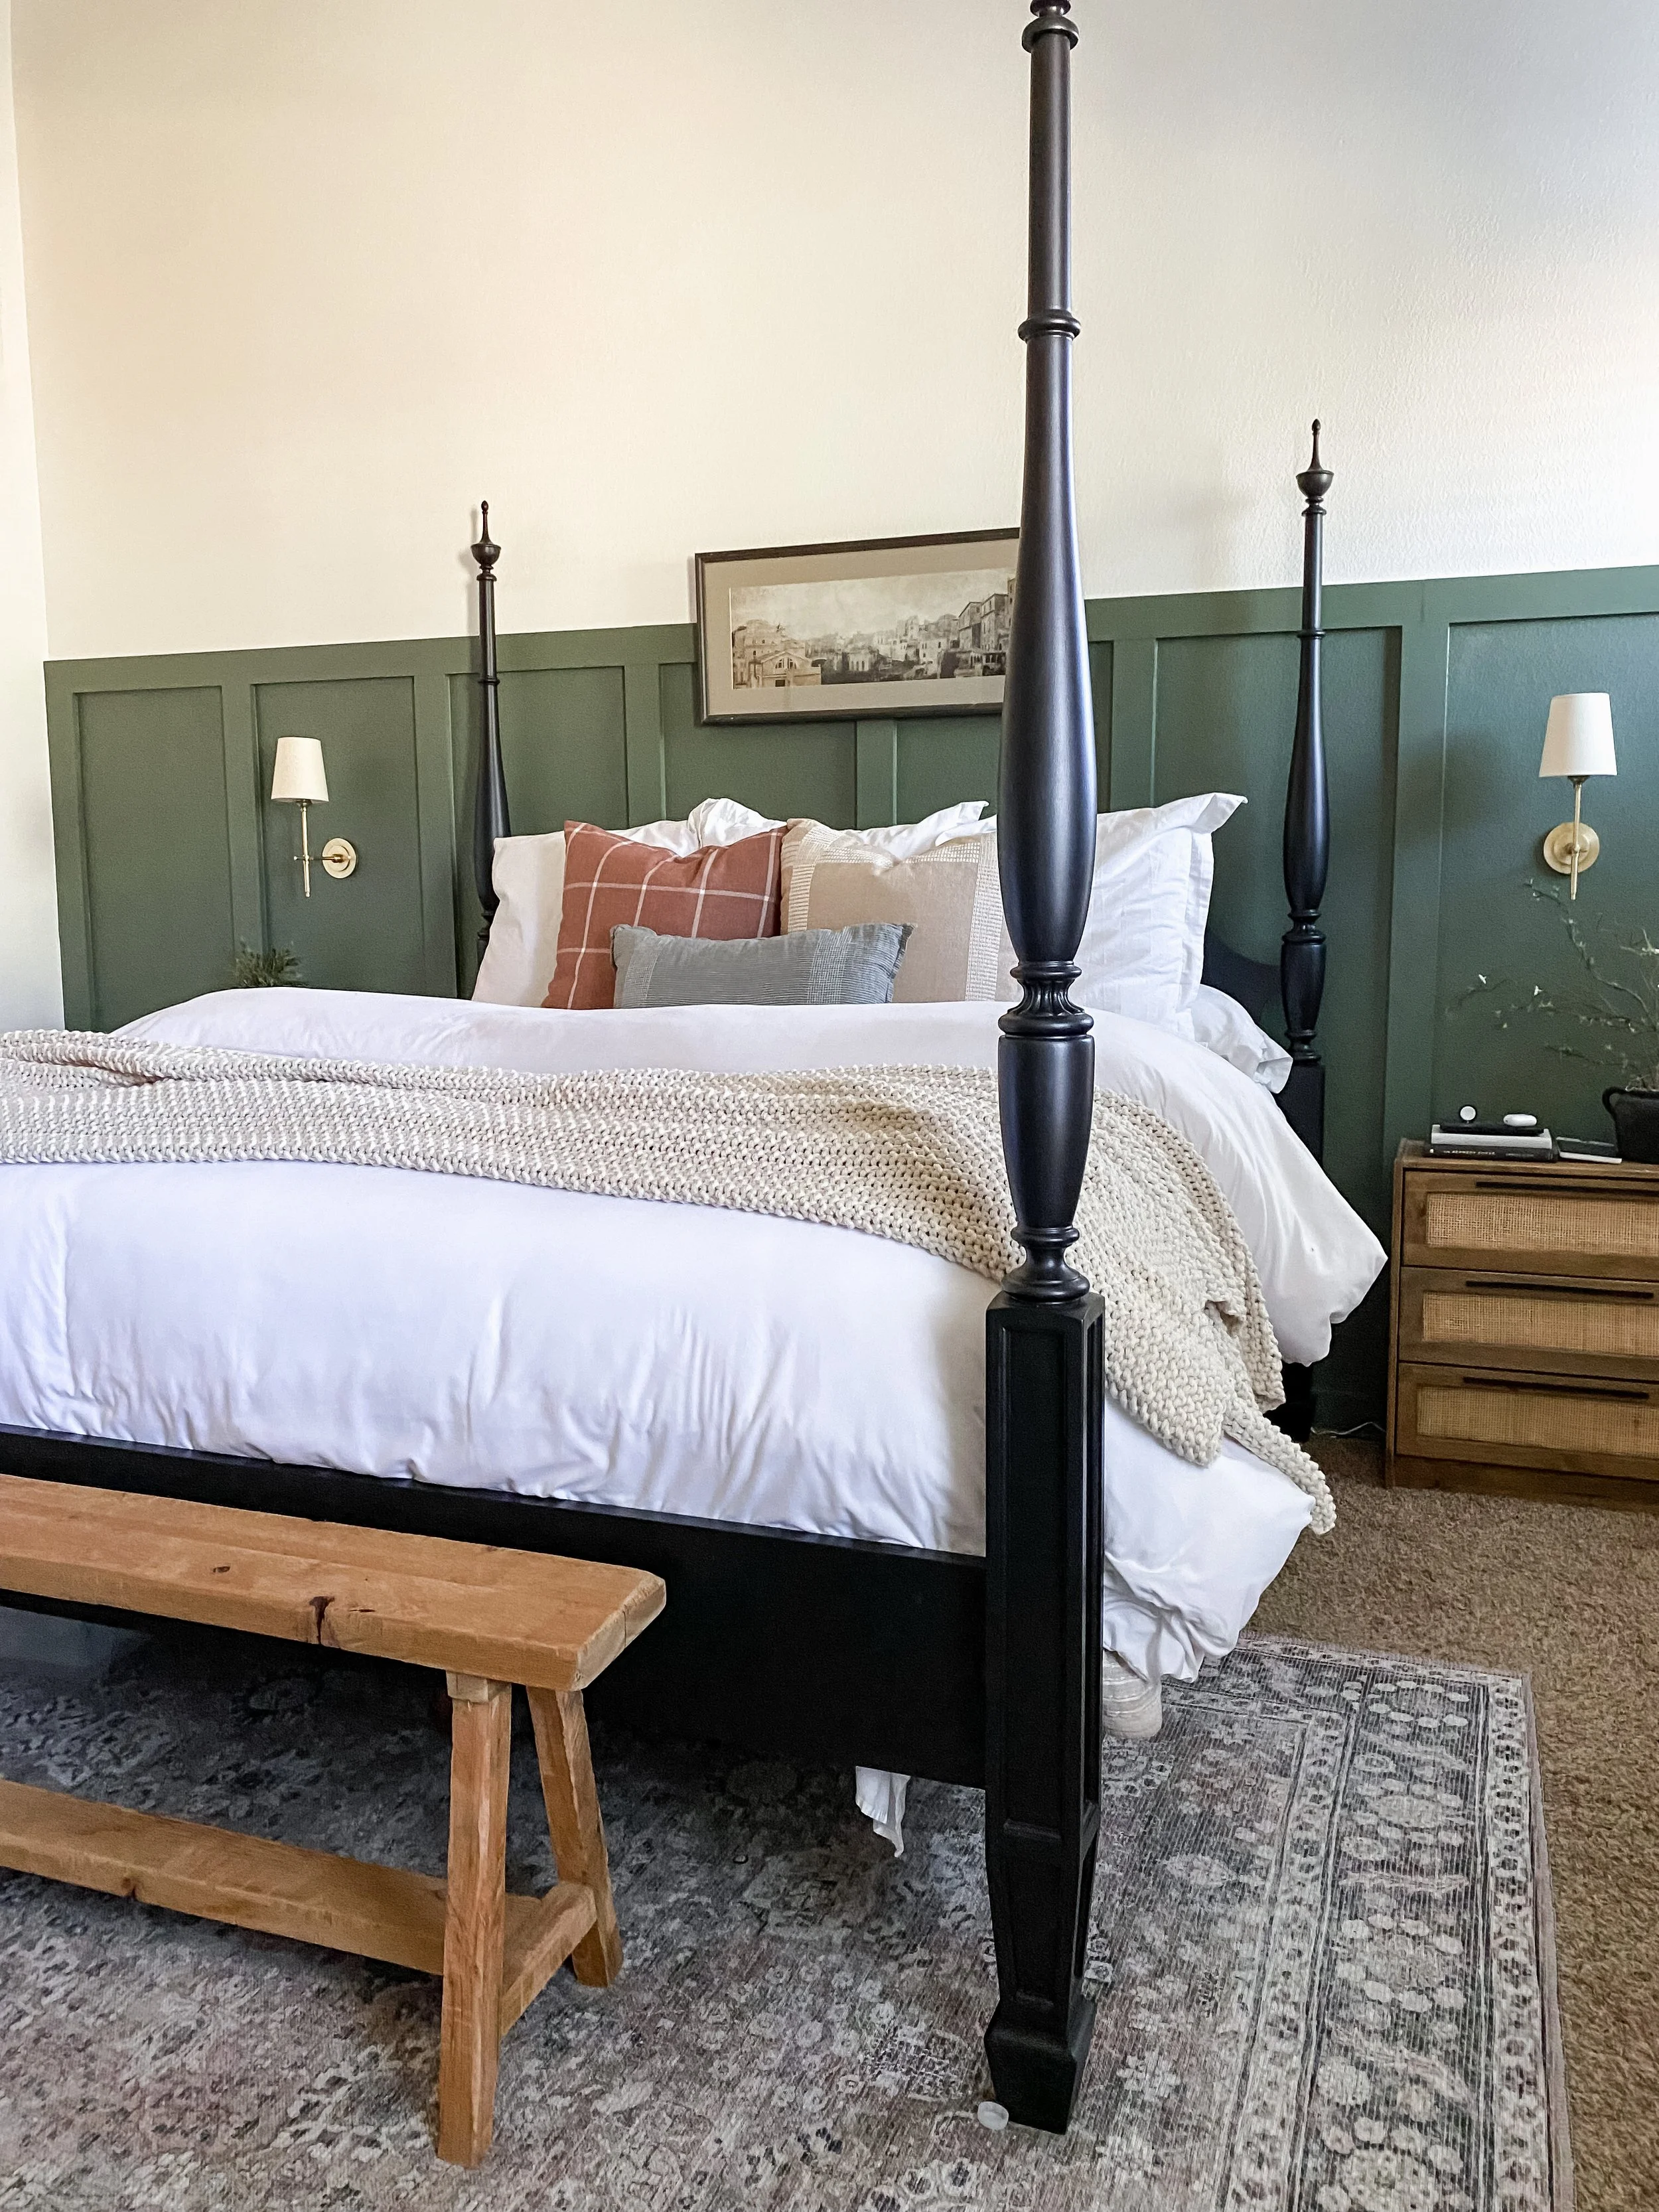
Don’t you love the look of a good fluffy and cozy bed? 9 times out of 10, when I see a beautiful bed on Instagram, I look for sources and links and end up being super discouraged. Sheets over $100, bedding over $200, heck, even throw pillow COVERS over $100. I was tired of seeing expensive bedding, so I decided to create my own fluffy, cozy bed on a budget, and now I’m here to tell you how I did it! In just six easy steps, you can have a luxury bed without the luxury price.
Step 1
The first thing you want to do is make sure you have comfortable sheets. This may not help the fluffy look of your bed, but it most certainly helps the comfy aspect! Whether you are a hot sleeper or a cold sleeper, I have found the most comfortable sheets to be bamboo cooling sheets. These are my favorite and what I have on my bed now! Super affordable and so comfortable.
-
NOTE: When you first see these on Amazon, they may have a much higher price. They are always on sale, so make sure you look for the green wording that shows when a coupon can be applied. For example, at this moment, they are $81.99, but there is a 40% off coupon applied at check out, making them $53.25 after taxes.
Step 2
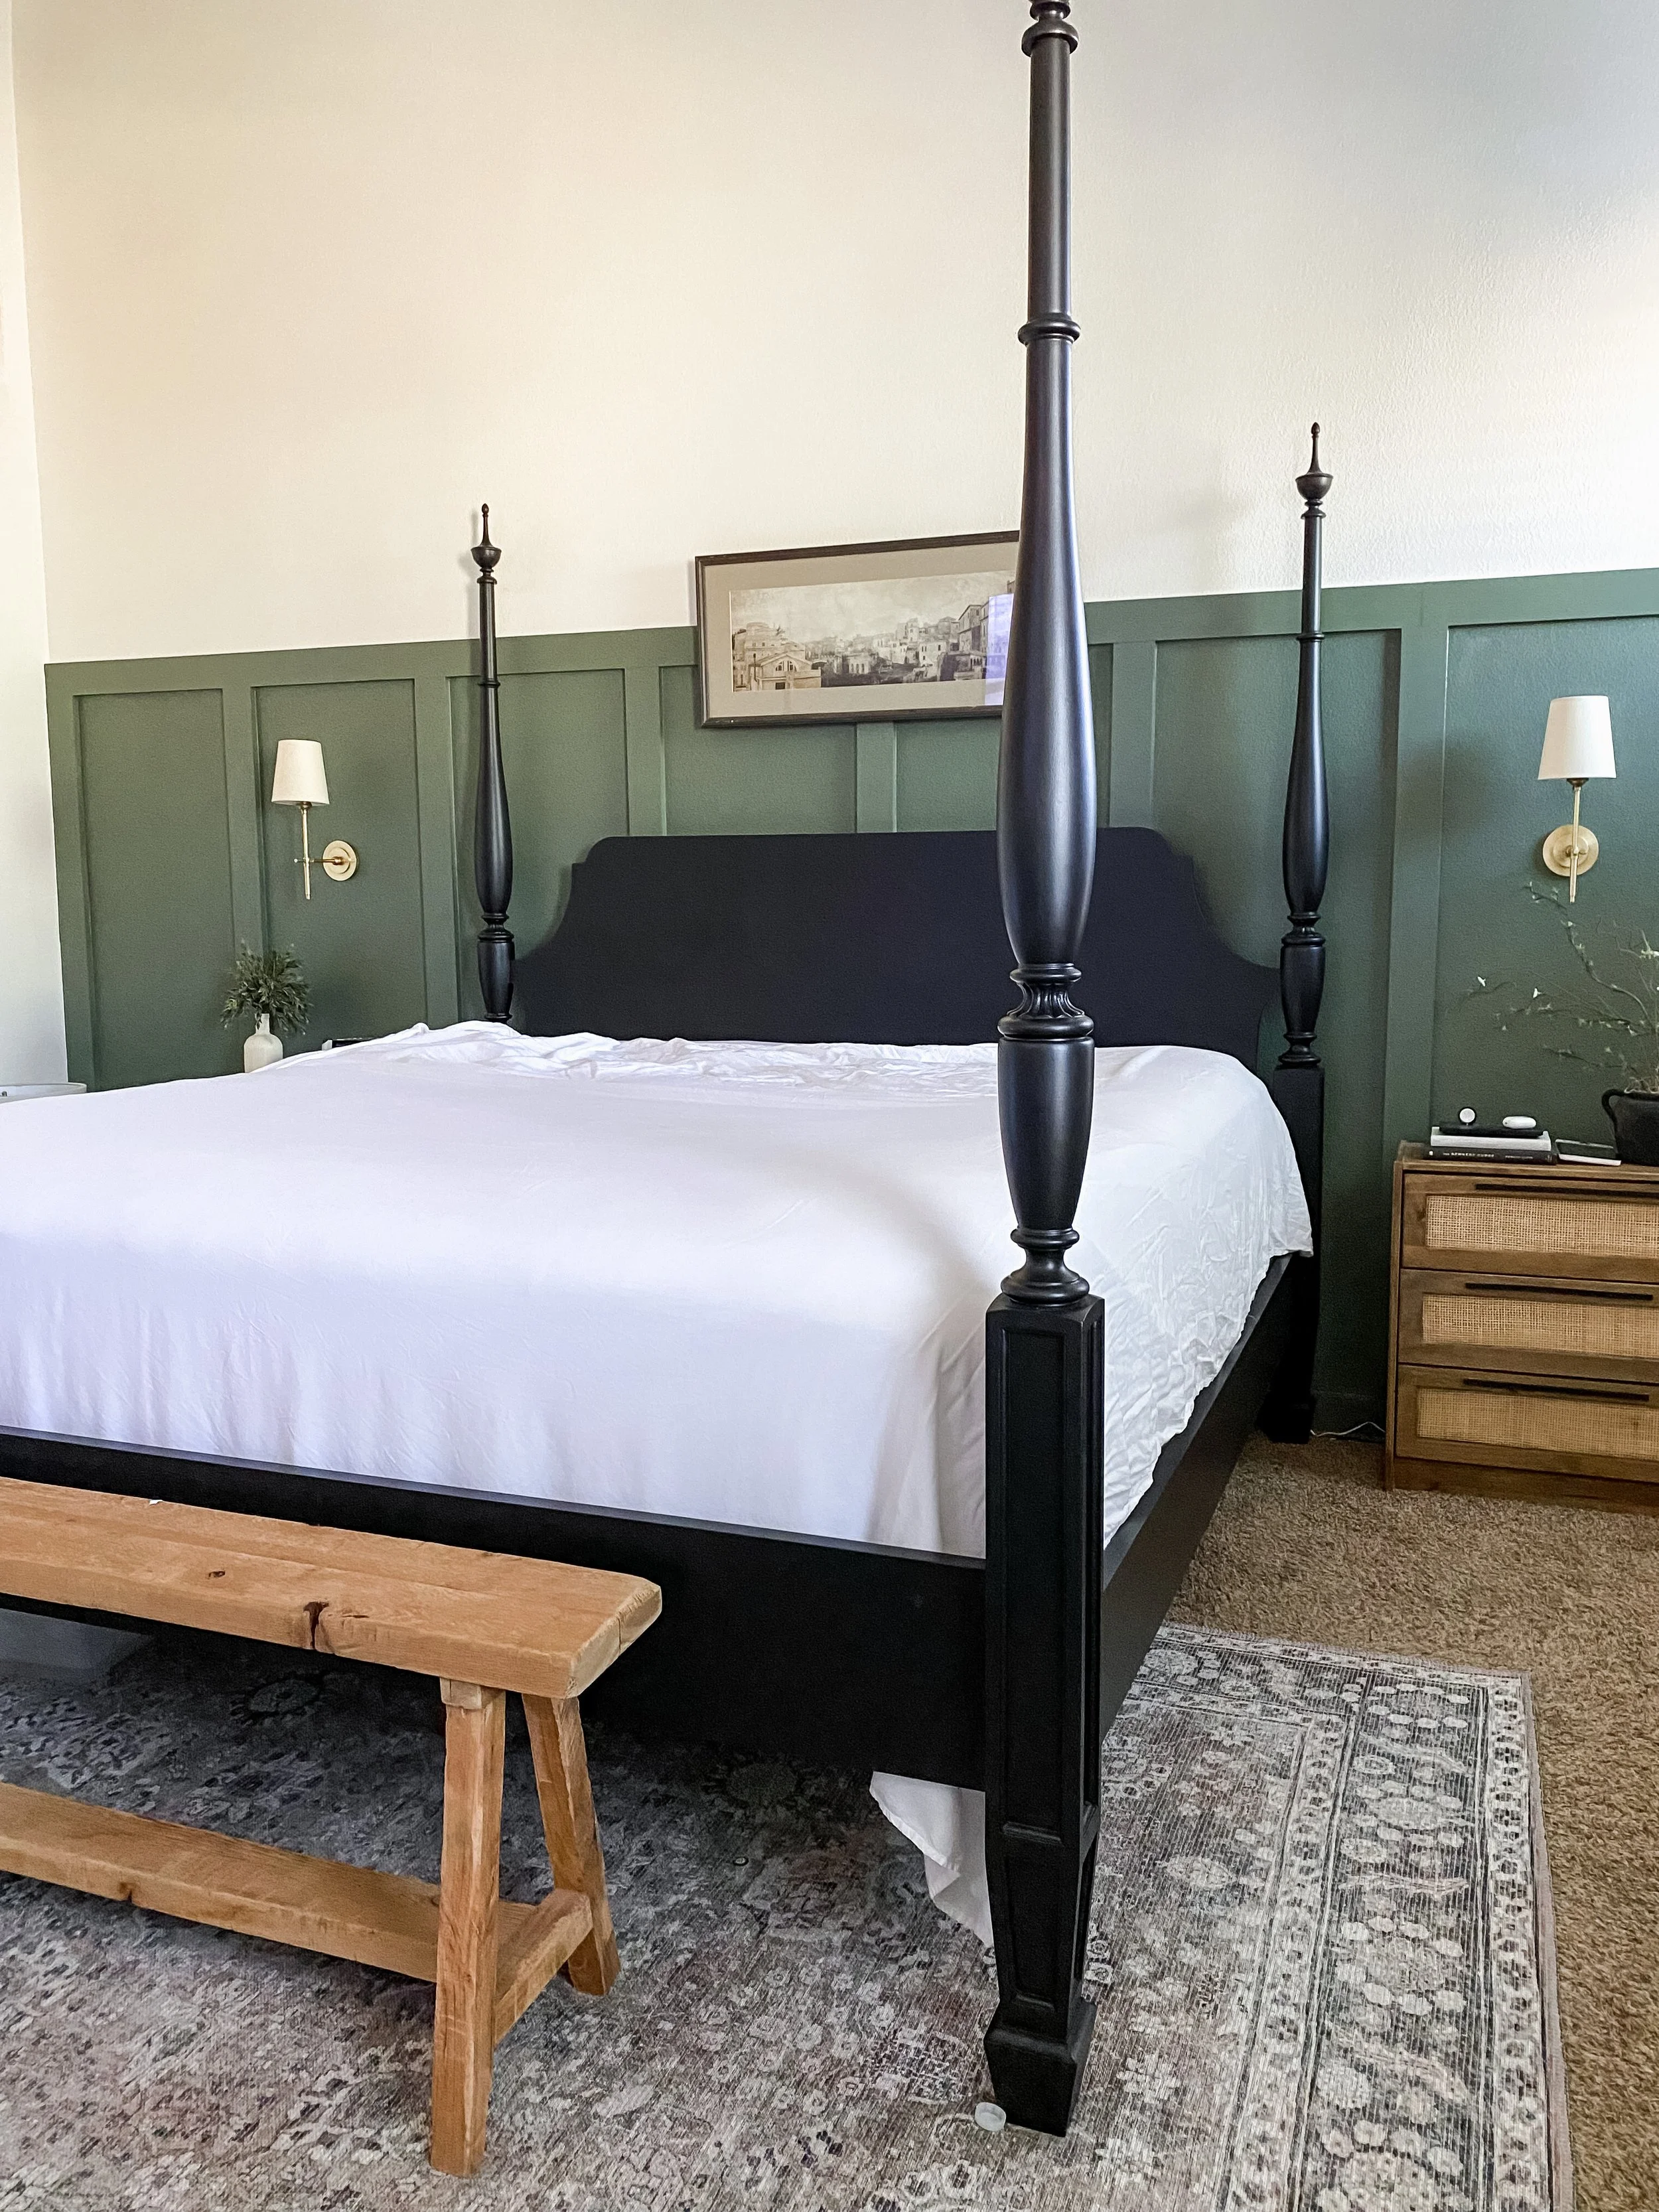
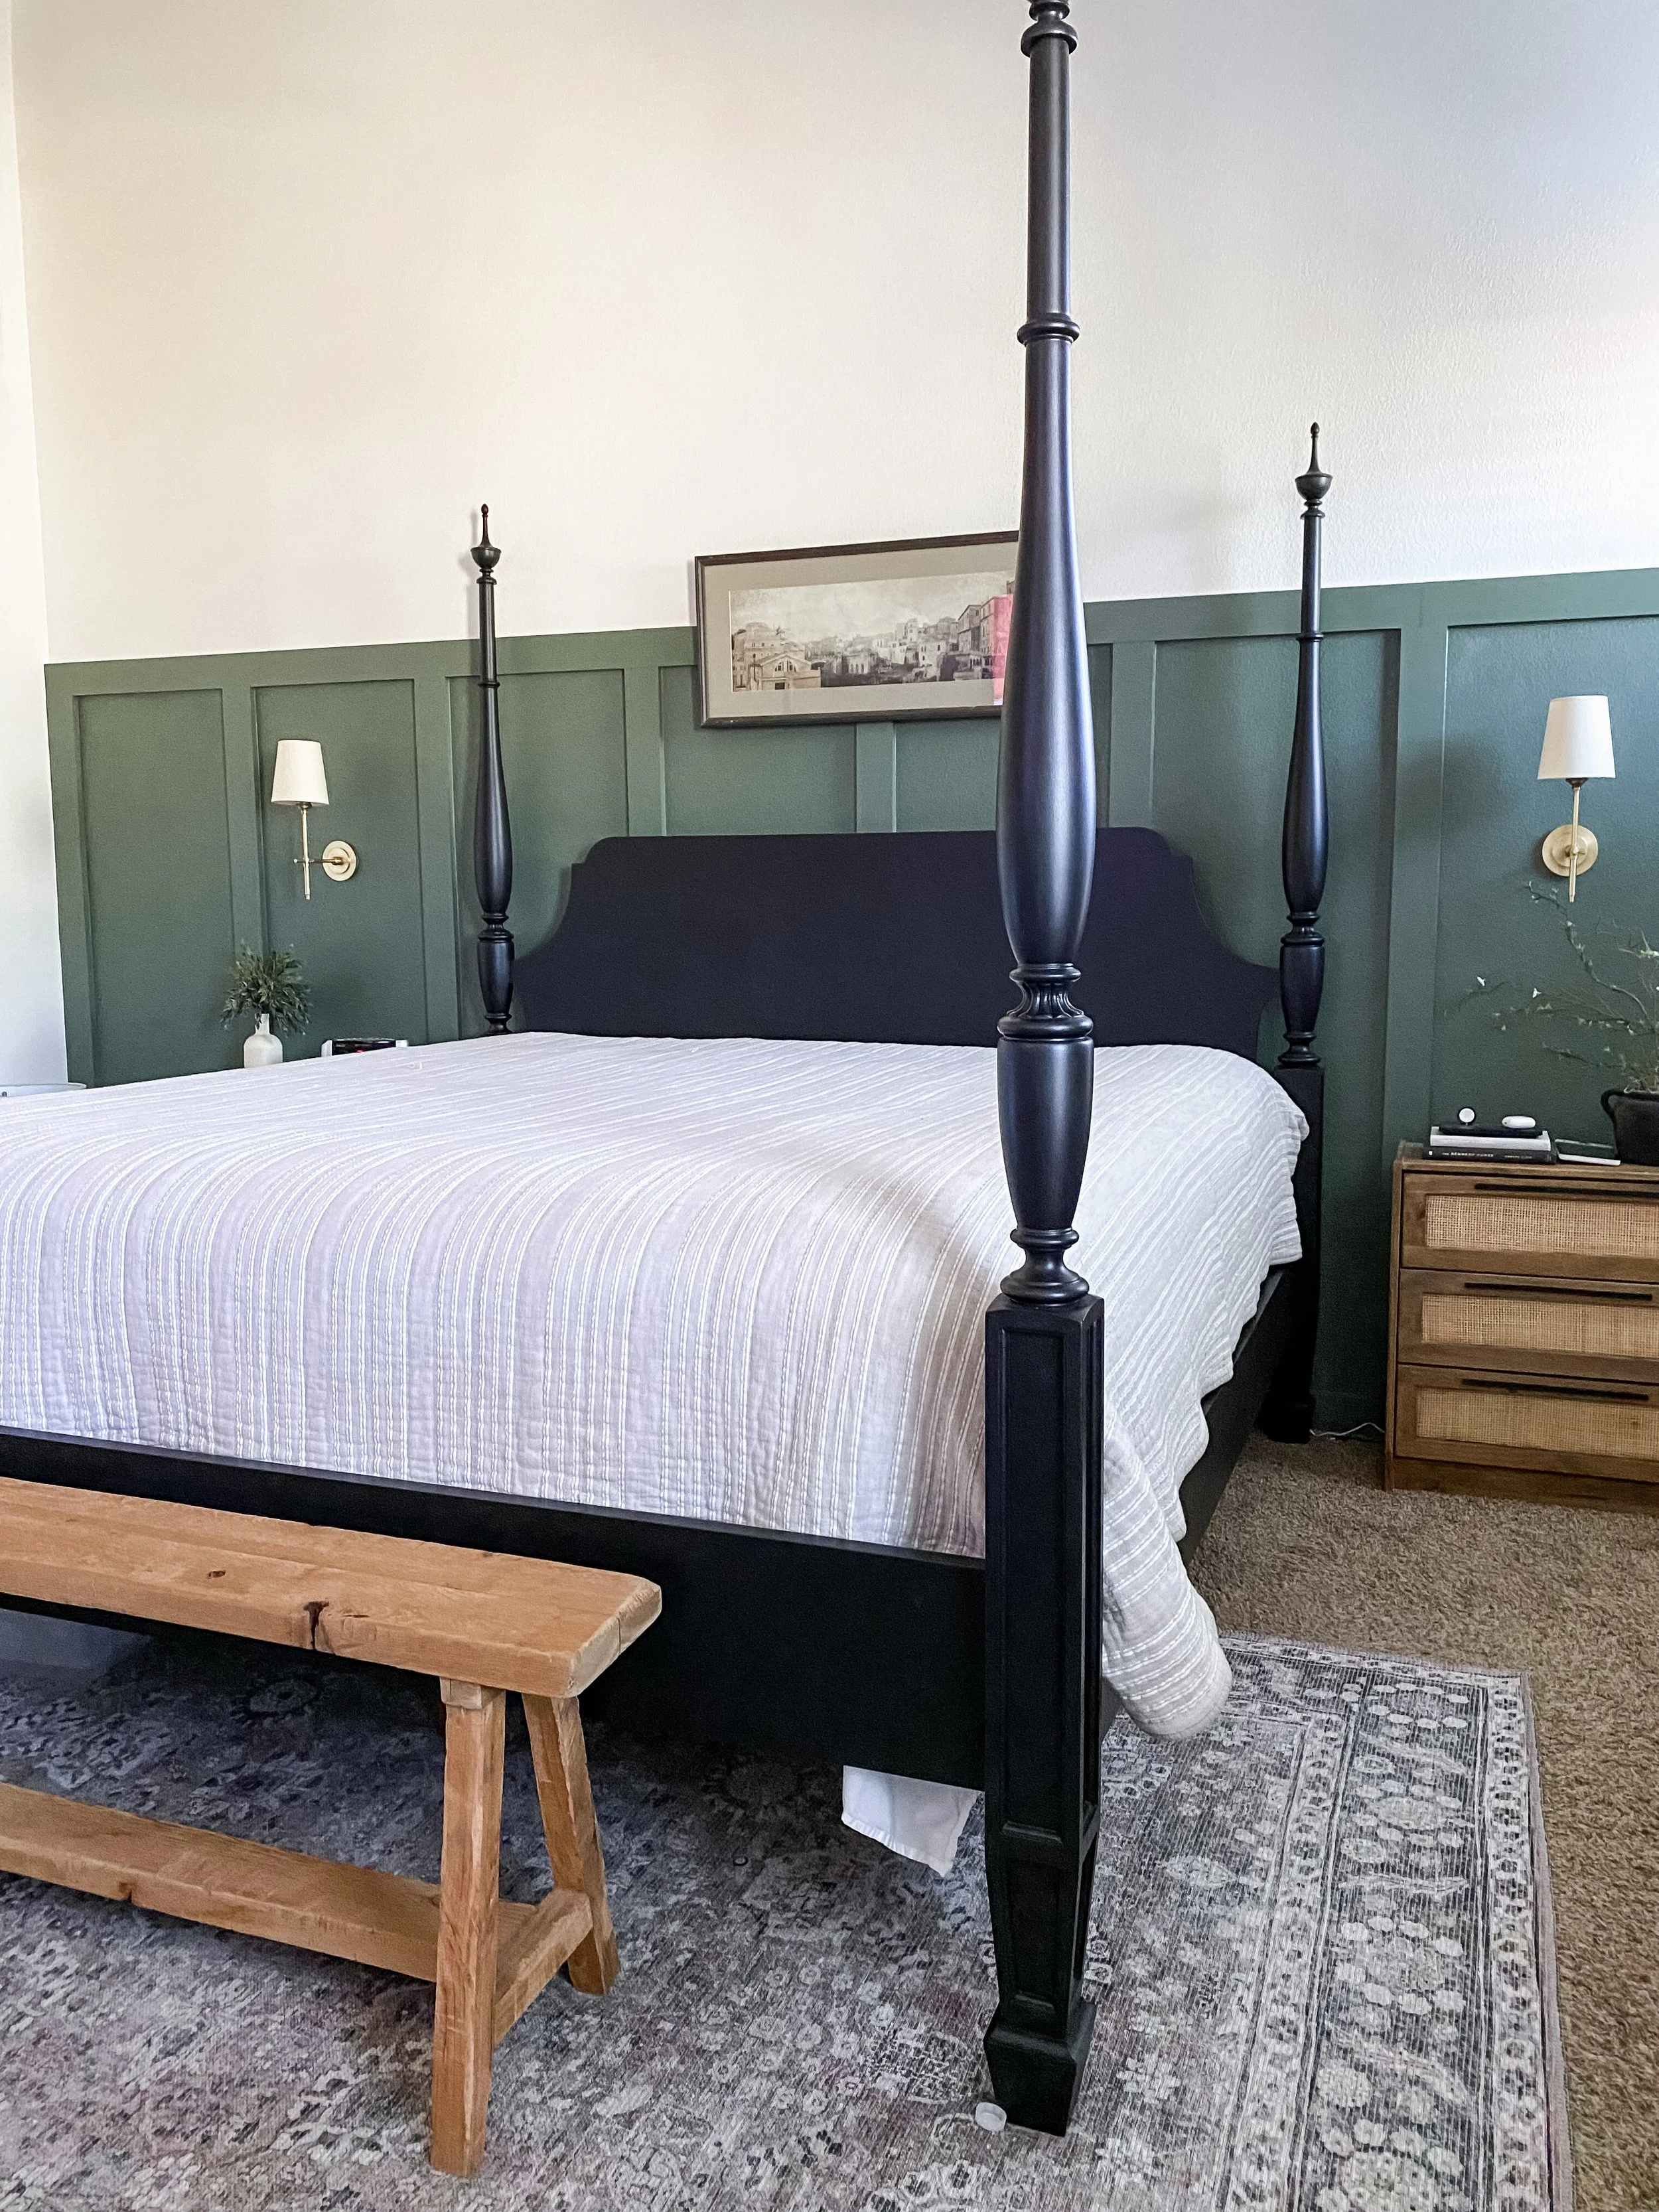
Add a quilt over your sheets. You could also add your quilt at the end, but if you like to have the option of a lighter comforter and heavy comforter, it’s best to have your quilt first because you can always add the heavier option at the end of the bed and use when or if you get cold!
There are so many good quilt options, and quilts are versatile and easy to swap out. The quilt I went with was a very neutral, slightly textured quilt from Target. This is going to add to the layered look we will get to in a second. Again, very affordable, beautiful, and matches well with just about anything if I decided to swap things out for a different look.
Step 3
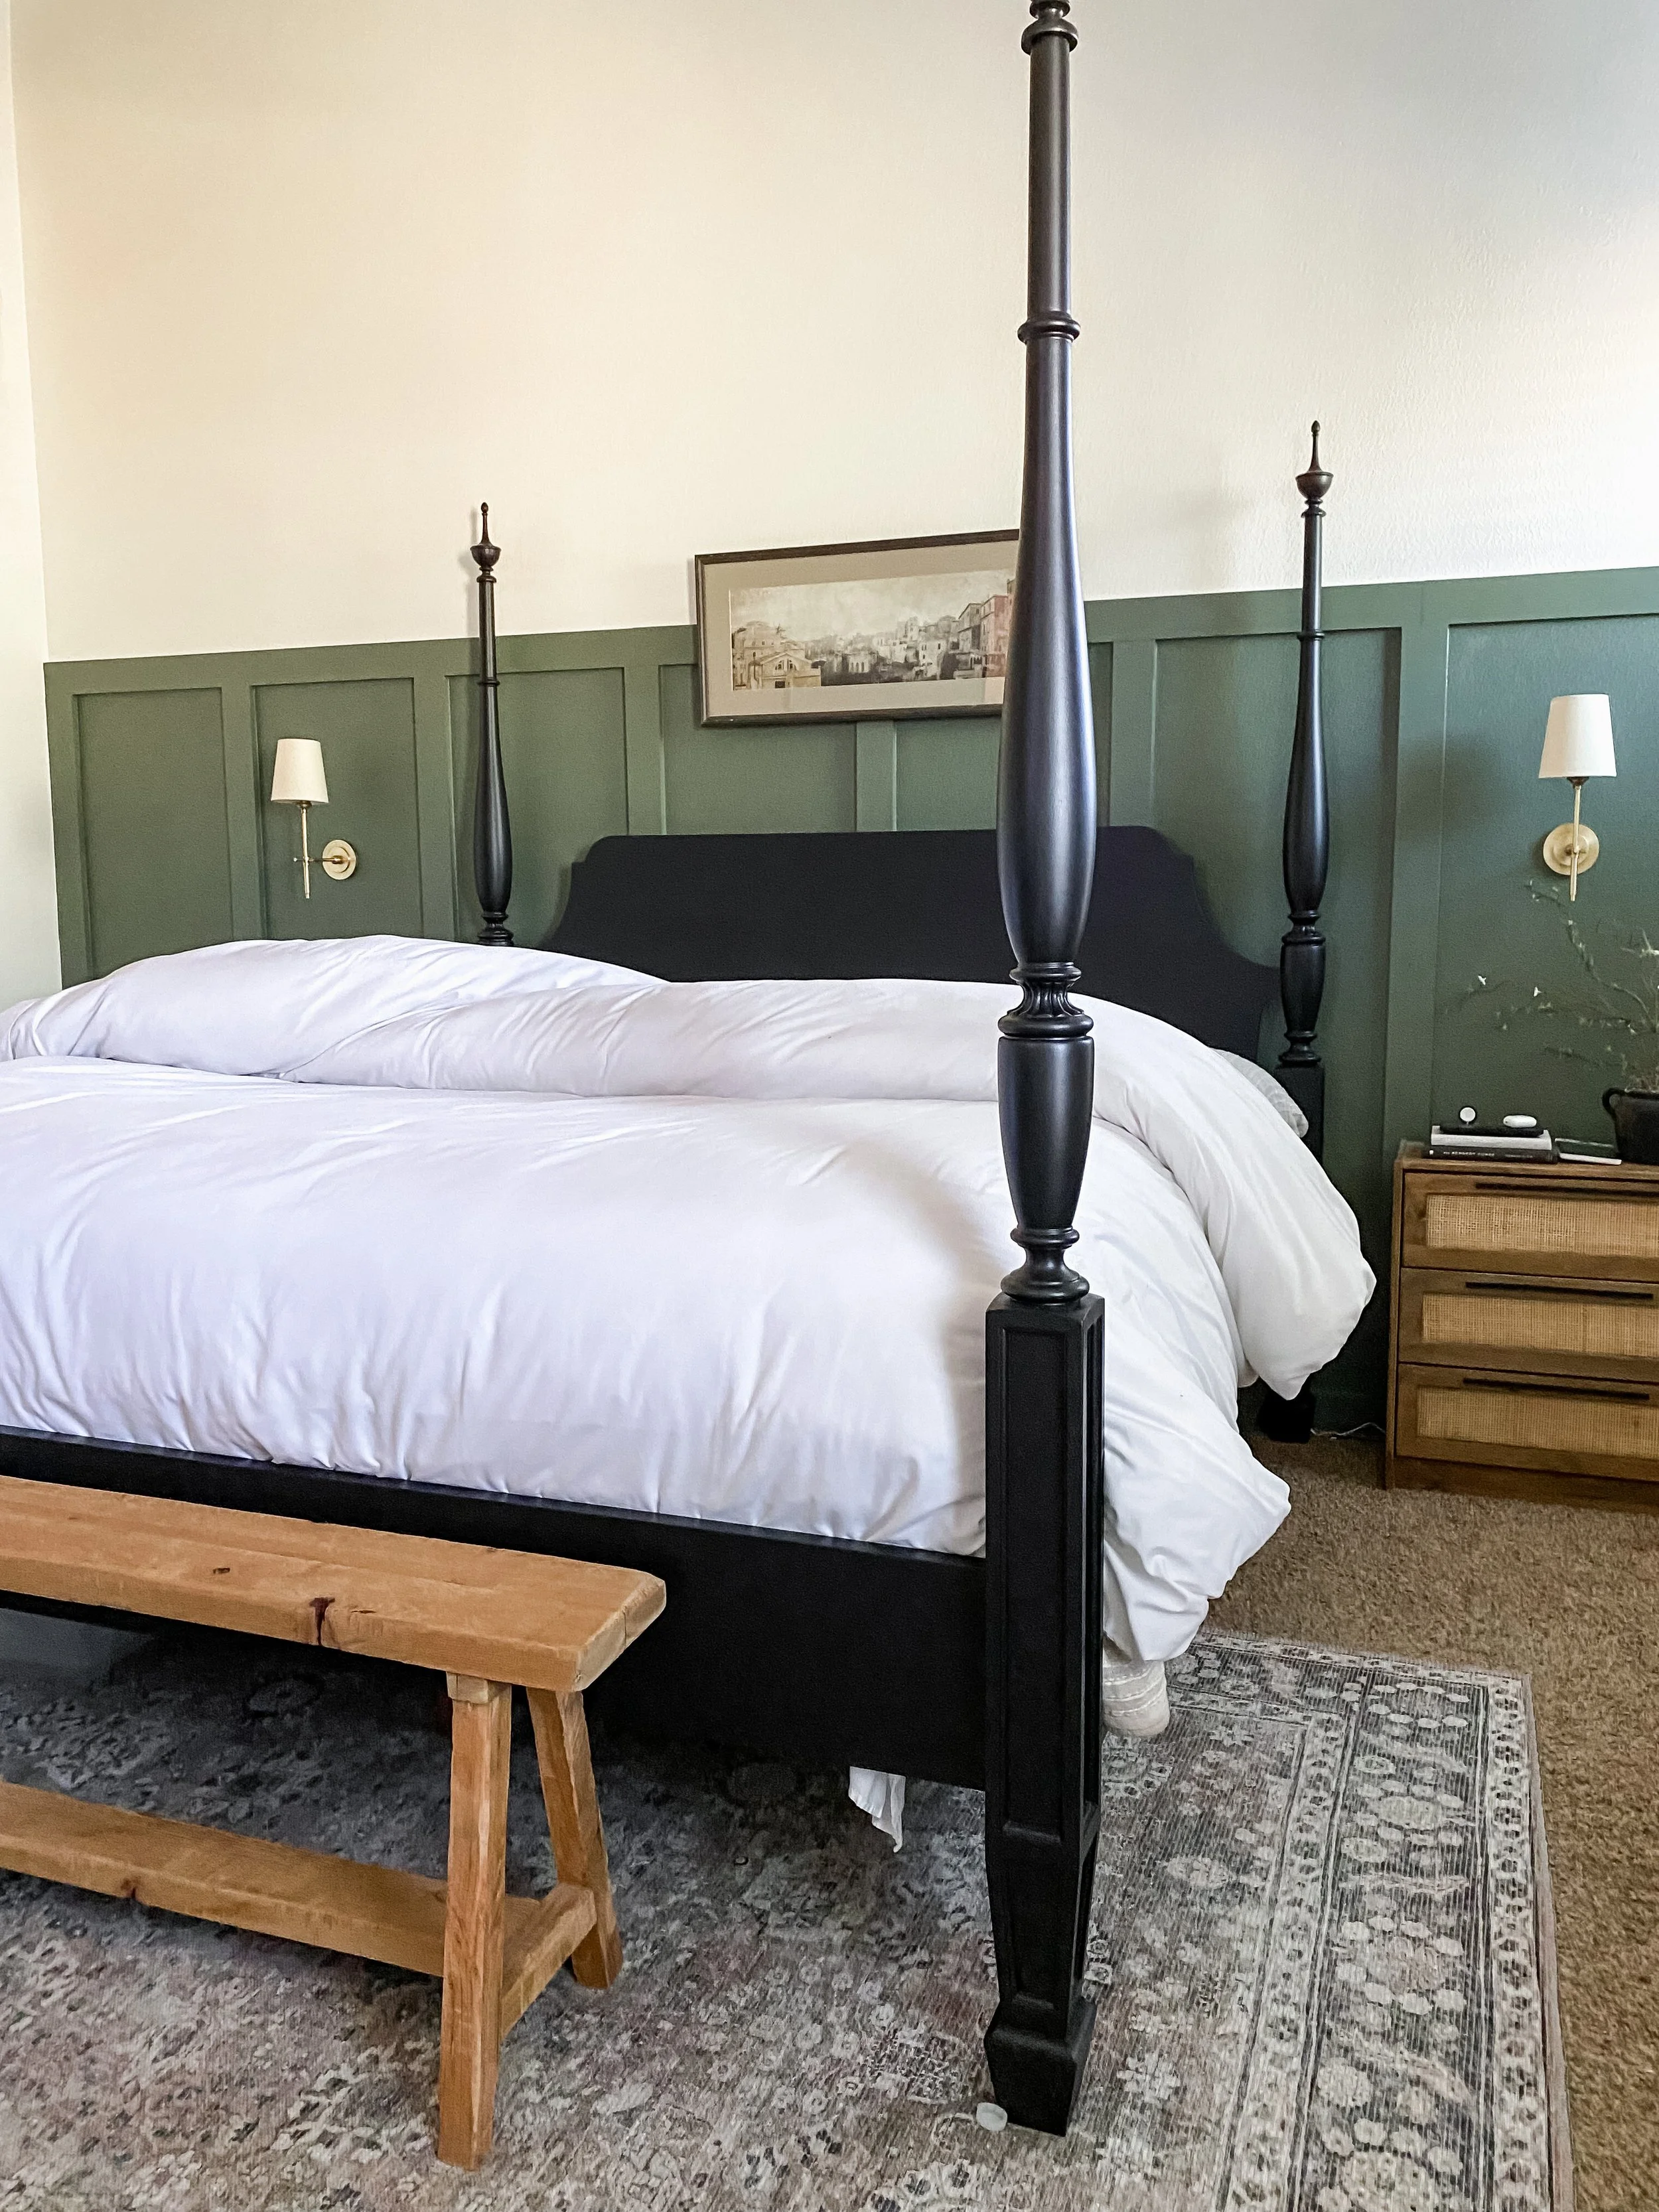
This step is probably the most essential in creating a complete, fluffy bed, in my opinion. For this step, you want to have two duvet inserts and one duvet cover. Having two duvet inserts packed into one duvet cover is going to give you a very full and cozy duvet to fold over the end of your bed.
Another trick to make our duvet even fuller is to tri-fold it. To do this, fold the duvet nearly in half towards the bottom of the bed. Then fold it back once more to the top of the bed. I found both my duvet inserts and cover on Amazon. Both products had great reviews, and now that I have them on my bed, I can honestly say they are SO soft and only get softer with every wash. Highly recommend.
Step 4
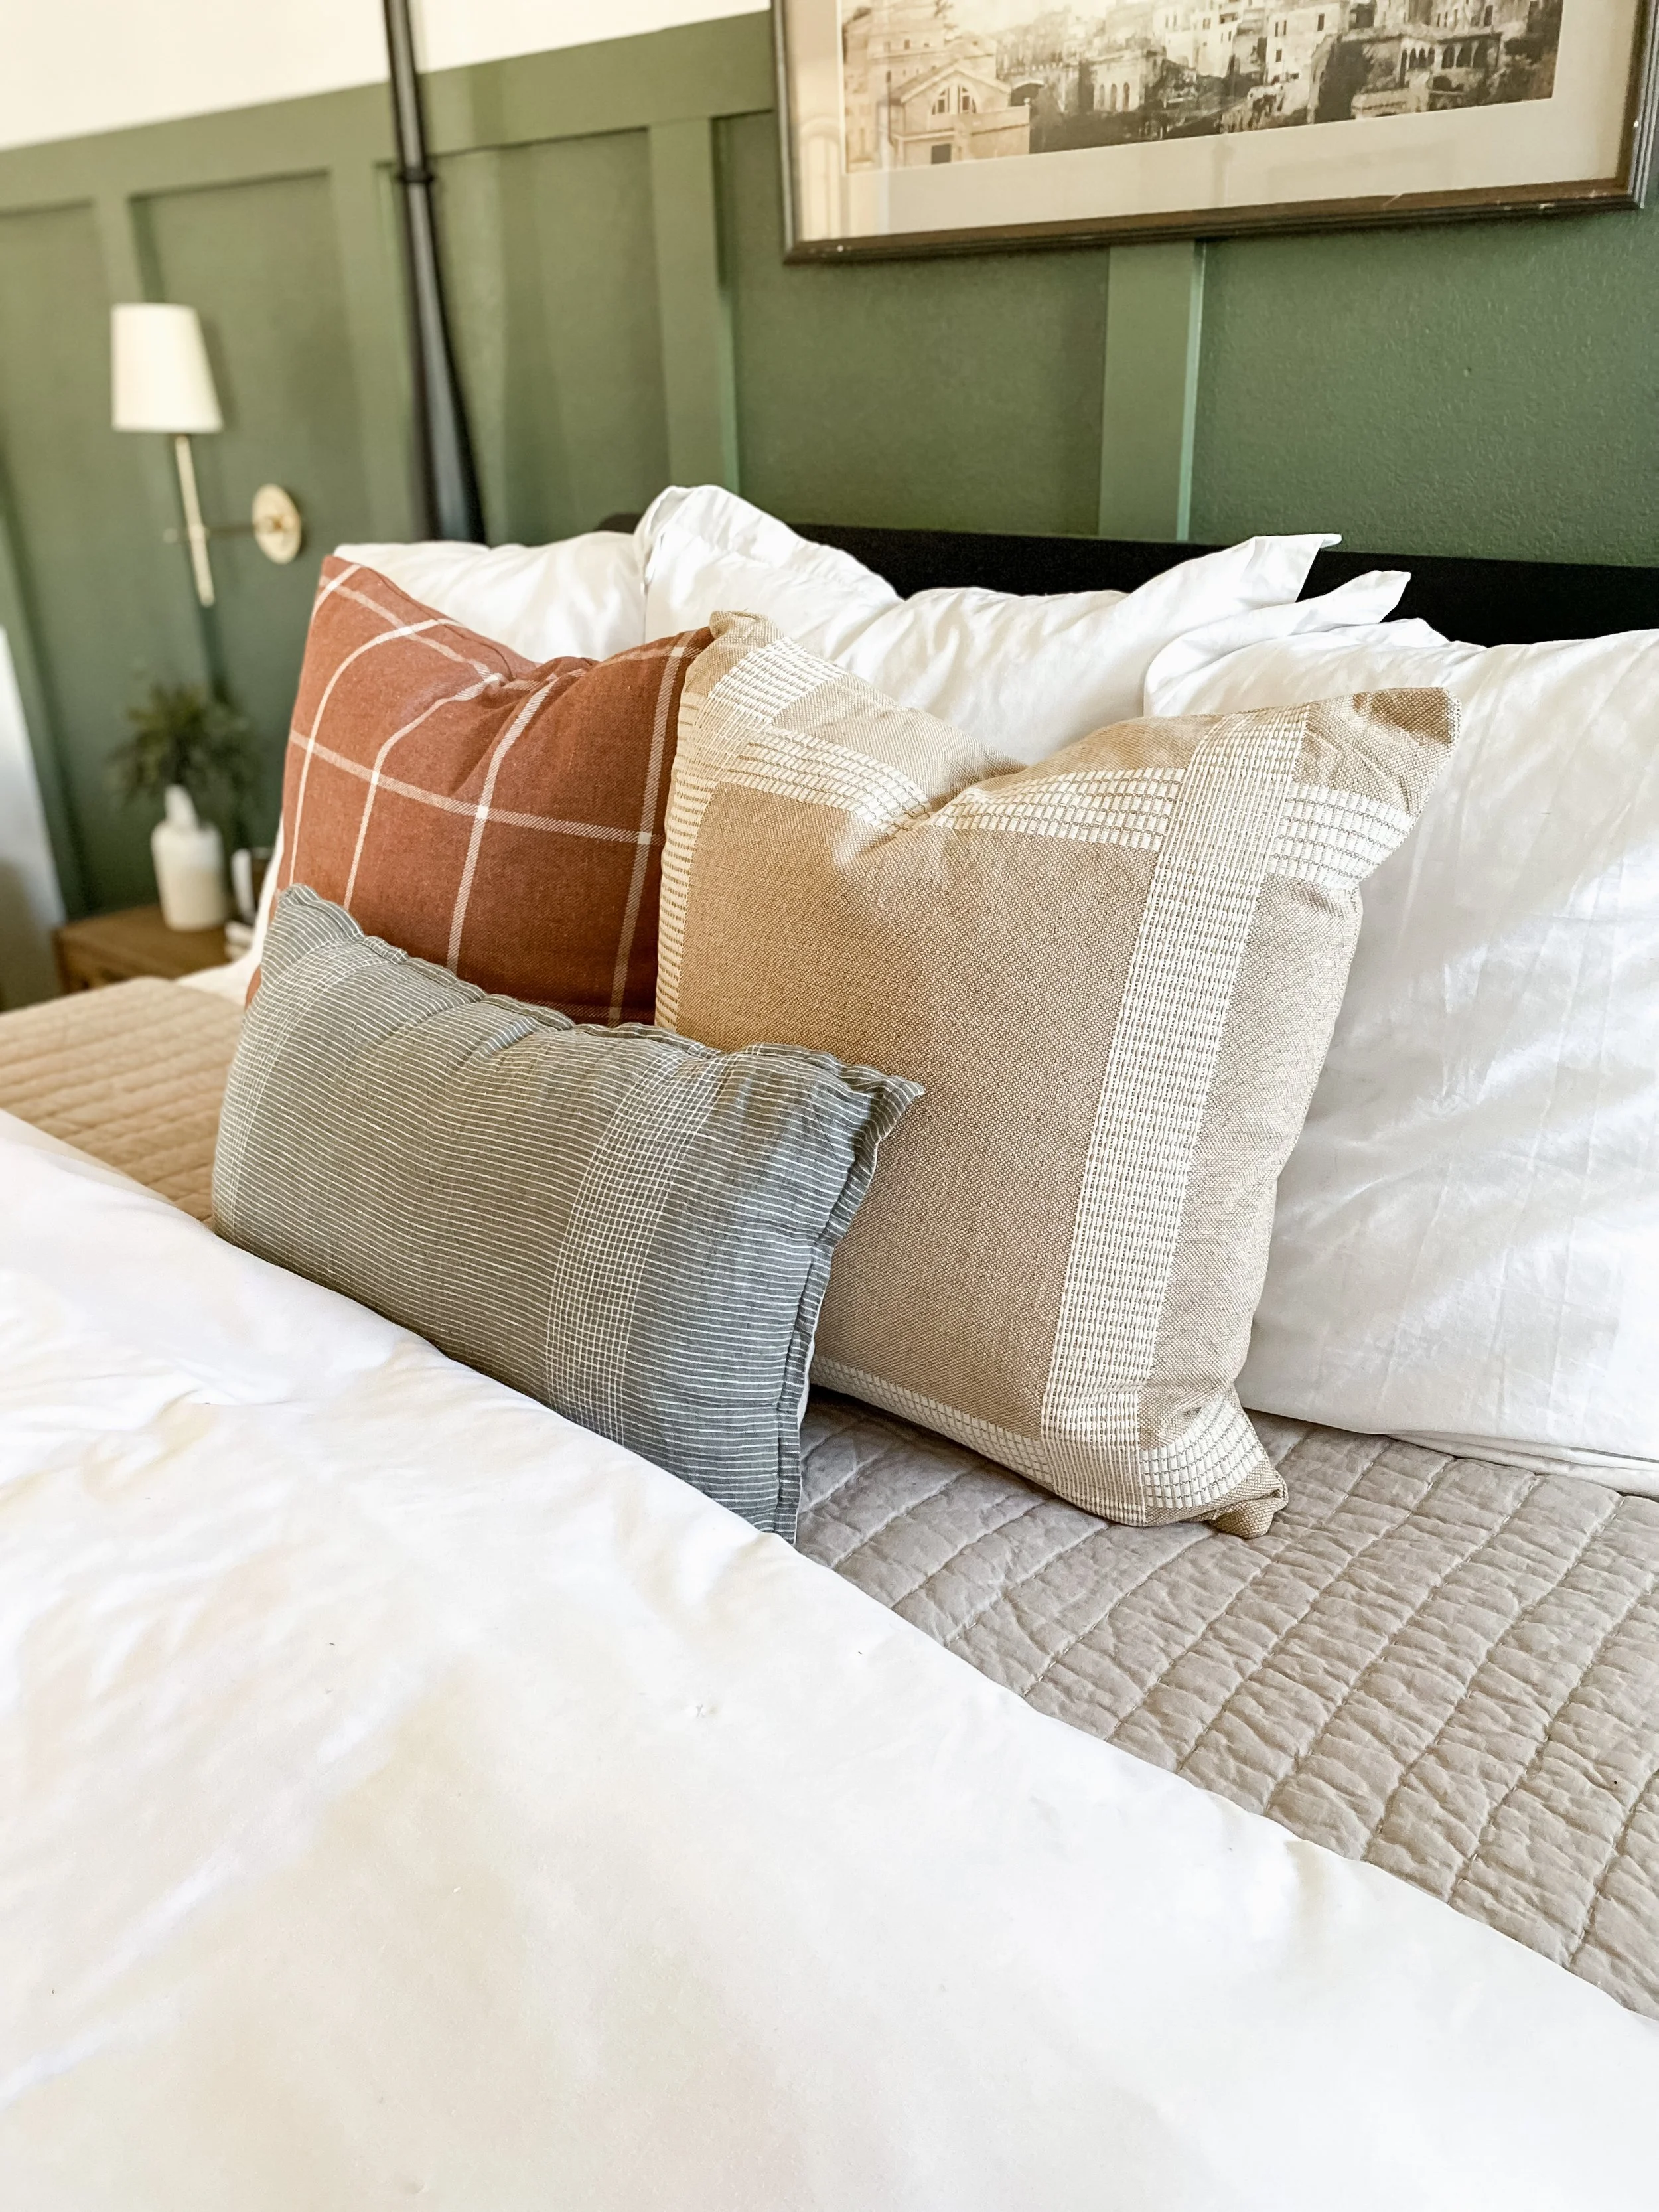
Stack your sleeping pillows against the headboard laying flat. This will give you a prop for your euro pillow. These are the pillows I found from Target. These are a tad more than I wanted to spend but after having slept on old pillows for YEARS, it was time for an upgrade. You can always find a cheaper option at just about any home store.
Step 5
Add euro pillows and throw pillows. I found my euro pillows and covers on Amazon. I have a king-size bed, so I added 3, but this will look different depending on what size bed you have. Make sure you get pillows that aren’t firm; down pillows are the best because you want to have a nice little karate chop on them! This will only add to the fluffiness of your bed. For my throw pillows, I used two 24×24 oversized square pillows and one 24×14 lumbar pillow. Again, the pillows will look differently depending on your bed size.
Throw pillows are another great way to change up the look of your bedding. Typically I go to Amazon for pillow covers and use the same ones, but this time I wanted some that I found at target so I splurged a little BUT they are still more affordable than most I found from scrolling IG.
Step 6
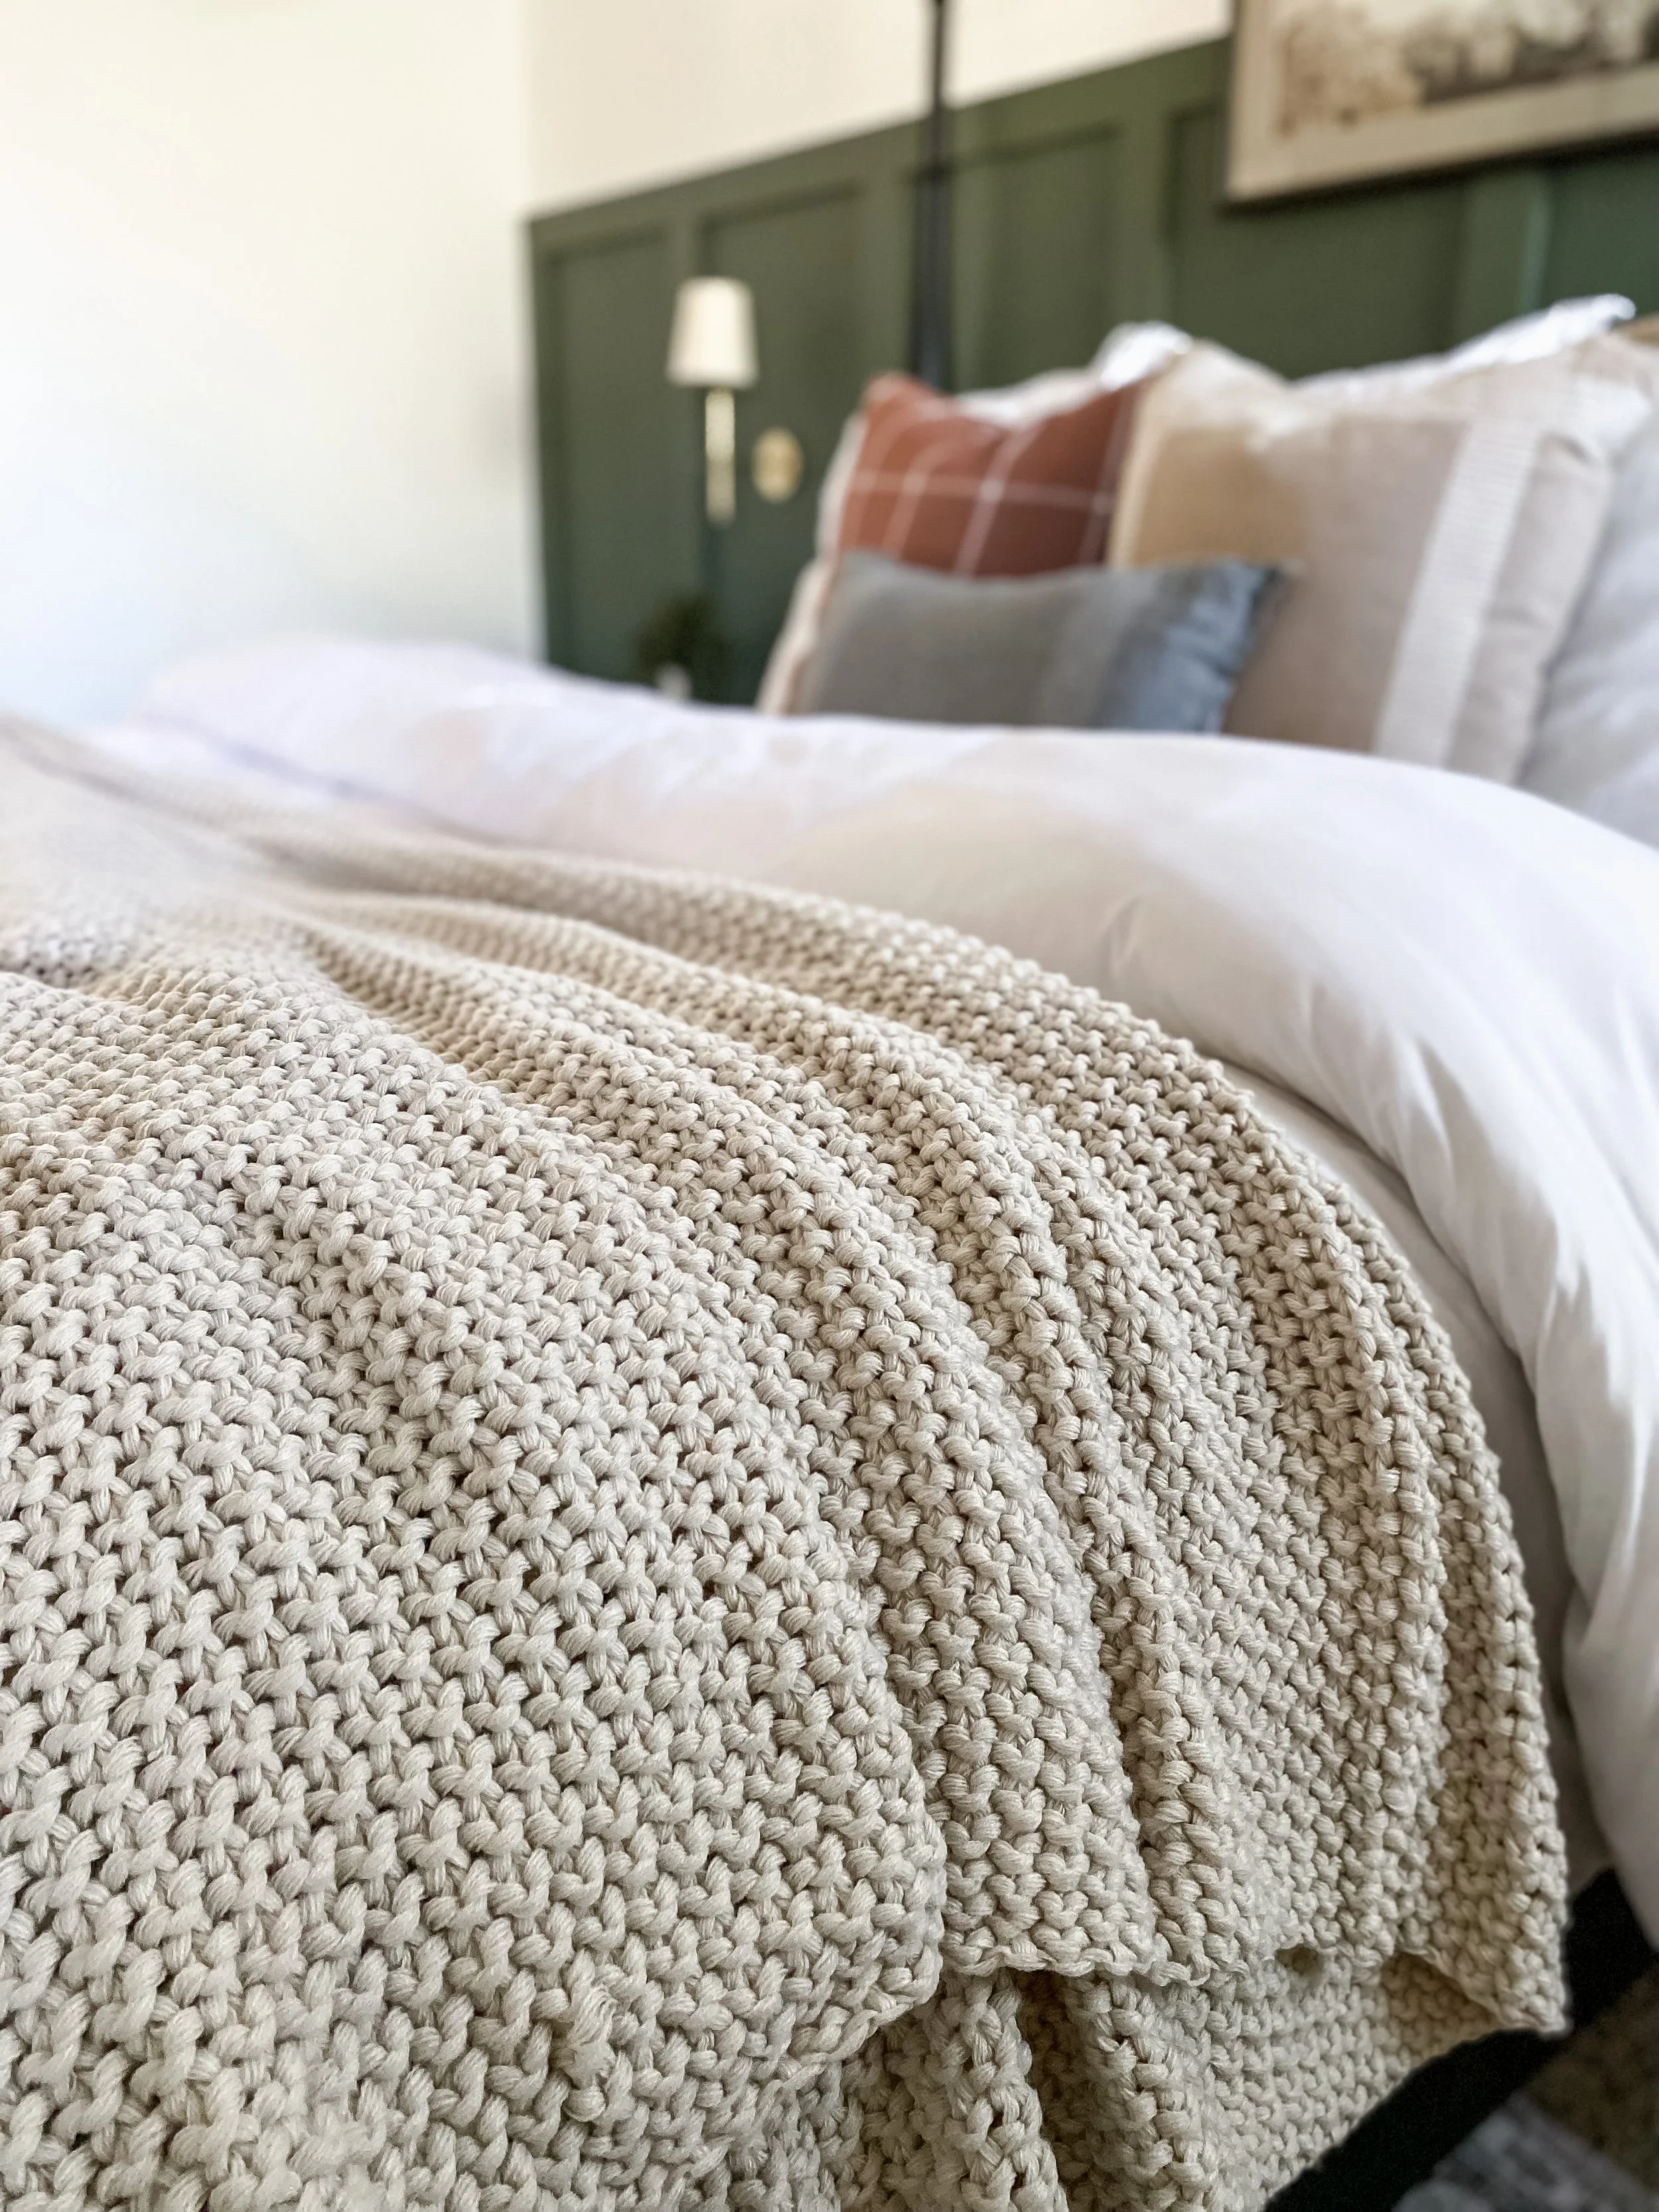
Finish by throwing a textured throw at the end of your bed. This adds to the layered look, and when you want your bed to look fluffy and cozy, you have a layer, layer, layer! Here is the throw I found at Target that is shown in the photo.
-
NOTE: I waited until target was running a sale to order this blanket. I hardly ever pay full price, I wait because I’m too cheap, lol
Follow me on Instagram for more budget-friendly DIY and home tutorials. Here you will find me in stories sharing live step-by-step tutorials, and you are the first to know what’s new and coming to the blog! Hope you see you there!
If you use this trick, I would love to see it! Tag me on IG @rusticrosehomestead or use #rrhdiy so I can share your work.
This post contains affiliate links. If you make a purchase through my links I will make a small commission the help maintain this blog and fund Instagram projects.


Comments will load here