

Cutting Granite
I had never cut granite, I had never worked with plumbing, and I had never installed a new sink. Although there were many project firsts for me in this kitchen remodel, cutting granite was the most intimidating.
We didn’t do all the right things, but we did learn from our mistakes. Now I can share with you what we did right and what we would have done differently so that you can do the job correctly!
What you will need
-
Circular saw (I suggest a 7 inch)
-
Spray bottle
-
Wet/Dry Shop-Vac
Mistakes we made
-
We didn’t tape the room off
-
We didn’t use a shop vac while cutting
-
Didn’t use painters tape to mark our cuts
Let’s get started!
-
The first thing you will want to do is tape off the room you are working in. When I say tape off the room, I’m talking ceiling to floor coverage! This was one of our big mistakes and something we would do differently.
-
NOTE: This will be VERY dusty, so do not skip this part unless you want harsh chemicals all over your home.
-
-
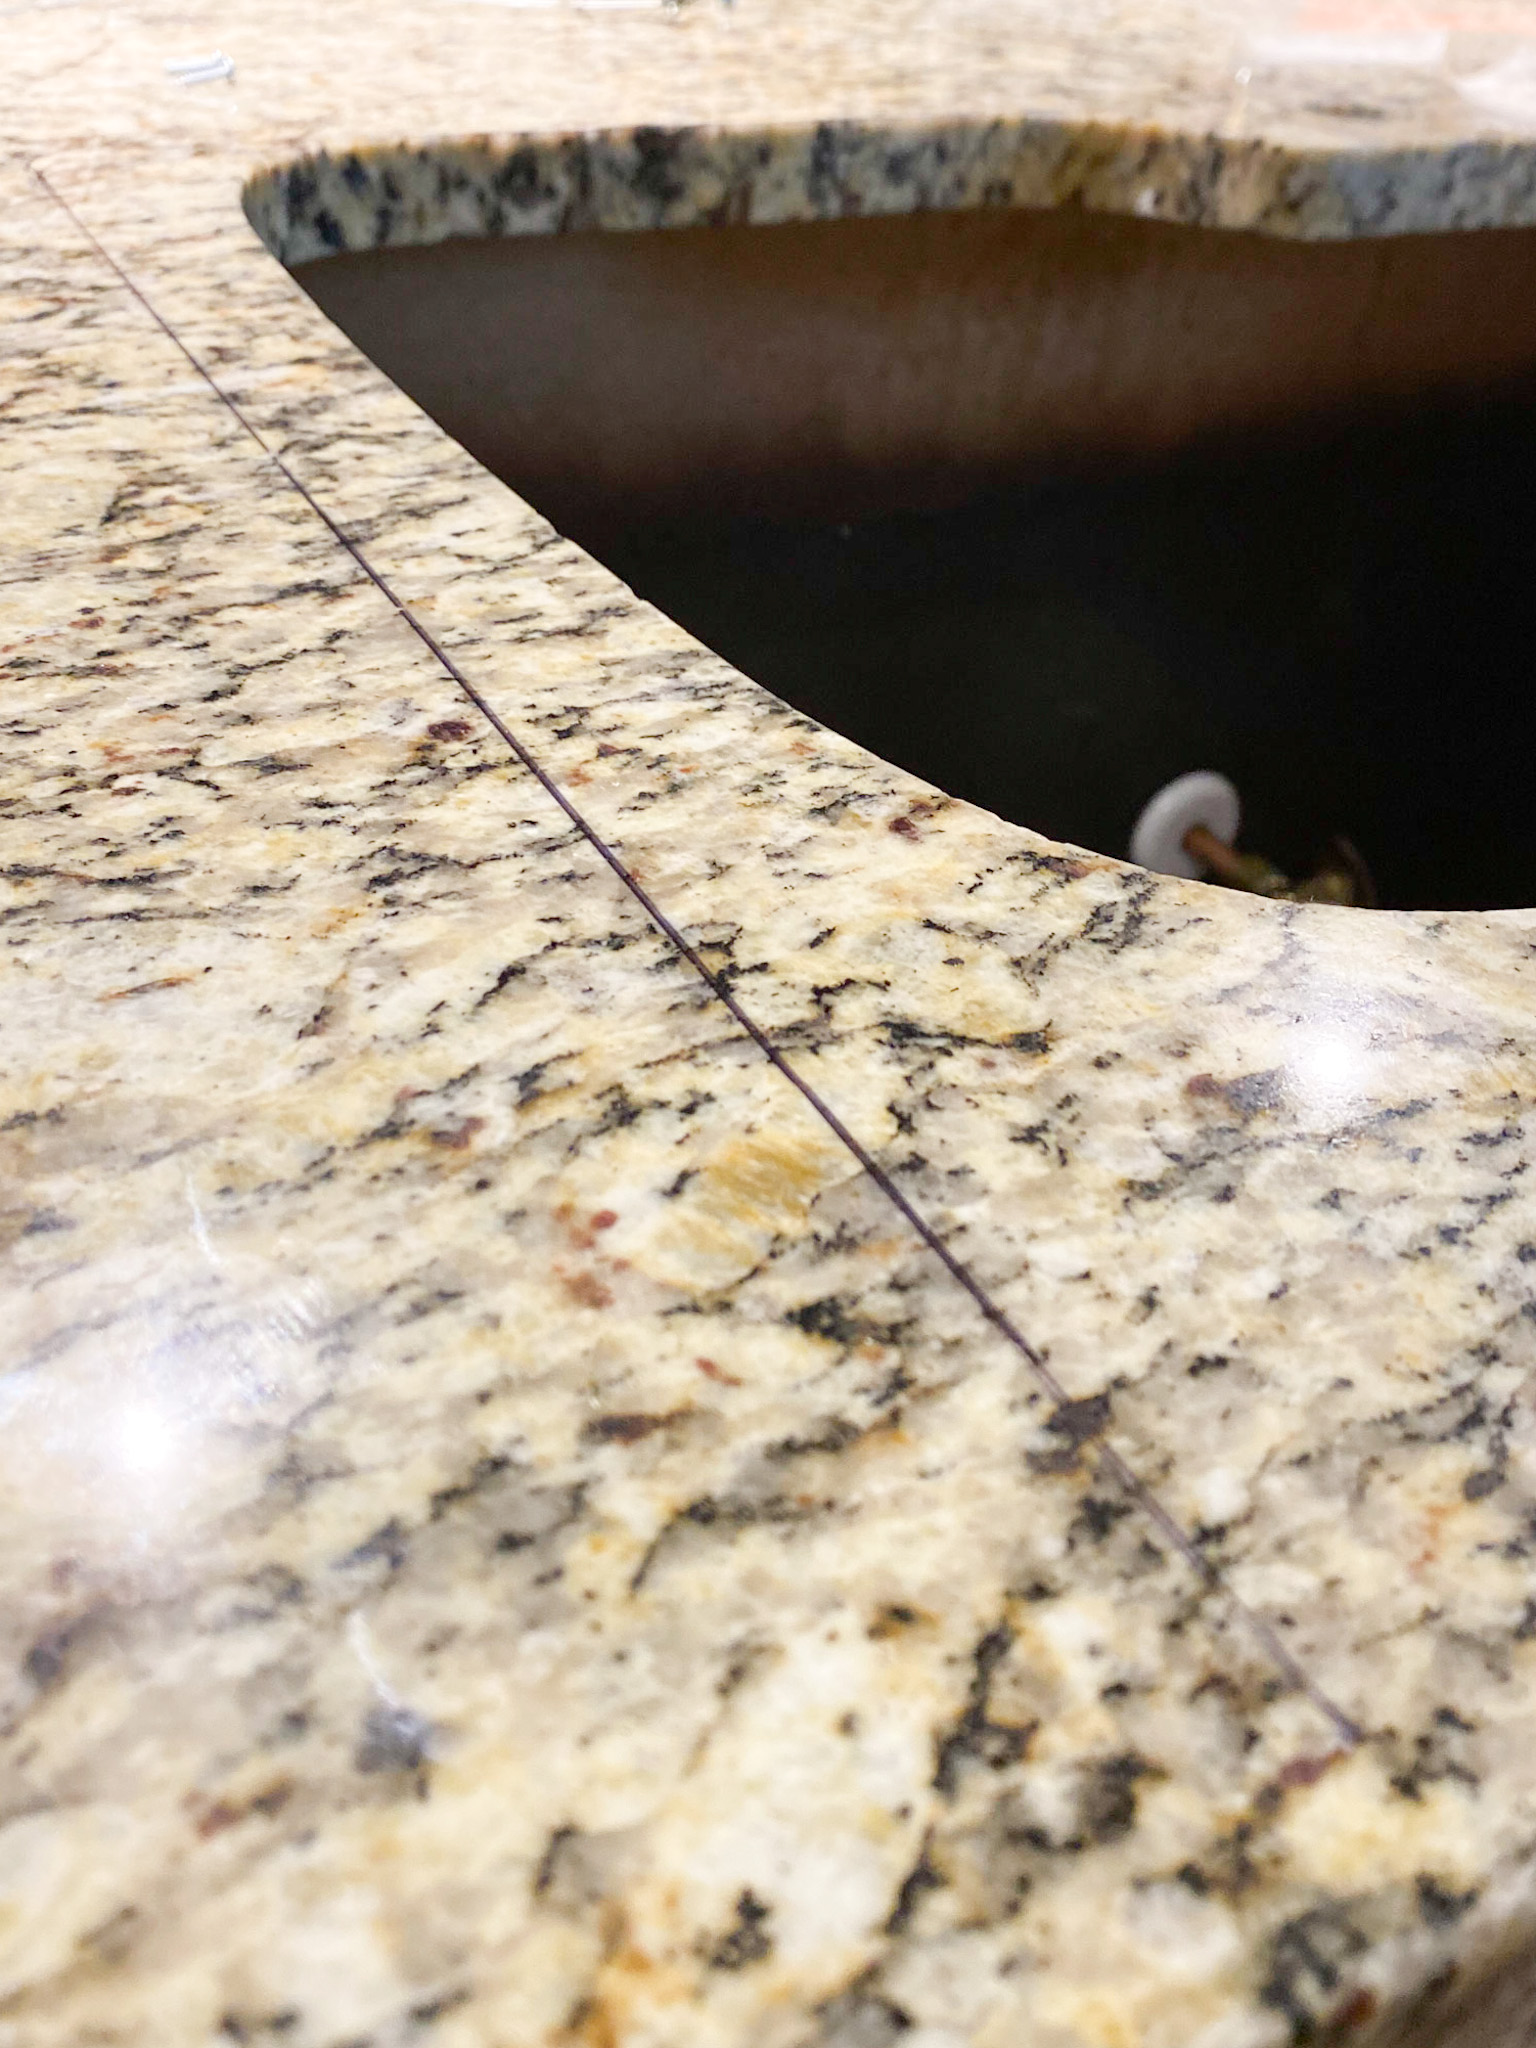
Mark your cuts using a marker, but then use painter’s tape along the lines you marked. We did not do this, and our marks (made with a permanent marker) faded away with water.
-
NOTE: Using painter’s tape will also help reduce the risk of small chips while cutting.
-

3. Now is the time to grab an extra set of hands. You will need someone to spray water while you are cutting, so you won’t be able to do this alone.
4. Now that you have recruited help, both of you will need to put your masks on. One of you will be cutting while the other one sprays water constantly, where you are cutting.
5. Turn your shop vac on and grab your circular saw. It’s time to start cutting. The person who is spraying water will also be the person holding the shop vac near the area you are cutting so that as much dust can be collected as possible.
-
NOTE: MAKE SURE you are using a diamond blade in your saw. This blade is specifically made to cut through materials such as granite.
6. Cut along your marked lines using your circular saw
-
NOTE: We didn’t use a shop vac which was another thing we would do differently. Look how much freaking dust is on this second photo. If you are using a shop vac, you will have a much cleaner area.


7. Time to clean up so you can install your new sink!
The sink install blog coming soon, but until then, here is a look at our sink before and after


Follow me on Instagram for more budget-friendly DIY and home renovations. Here you will find me in stories sharing live step-by-step tutorials, and you are the first to know what’s new and coming to the blog! Hope you see you there!
If you try this in your home, I would love to see it! Tag me on IG @rusticrosehomestead or use #rrhdiy so I can share your work.
This post contains affiliate links. If you make a purchase through my links I will make a small commission the help maintain this blog and fund Instagram projects.


Comments will load here