
This post contains affiliate links. If you make a purchase through my links I will make a small commission to help maintain this blog and fund Instagram projects. Thank you for your support!
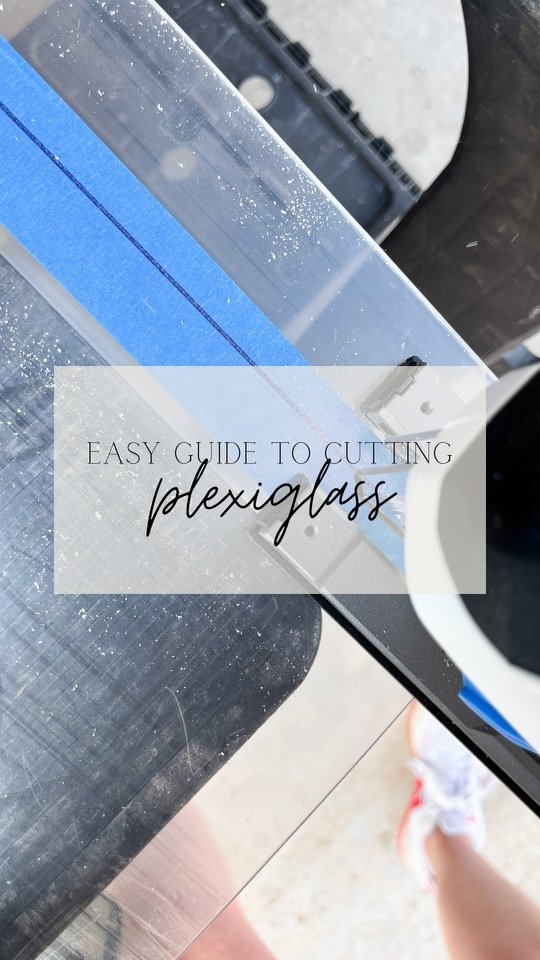
Plexiglass is much stronger than glass and more shatter-resistant which makes for a great DIY product. Cutting it down to size may sound hard but it’s actually pretty easy if done correctly. There are a few ways to cut plexiglass, I’m going to show you how to cut plexiglass using a jigsaw.
Tools
Material List
Prepping to Cut
First things first, DO NOT REMOVE the protective film on your plexiglass. Keep this on until the very end. This will help protect your plexiglass while cutting.
Start by marking where your cut will be.

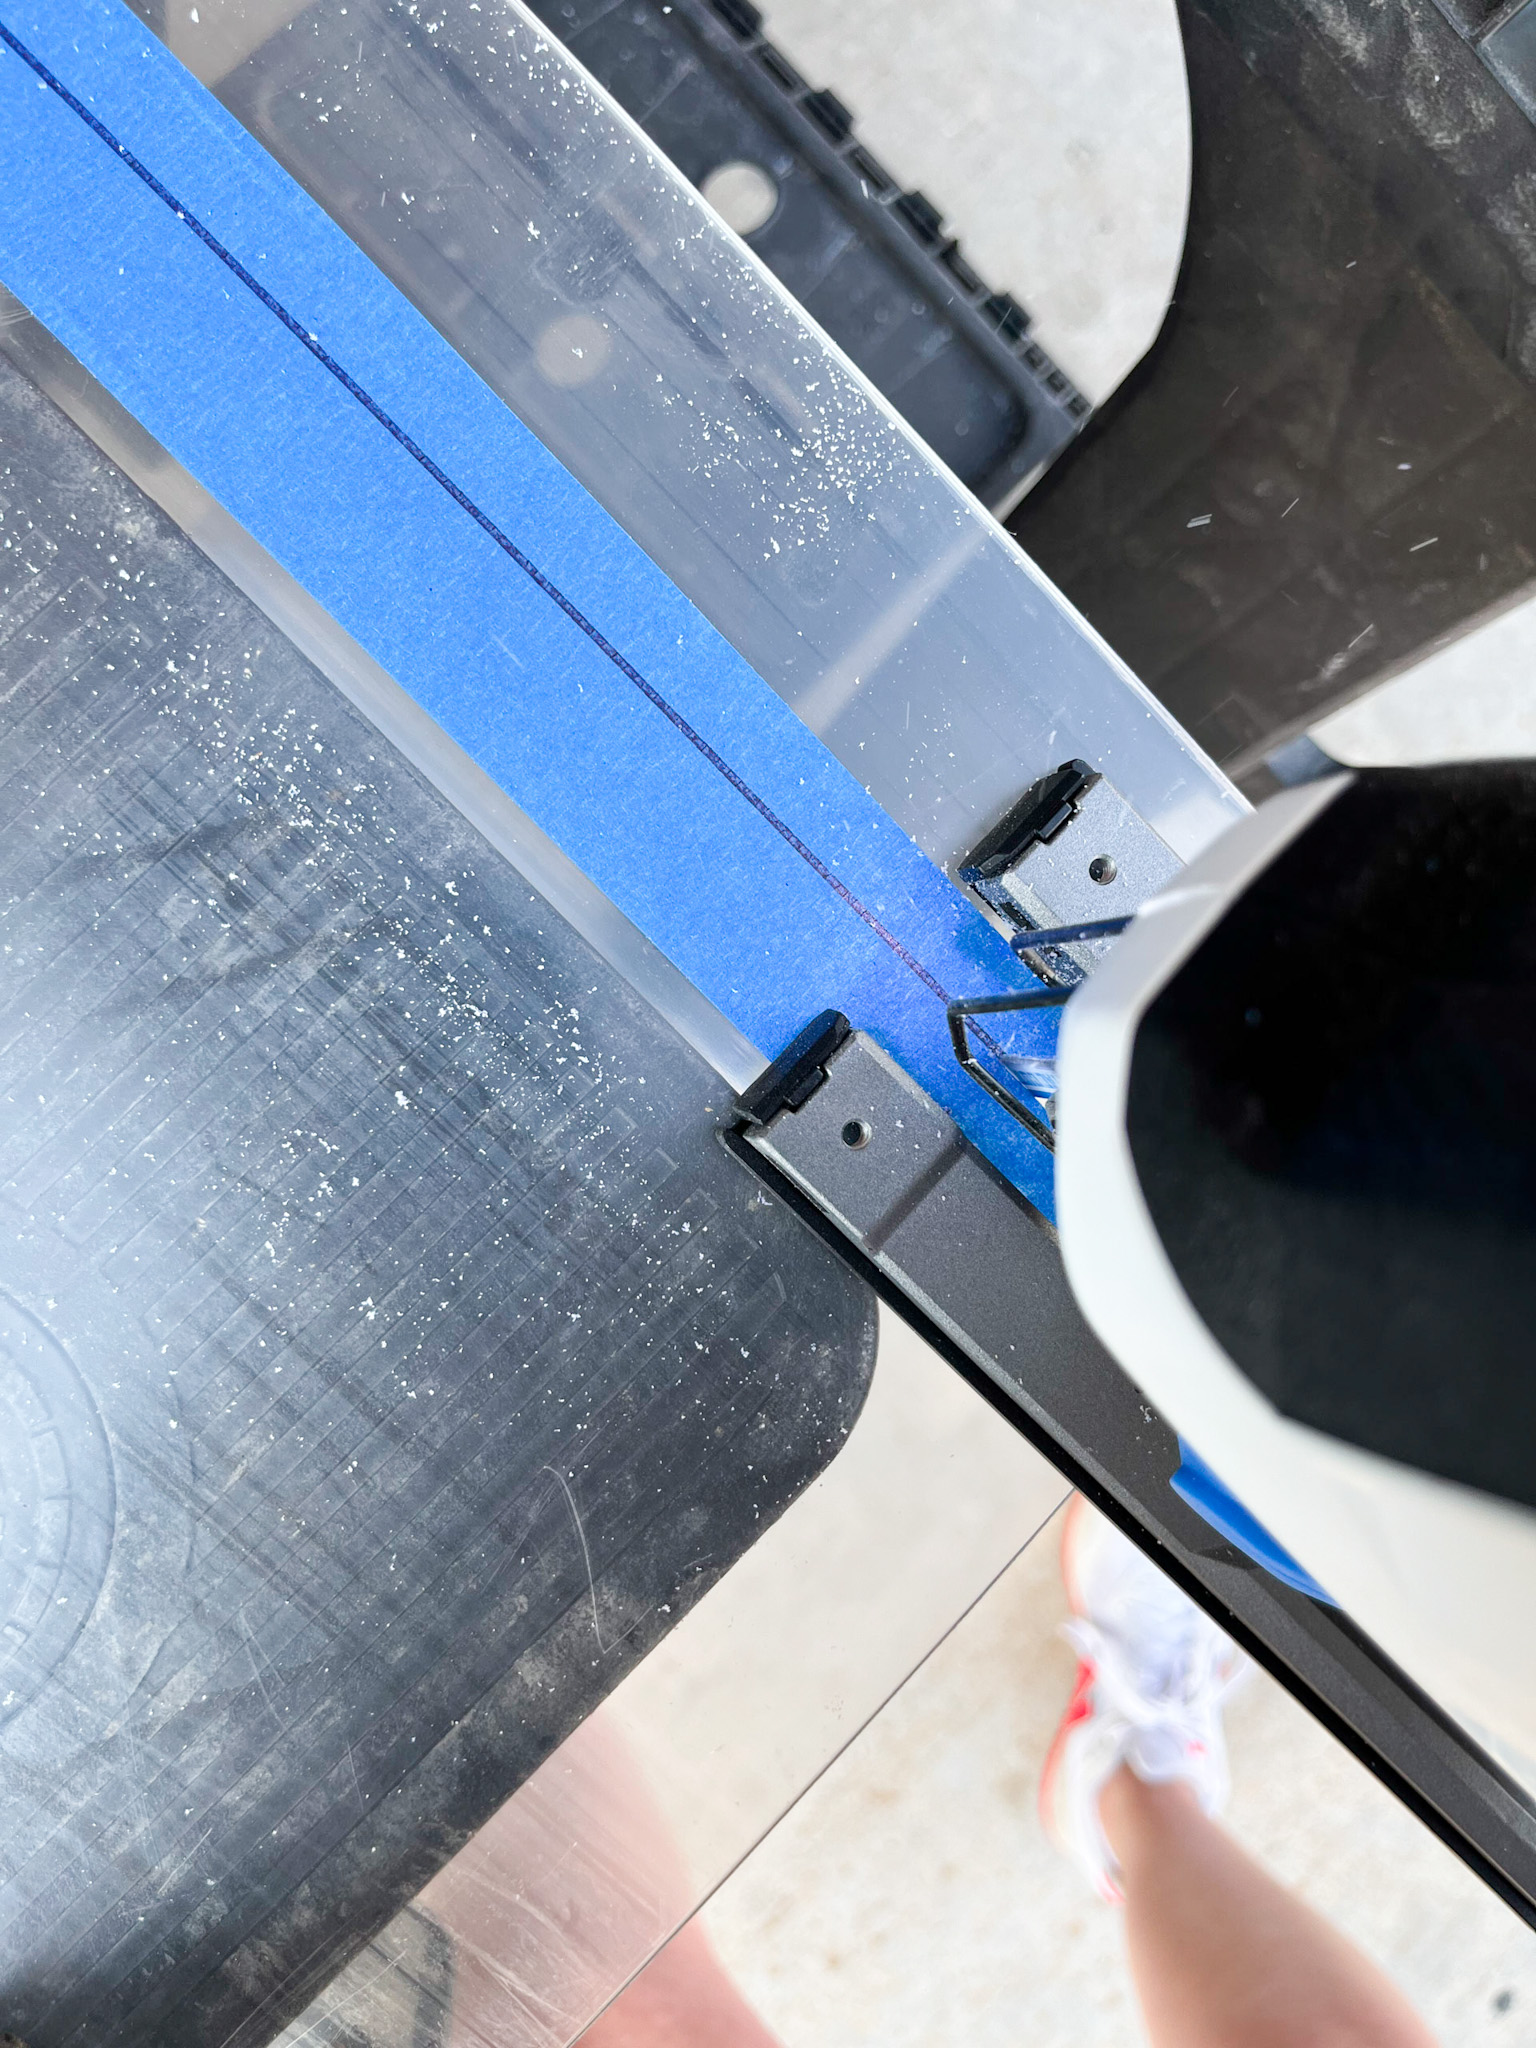
Before you cut, you will want to use painter’s tape along your cut line.
What I like to do is make my mark and then place the painter’s tape over the mark. You will be able to see your first mark under the tape. Mark again, this time over the tape. Using your level, draw a straight line so that you have a cut guide to follow.

After getting your marks made, you’ll want to clamp your plexiglass to your work table. This will prevent your plexiglass from moving around while cutting.
-
NOTE: This is VERY important. Not clamping your material down while cutting can result in serious injury.

At this point, you are just about ready to go. Be sure to wear your face mask, safety glasses and gloves when cutting.
Cutting Plexiglass
Time to cut! You’ll want to use a metal-cutting jigsaw blade. I know you probably think this sounds weird, you aren’t even cutting metal. The reasoning for this is that the metal cutting blade is a very fine-toothed blade that results in a smooth cut.
Be sure that you are cutting how you measured. If you accounted for your cut to be on the line, cut the line. If you accounted for your cut to be on the outside of your line, cut the outside of your line. Failure to do so will result in a shorter cut.
-
NOTE: When using a jigsaw it is important to go VERY slow and take your time. You can easily get off route while using a jigsaw which will result in an uneven cut. You will also want to turn OFF the oscillating function to help you get a straight line.

Drilling into Plexiglass
Once your cuts have been made, it’s time to drill your holes. Place a titanium bit into the chuck of your drill before starting. Titanium bits can drill through plastic, so they are great for plexiglass projects. Then you’ll follow the same steps as above. Start by marking your drill holes and be sure to use painter’s tape before drilling and GO VERY SLOW!
-
NOTE: DO NOT cut too close to the edge of your plexiglass. It is likely you will crack or damage the plexiglass.

Finishing
Your finishing steps will look different depending on what project you are working on. Either way, you can now remove the protective film.
For this project, I did a dry erase family calendar for our busy summer schedule. I used stand-off screws to secure the calendar to the wall and the plexiglass project was complete.
To see how I created the calendar grid plus a FREE design file, click here!

Shop These Tools & Materials


Follow me on Instagram for more DIYs, tips and tricks. Here you will find me in stories sharing live step-by-step tutorials, and you are the first to know what’s new and coming to the blog! Hope you see you there!
If you use any of these tips or tricks, I would love to see it! Tag me on IG @rusticrosehomestead or use #rrhdiy so I can share your work.
This post contains affiliate links. If you make a purchase through my links I will make a small commission the helps maintain this blog and fund Instagram projects. Thank you so much for your support!

Sponsored by HART Tools


Comments will load here