
Easy DIY Window Trim
Are you tired of the cookie-cutter look of your windows? Want to add some character and charm without breaking the bank? Look no further! In this step-by-step guide, I’ll show you how to add a custom window frame without any miter cuts. And the best part? You can do it all for less than $50 and play with several different styles.
NOTE: Prices will vary depending on local store prices, the types of wood you are using, and the amount you will need. The best way to determine how to complete this project within your budget is to measure your window to know exactly what you need. Shop online and search for any of these categories: MDF board, interior trim, common pine boards, or enter in the size of board you need and shop which piece of wood you would like to use. Add to the cart and shop until you can find the material needed to fit your budget.
Why Custom Window Trim?
In today’s homes, charm and character can often be lacking. Unless you’re building custom, you might have bare-bones windows lacking personality. But fear not! With some simple materials and a little bit of know-how, you can completely transform the look of your windows with trim pieces and give them that high-end finish without the high cost.
I will be adding crown molding for this project in my daughter’s room (stay tuned for a blog post on the easiest way to do crown molding without the hard math and angles). I felt the existing window was too small, and the crown molding would make it look even smaller. I wish we would have done a larger window, but we went with smaller windows instead. Because we can’t go back now, let’s make this smaller window appear bigger!
This post contains affiliate links. If you purchase through my links, I will make a small commission that helps maintain this blog and fund Instagram projects. Thank you so much for your support!
Materials You’ll Need:
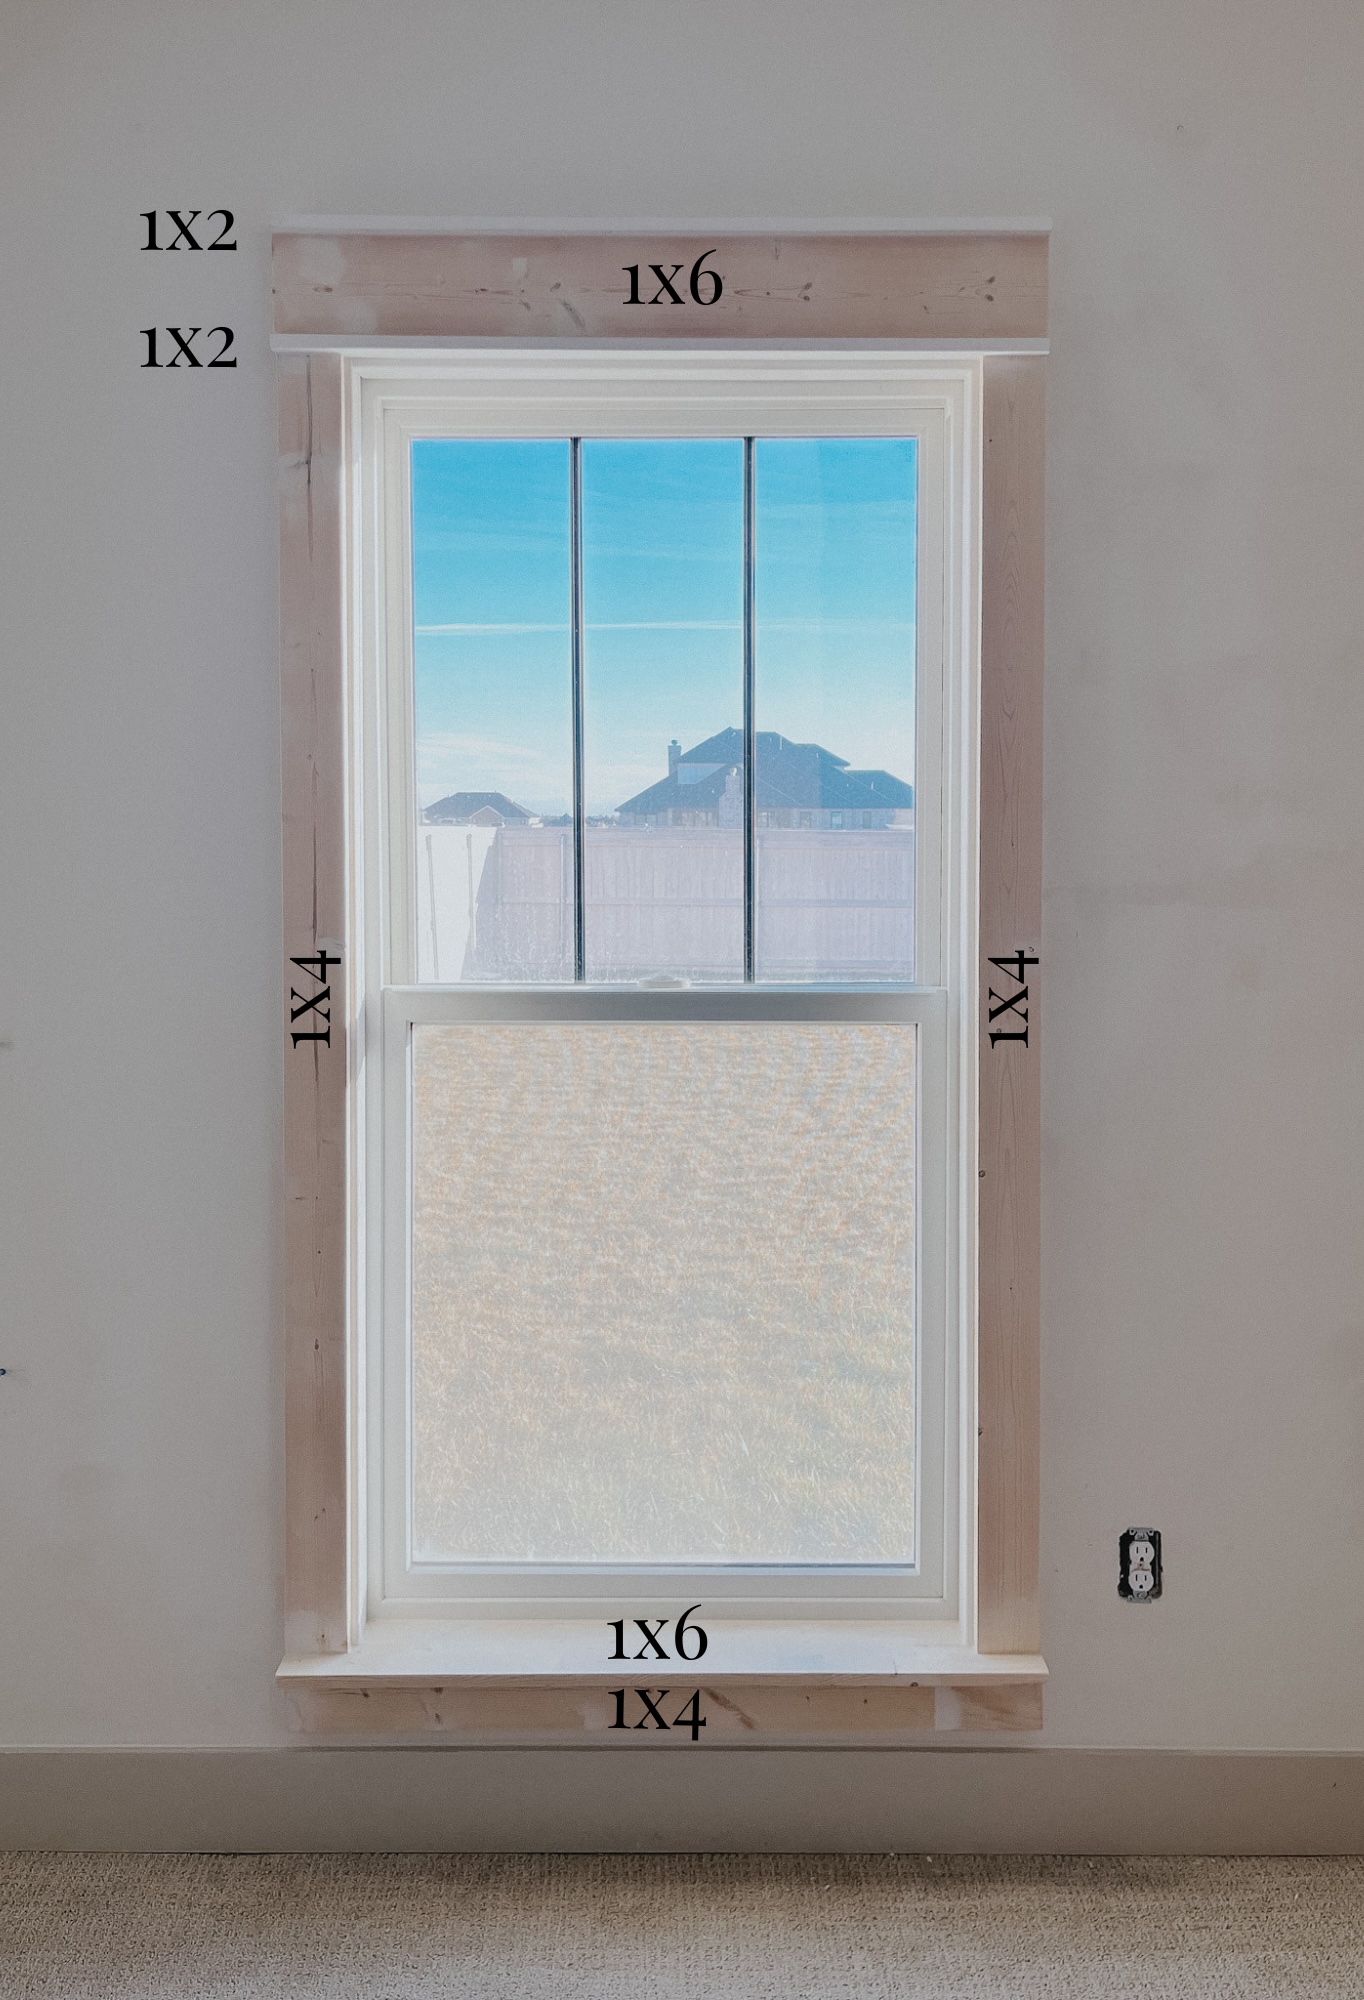
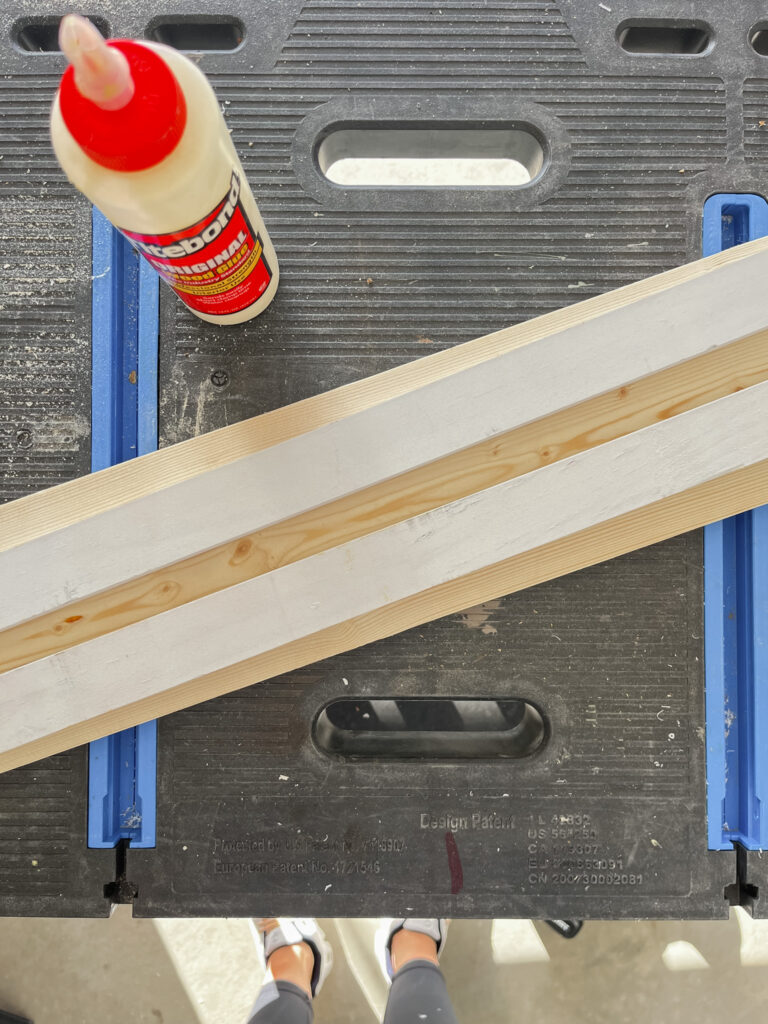
- 1×2, 1×4, 1×6 common board
- Miter saw
- Jigsaw
- Nail gun
- Sander
- Wood filler
- Paintable caulk
- Level
- Stud finder
- Nail setter
Step-by-Step Guide:
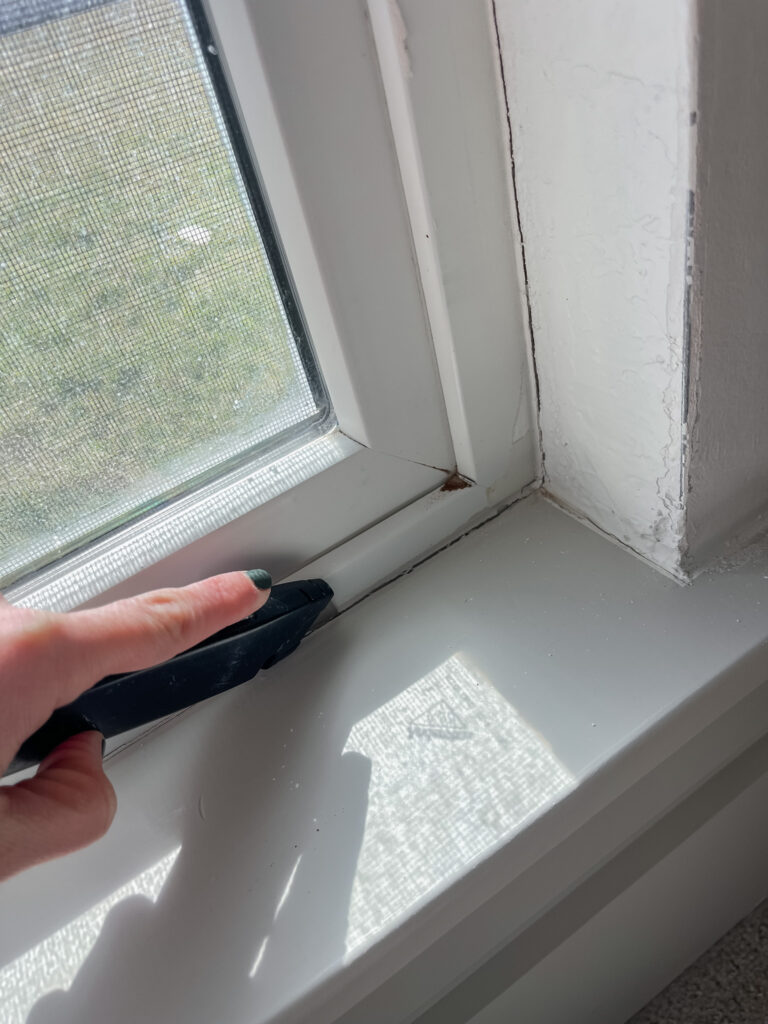
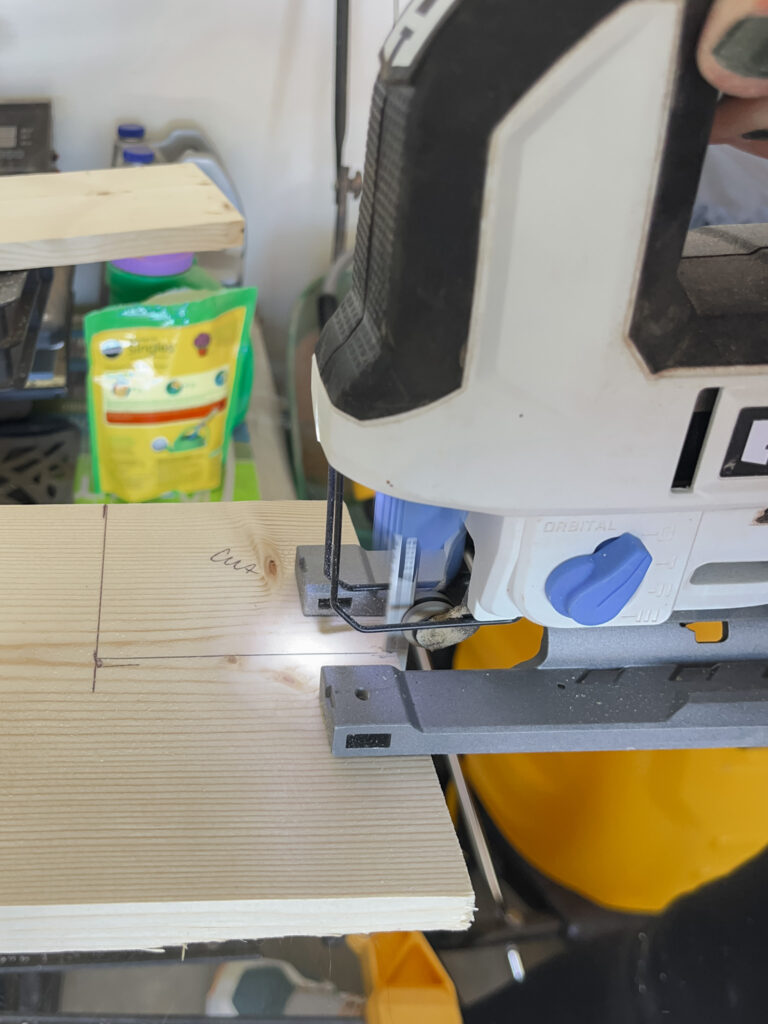
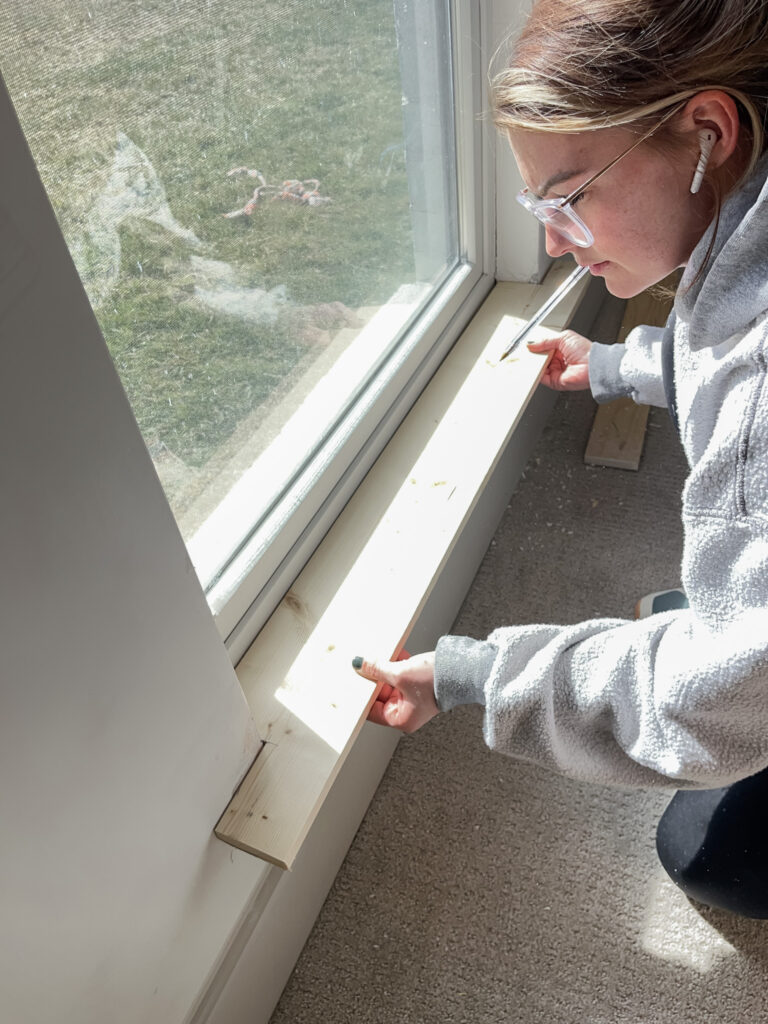
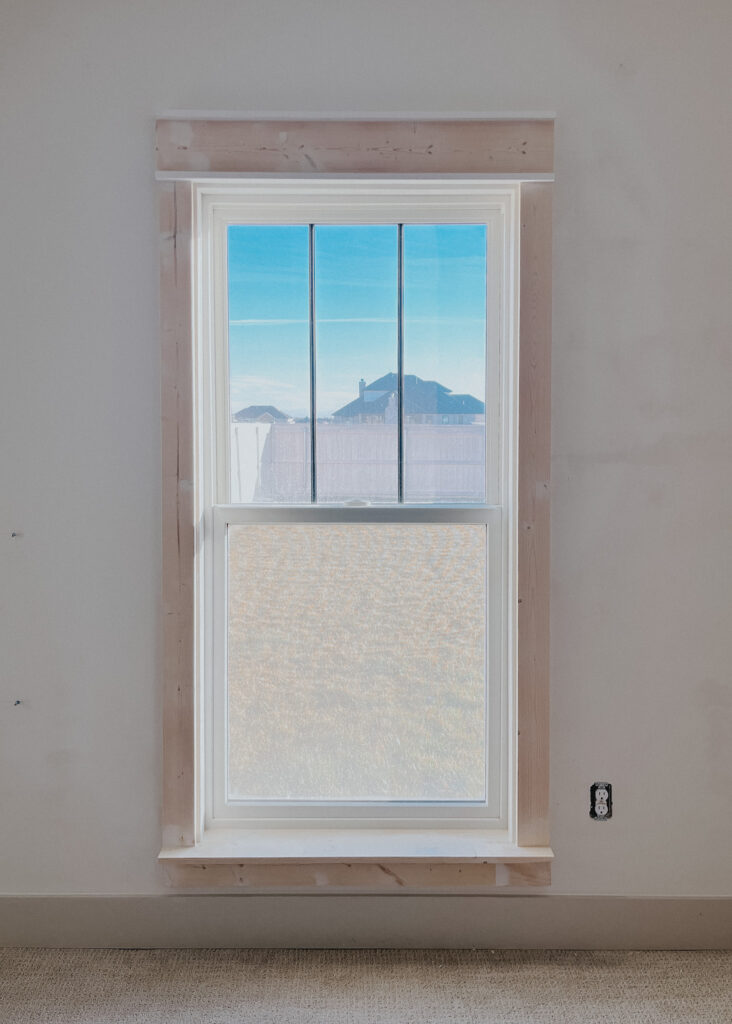
1. Prepare the Window Sill: If you already have a window sill, you may need to remove it using a pry bar or hammer and make a new one, depending on the size it is and the size you need. You can make it wider and longer to suit your design. Otherwise, measure the width of your window opening plus about 10 inches to leave an excess of 5 inches on each side. Use a jigsaw to make the cuts, then dry fit it to ensure it fits perfectly. The window sill must be level to ensure the side casings and frame pieces have a good base.
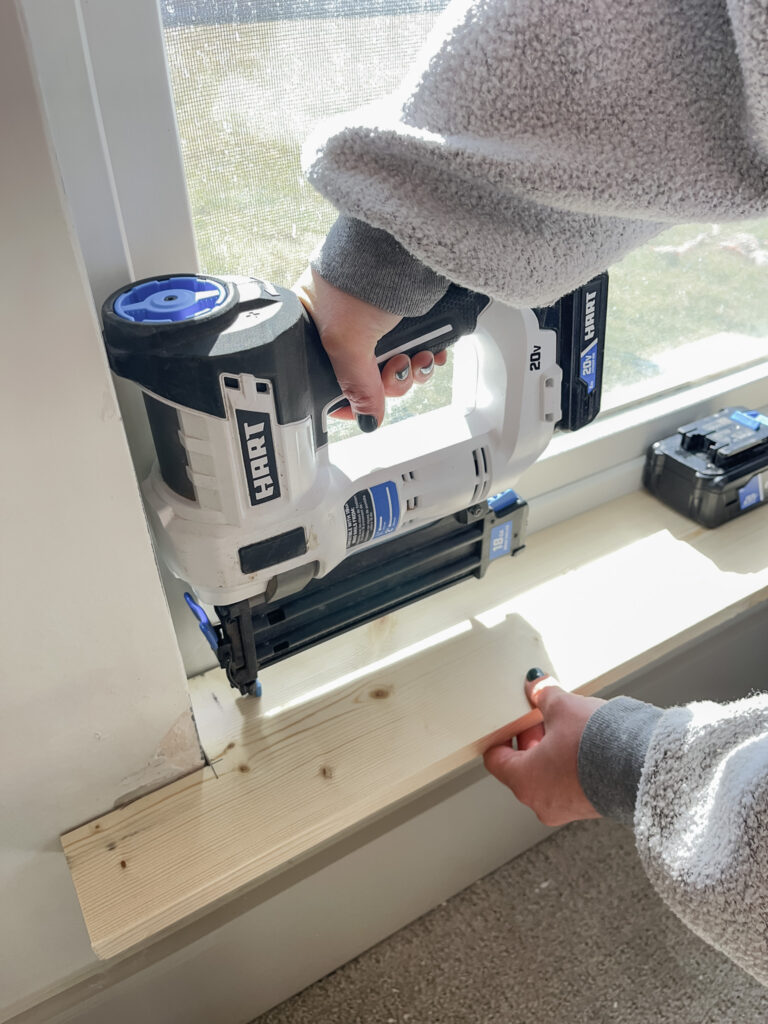
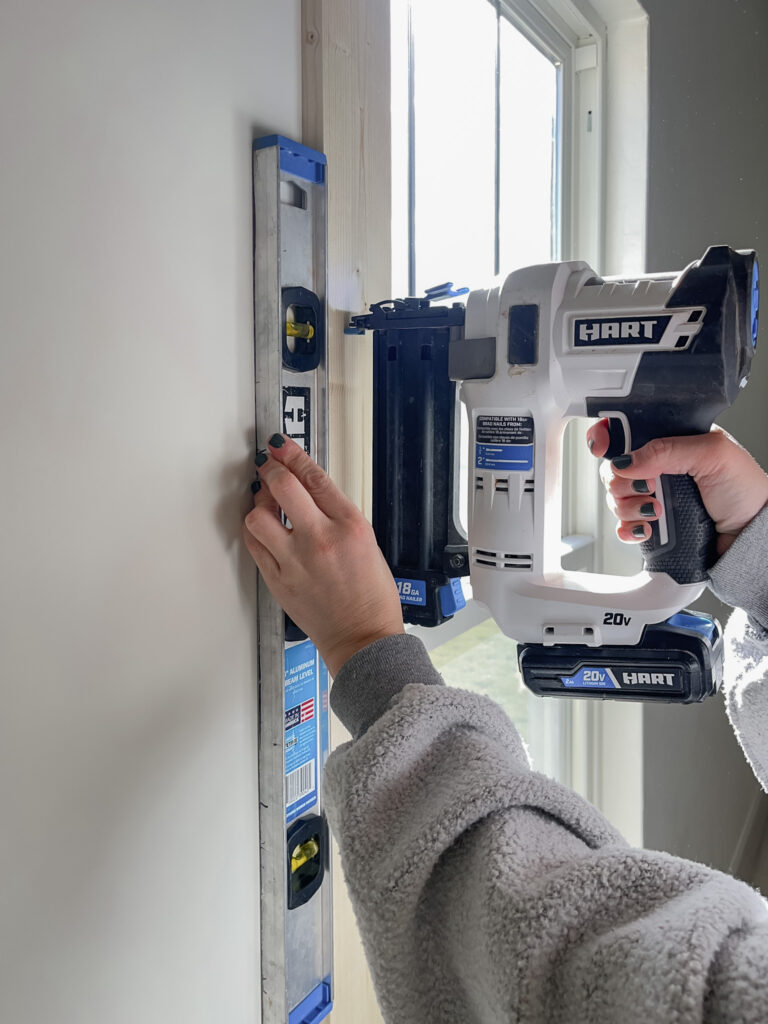
2. Install Side Pieces: Measure and cut your 1×4 boards to size, ensuring they reach the top of the window casing on each side of the window. Double-check measurements on both sides to ensure they’re even. Use a level and stud finder to secure them into the studs.
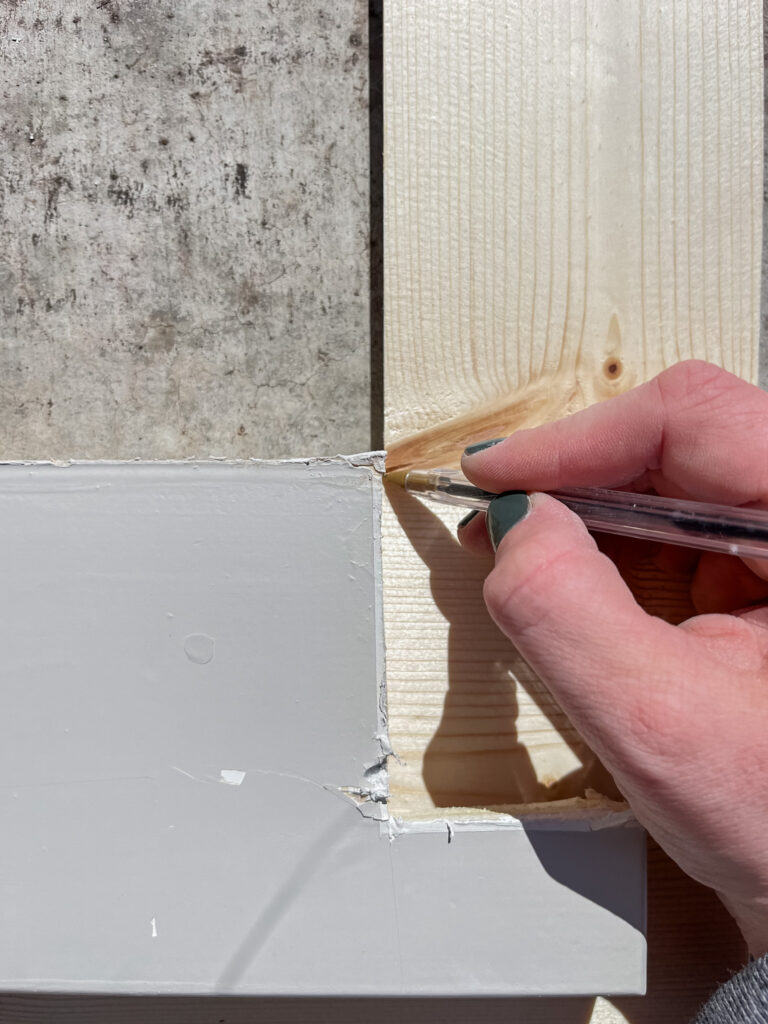
NOTE: The first thing you need to look at before installing side pieces is to examine the interior window casing. You may need to install a side casing piece on each side of the window. This is based on the condition of your inside window casing. The inside of my windows was not in good condition, which was a huge ordeal with our builder. He didn’t want to fix their mistake, so I am doing it myself. Adding inside casing was my best option for clean lines and a smooth finish.
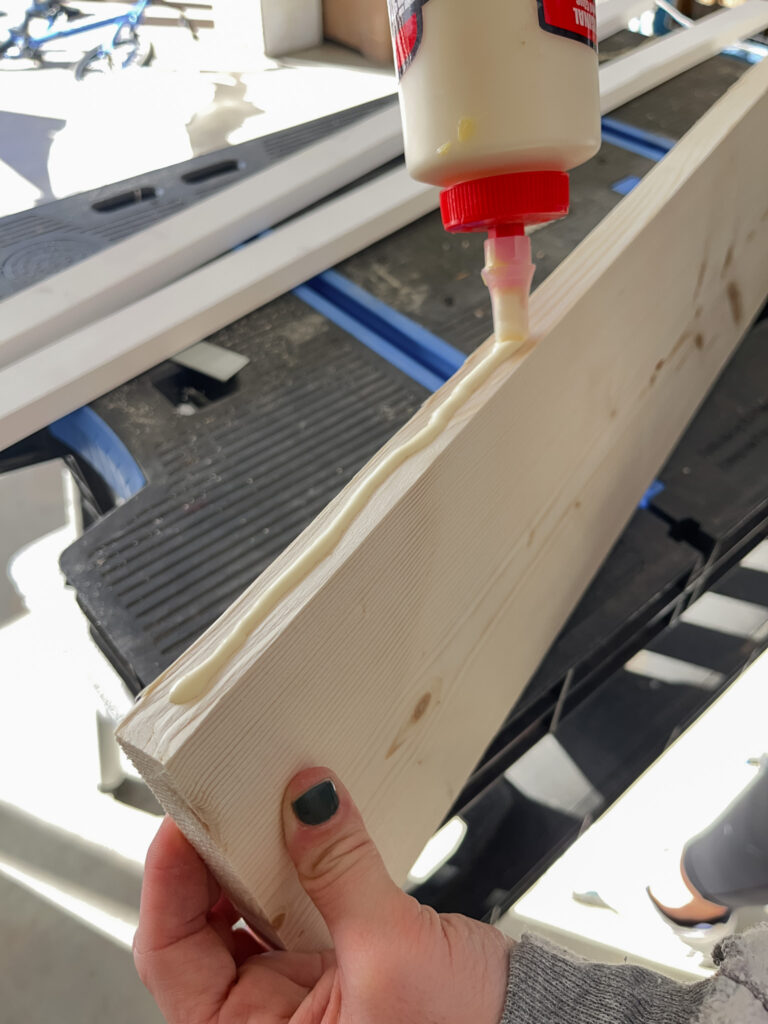
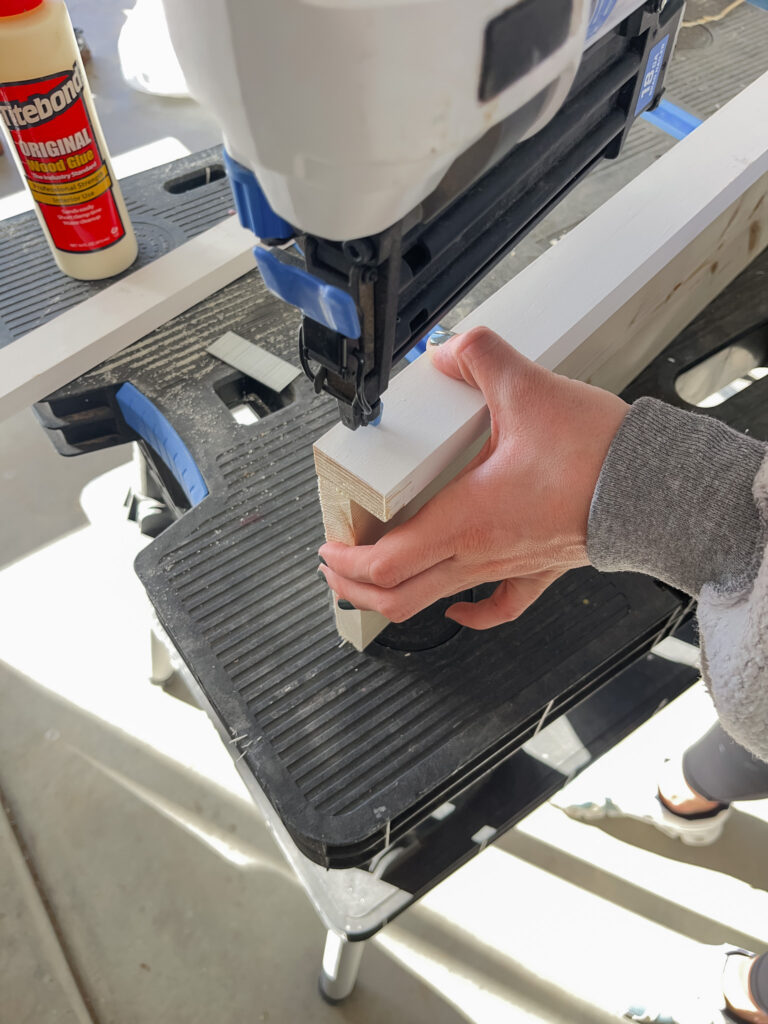
3. Build the Header: Grab your wider boards, and cut your 1×6 to the same length as the window sill and two 1×2 pieces to match. Glue the 1×2 pieces to the top and bottom of the 1×6 to create the header. Place it on top of the side pieces and ensure it’s level. This gives you a crown molding look without having to pay the price for crown molding. This also eliminates the use of complicated miter cuts.
4. Add the Apron: Finish the frame by adding a 1×4 apron under the sill for a clean, cohesive look. You want to make this the same length as the frame, measuring from the outside edge of the side pieces.
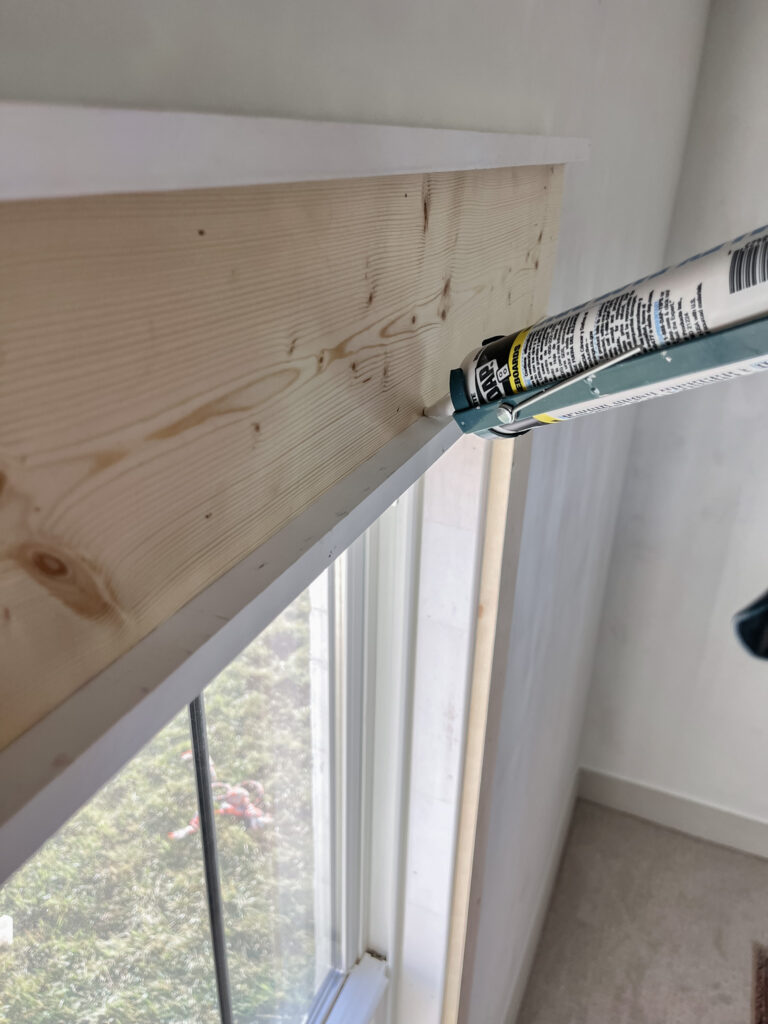
5. Fill and Caulk: Use wood filler to fill any knots and nail holes and paintable caulk to seal any gaps. Set all your nails for a professional finish. This is my favorite nail-setting tool!
6. Paint: It’s time to paint once everything is dry! Choose a color that complements your décor and gives your windows the perfect finishing touch. This is where you get to be creative and do something different from plain white paint. For this room, I am using the color Rosemary by Sherwin Williams. For a more neutral look, I love the color Accessible Beige by Sherwin Williams.
NOTE: When painting trim colors in different rooms, embracing versatility and individuality is important. Each room in your home has its own unique personality and purpose, and your choice of trim color can play a significant role in enhancing that ambiance.
Instead of feeling confined to a single color scheme for all the trim in your house, consider the distinct characteristics of each room. Let the function, decor, and desired atmosphere guide your decision-making process.
Remember, your home is a reflection of your individual style and taste. Embrace the opportunity to express yourself creatively through your choice of trim colors. Whether you opt for a cohesive color scheme throughout or prefer to mix and match for added visual interest, the key is to create a space that feels uniquely yours.
So, the next time you’re faced with the decision of selecting trim colors, think beyond the confines of uniformity. Let your imagination run wild, and don’t be afraid to inject a touch of personality into each room. After all, it’s these personal touches that transform a house into a home.
Final Thoughts
A good trim project is my favorite way to add charm to our newly built home. Sure, I could have opted for the builder to handle it before moving in, but let’s be honest—that would’ve come with a hefty price tag. One of the things I love about older homes is their charm, something that newer builds often lack. That’s why I’m excited to share this simple yet impactful DIY project with you.
This isn’t just about framing the window. It’s just the start of a complete toddler room makeover for my daughter. Going from a baby nursery to a fun and functional toddler space—a room that started out with nothing but baseboards. Now, with the window framed out, it’s time for the next phase. Adding crown molding for some extra flair and depth to the room’s design. And as for the colors, I’m going with a two-tone palette, painting the trim and doors rosemary green and the walls evergreen fog. I can’t wait to see how it all turns out!
But enough about me—let’s talk about you. If you are as eager to see this room transformation as I am, come join me on Instagram. There, you’ll find in-depth how-to videos and sneak peeks of the room as it evolves. From framing the window to painting the room, every step of the process will be documented step by step for your enjoyment. Plus, you’ll gain exclusive access to all the behind-the-scenes action, including those tiny details that make all the difference.
So what are you waiting for? Head to Home Depot or your local home improvement retailer hit that follow button, and join me as we embark on this exciting journey together. With just a few simple materials and a touch of creativity, you, too, can turn any space into a space in your home that you love looking at. Stay tuned for updates, and let’s make some magic happen!
This post contains affiliate links. If you purchase through my links, I will make a small commission that helps maintain this blog and fund Instagram projects. Thank you so much for your support!


Comments will load here