

This post contains affiliate links. If you make a purchase through my links I will make a small commission the helps maintain this blog and fund Instagram projects. Thank you so much for your support!


I got a little too excited and started taking apart the dresser before I got a good before photo so…. this is the best it gets lol. You get the gist, right?
This dresser has been in our family for a VERY long time. I wanted to give it a new life, so here we go. Let’s get started!

I started by sanding it down smooth using my orbital sander, which was the hardest part. There were SO many layers to this piece. I had no idea it had been painted so many different colors. I found pink, blue, white and black. Every time someone refinished this dresser before me, they painted over the last paint color. I decided to strip it down and start new.
For sanding tips and tricks on how to strip your furniture and get a perfectly smooth finish, check out my blog post “Sanding Tips and Tricks”.
After sanding it all down I took a step back to look at this piece in its natural state. I decided I didn’t love the bottom and it didn’t fit the aesthetic of our master bedroom. I removed the bottom piece, and using my jigsaw, I decided to cut a majority of the wood off. After cutting the bottom down to one horizontal piece, I reattached it and the dresser instantly looked better.
-
HELPFUL TIP: When redoing any piece of furniture, changing the legs, or base of the piece can completely transform the look. Before buying any legs, see if you can cut down on what is already there.
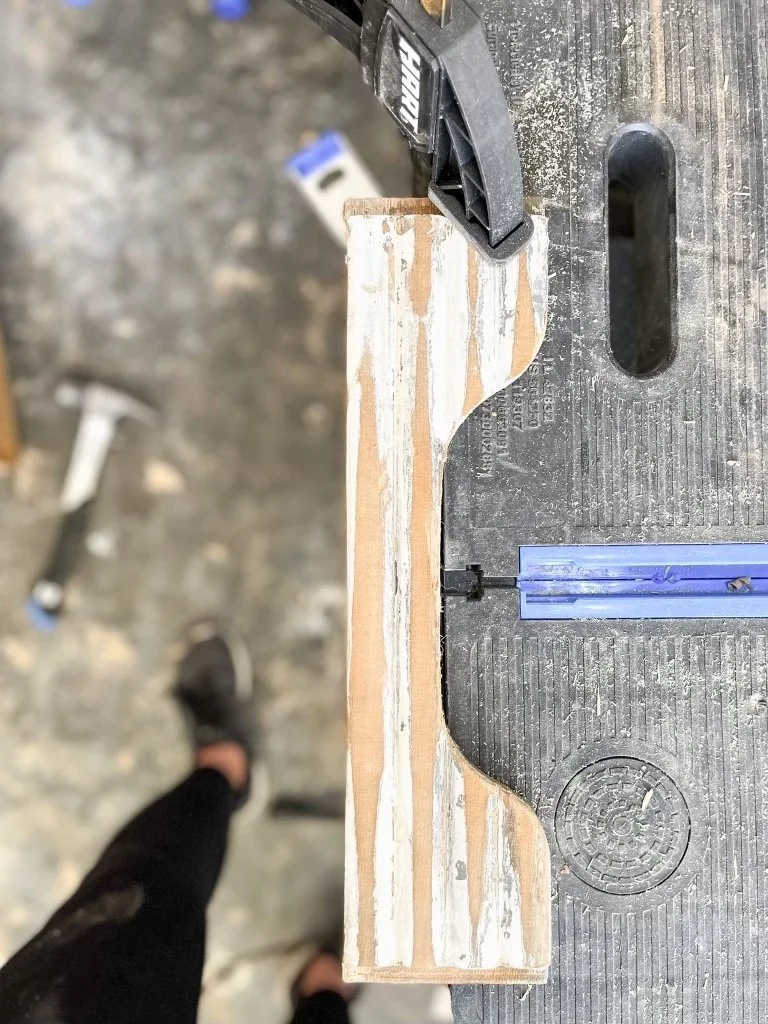

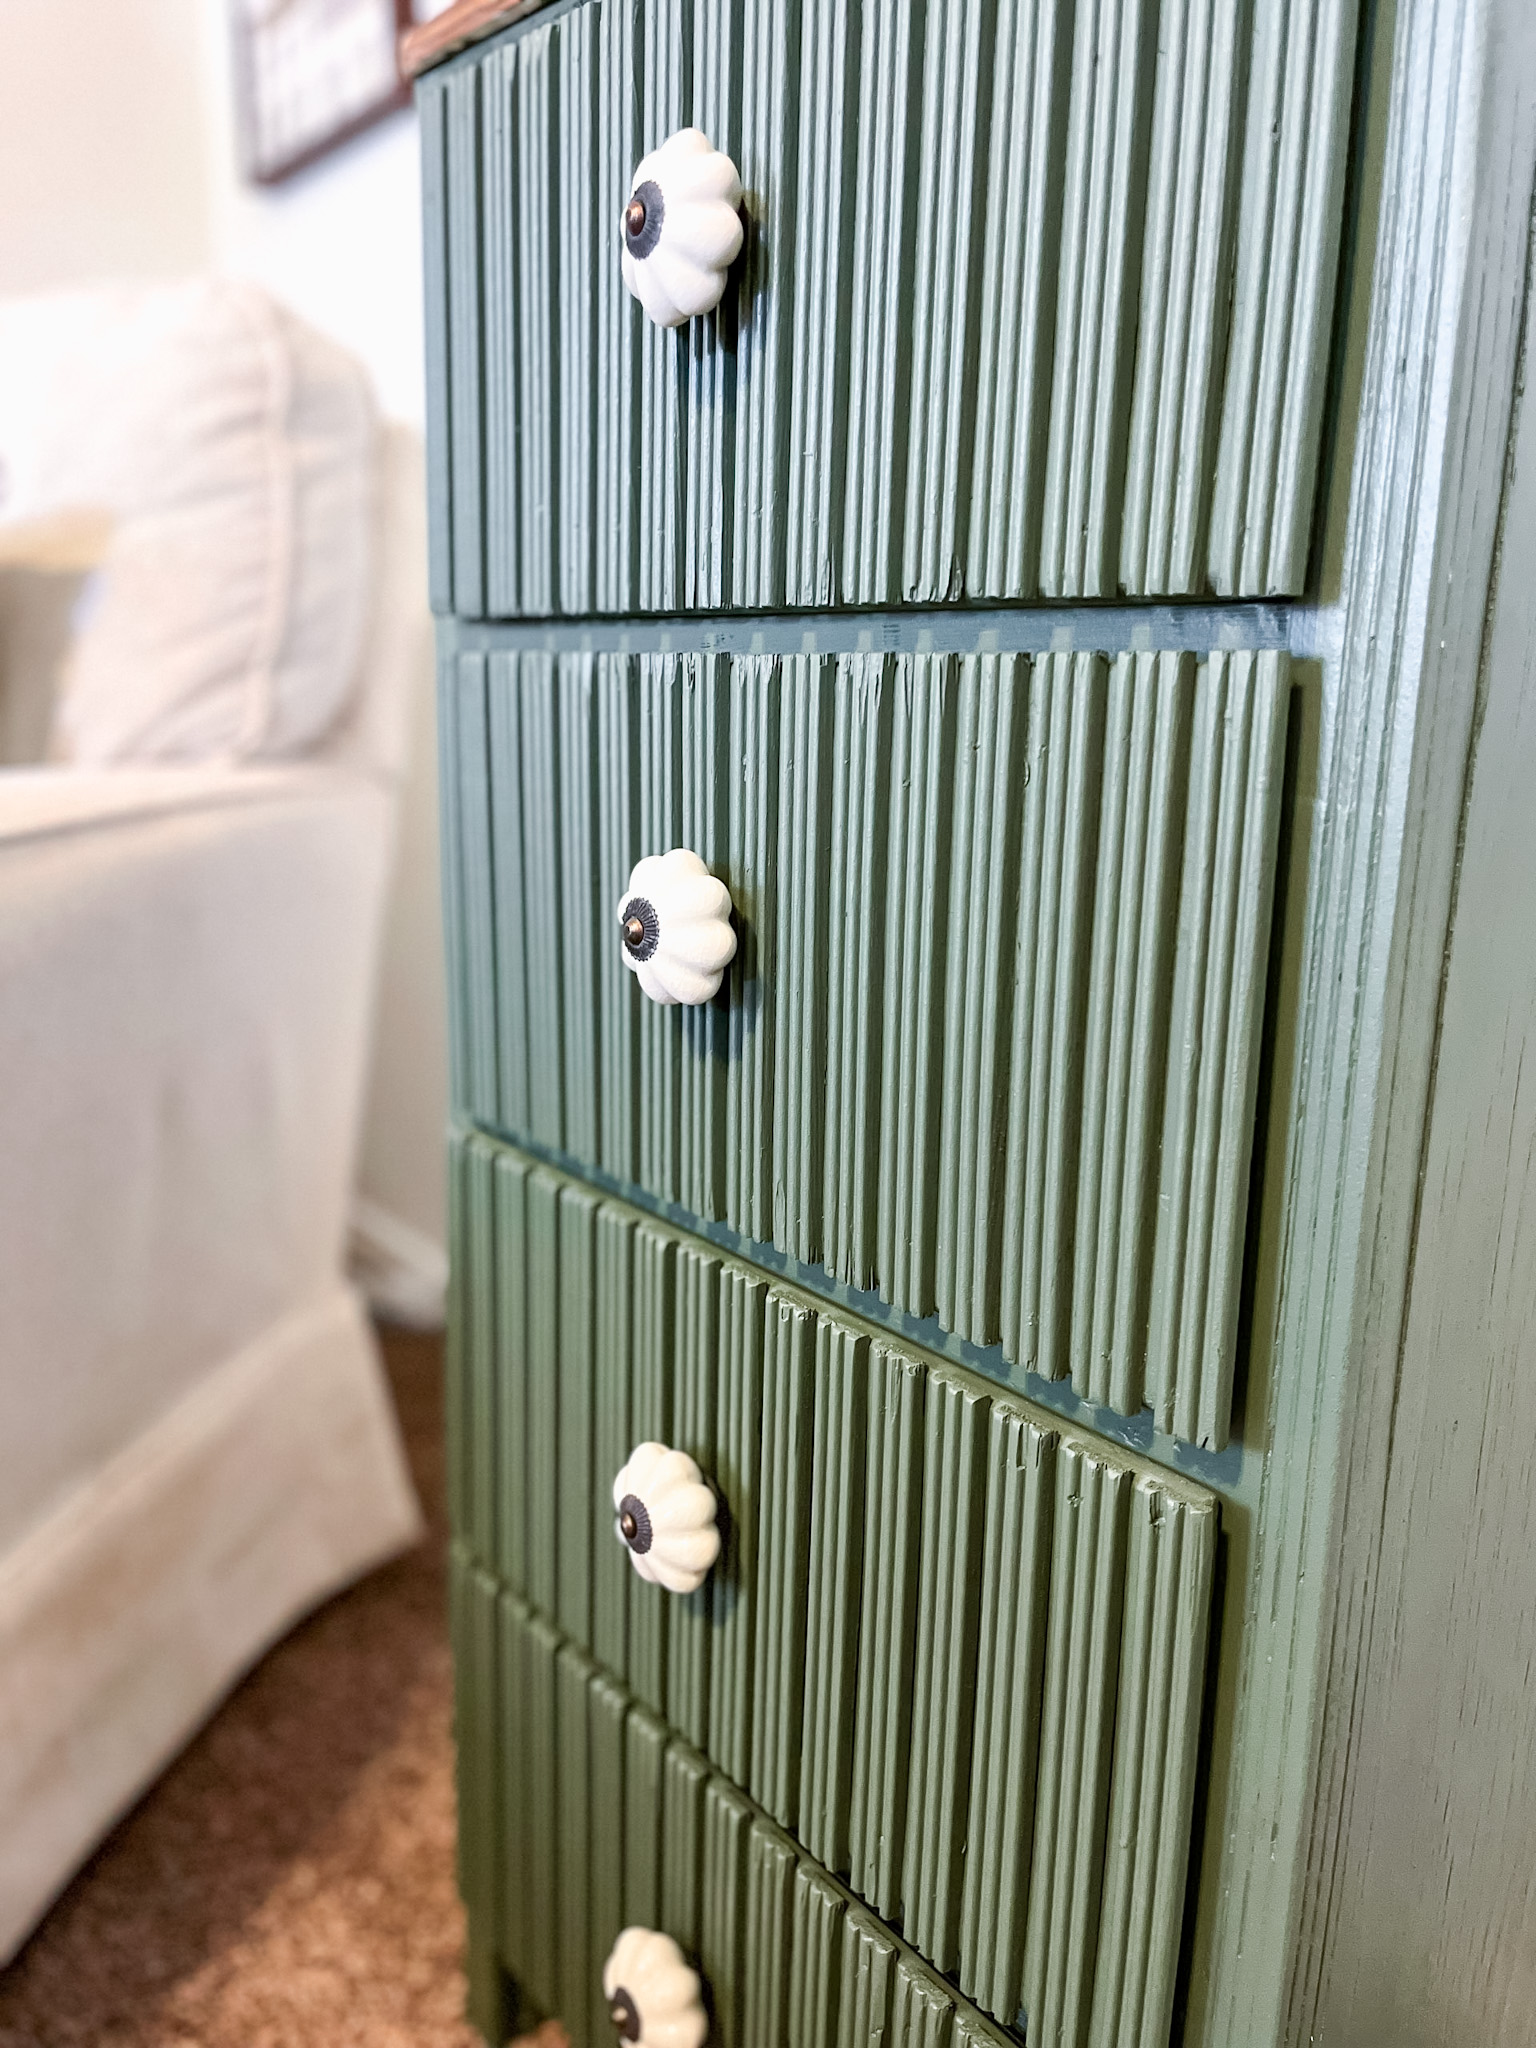
I am obsessed with the fluted trim look but I wanted to put a little twist on it, so I decided to go with a fluted trim detail with a space between each one. After I got the piece sanded, I cut down my trim pieces. The easiest way to cut each piece so that they are the exact same size is to batch cut and set up a stopper on your miter saw so you don’t have to measure each time. I will have a full blog post coming on how to easily cut batch pieces, so be sure to come back and stay tuned. Until then… let me quickly show you what I did.
-
Measure and mark your first piece
-
Set up your stopper by placing your trim piece on your miter saw to see where each cut needs to be made.
-
Make our first cut to ensure the placement is correct
-
Grab all your trim pieces, push the end all the way to the stopped and start cutting.


After I got each trim piece cut, I used a level to line up my first piece and secured it to the front of the drawer using a nail gun. Once the first pieces were lined up correctly, I grabbed a very small scrap piece of wood and used it as my spacer. This allowed me to secure each piece of trim very quickly while also ensuring each space was the exact same width.

Once all the trim pieces were secure, it was time to fill in the holes using wood filler and sand down one more time. Once prepped and ready, I began to paint. For this project, I used the color Rosemary Green by Sherwin Williams. I’M IN LOVE!!! literally, I love this color, and it’s all over my house now. No regrets!

Once dried I added these cute vintage-inspired knobs I found at Hobby Lobby, to finish the look!
-
NOTE: If you go to Hobby Lobby and these knobs aren’t 50% off, wait another week. Every other week Hobby Lobby will rotate what goes on sale, so they will certainly be on sale the next week!

Now I have this beautiful, well-loved piece in my own home. Even more good news is, whoever decides to redo this dresser only has to sand through ONE layer of paint… you are welcome to who that may be! lol

Shop These Tools & Materials


Follow me on Instagram for more DIYs, tips and tricks. Here you will find me in stories sharing live step-by-step tutorials, and you are the first to know what’s new and coming to the blog! Hope you see you there!
If you use any of these tips or tricks, I would love to see it! Tag me on IG @rusticrosehomestead or use #rrhdiy so I can share your work.
This post contains affiliate links. If you make a purchase through my links I will make a small commission the helps maintain this blog and fund Instagram projects. Thank you so much for your support!


Comments will load here