This post contains affiliate links. If you make a purchase through my links I will make a small commission to help maintain this blog and fund Instagram projects. Thank you for your support!
Would you rather detail your car yourself or pay someone else to do it? Taking your car to get detailed can be time consuming and expensive. Which is why I’d rather invest in the tools to do it myself. This saves so much time and money. With three kids, who even has time for that? Not me! So if you are down to DIY, let me show you my favorite tools to get the job done.
Tools
Material List
How To Detail Your Car
-
Start by taking everything out of your car. That means car seats, sunglasses, change, everything!
-
If your car is really dirty, or you have a lot of pet hair, start by vacuuming out your car using your 16 Gallon 6 Peak HP Poly Wet/Dry Vac
-
For smaller messes, use your 20V 2 Gallon Wet/Dry Vac.
-
TIP: This is small and compact enough to leave in the back of your car. It’s also cordless and perfect for on the go messes. If you have children, this is a must!
-
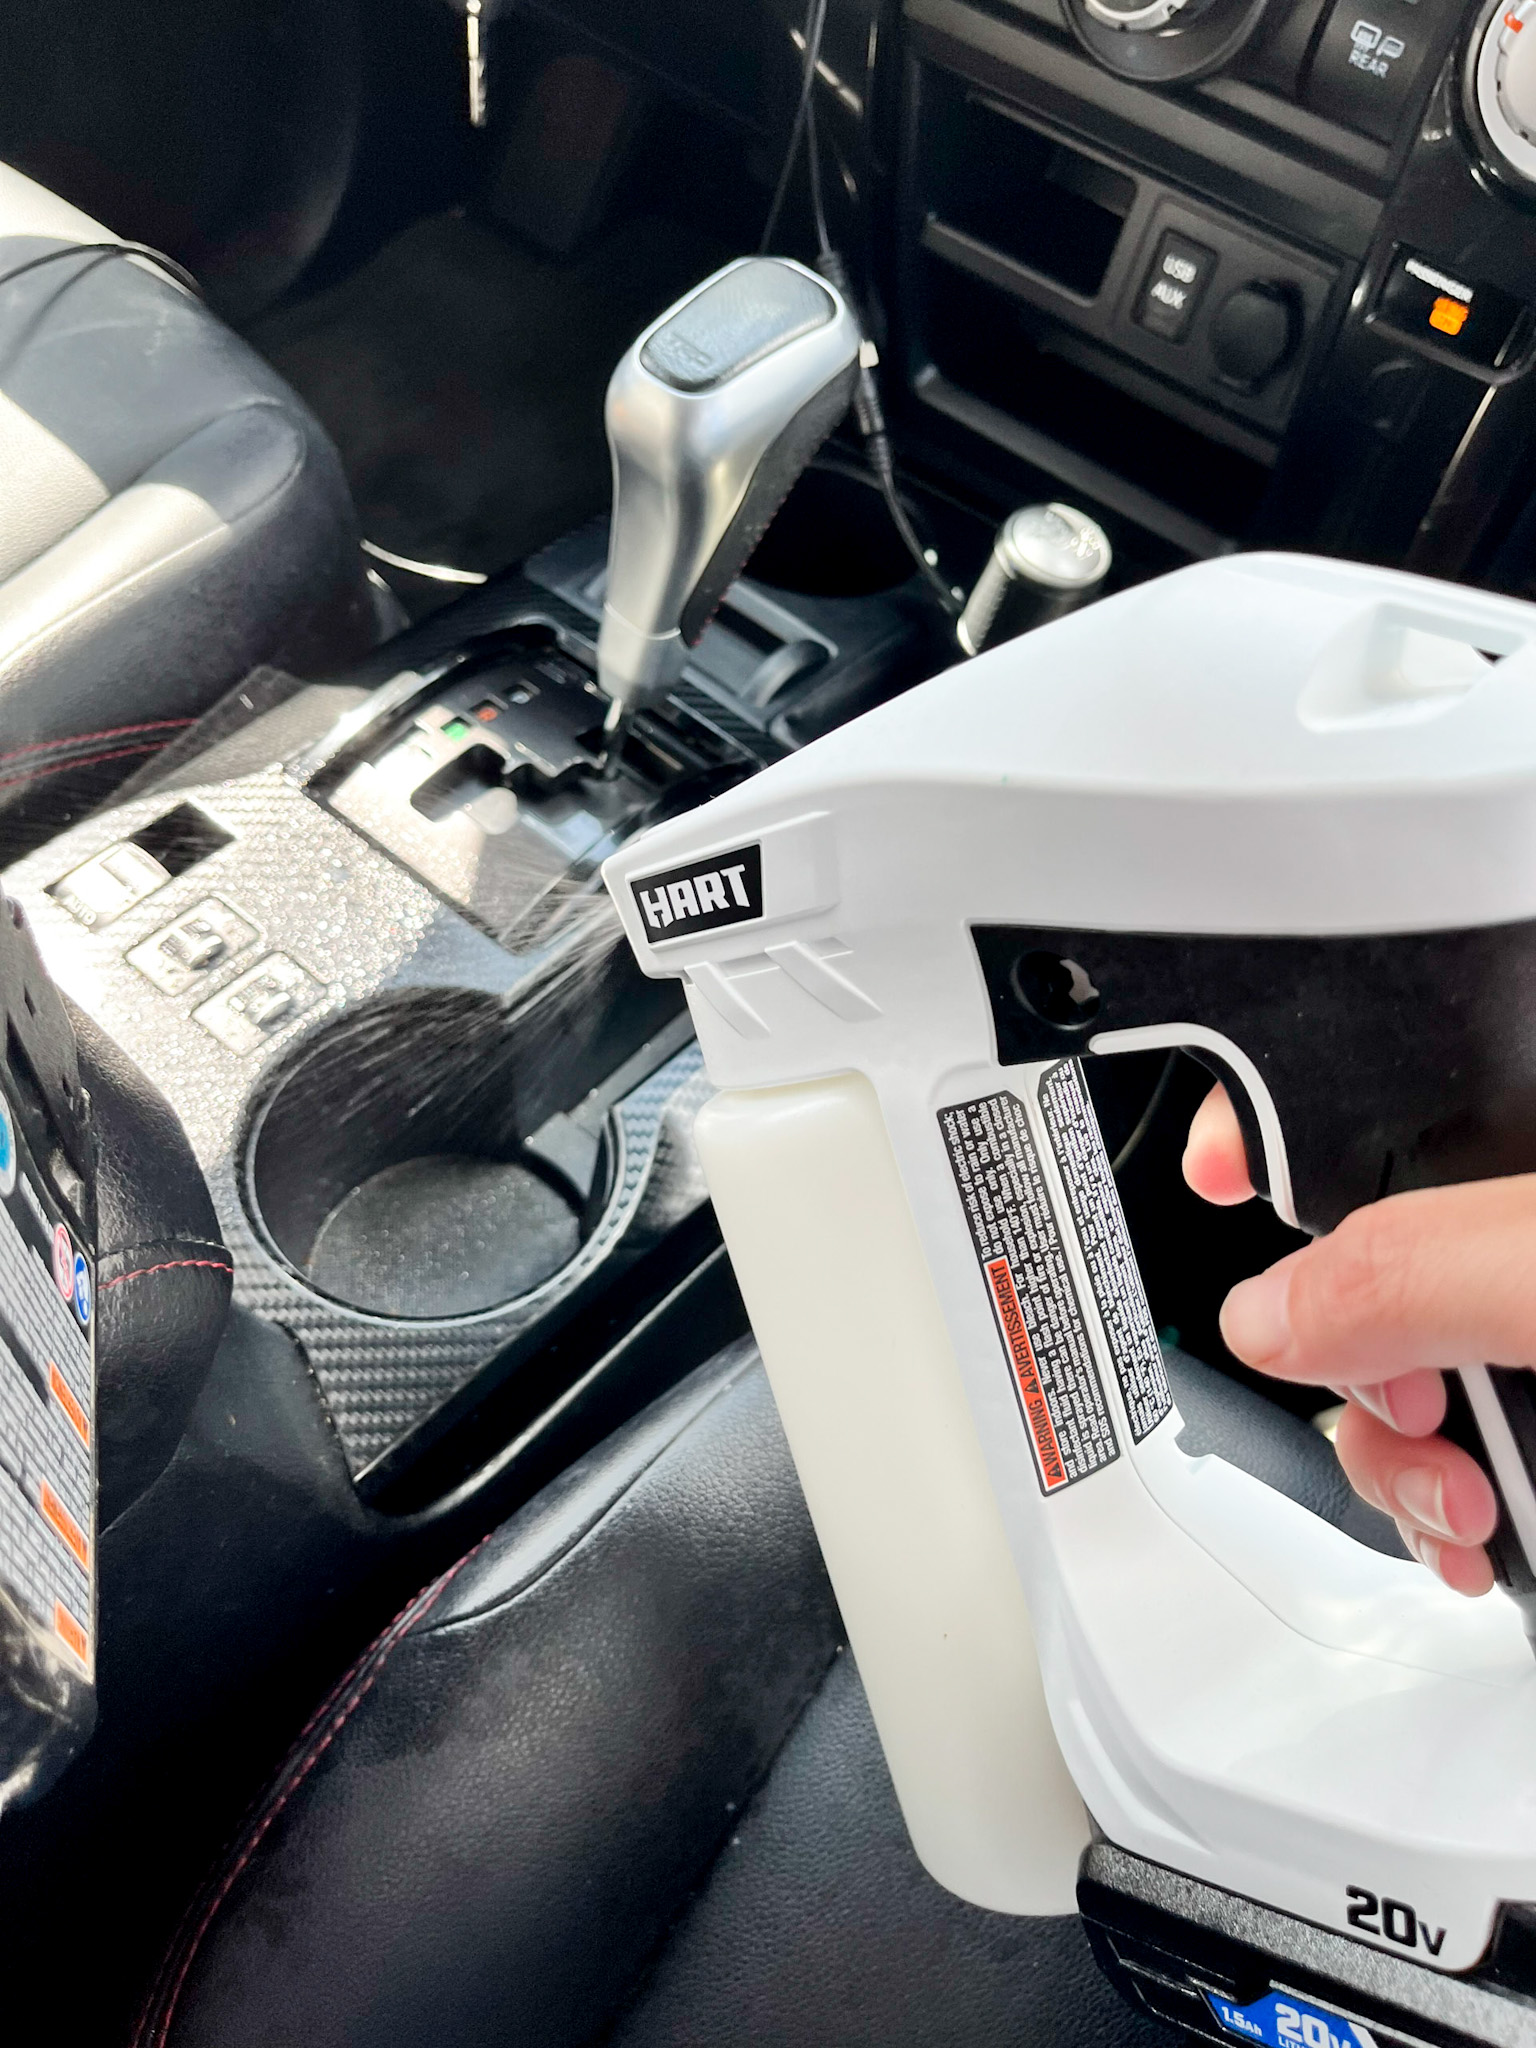
4. After you have vacuumed the entire car, its time to spray it down and start cleaning all the hard surfaces such as your dash board, middle console, any areas in the truck/back seat etc.
-
TIP: I love using this 20V Power Sprayer . It has a great pressurized spray and even coverage unlike the spray nozzles in the standard plastic bottles.
-
For areas such as cup holders and air vents, I use my 3 Piece Multi-Purpose Cleaning Set on the end of my 20V Cordless Drill/Driver and it gets into all the hard to reach areas.
5. Now that everything is vacuumed and cleaned, let’s work on the seats! I have leather seats, so I like to clean them using Meguiars Gold Class Rich Leather Cleaning and Conditioning Spray and a Scotch-Brite 3-in-1 Microfiber Cleaning Cloth. This is an all-in-one leather treatment that cleans, conditions and has UV protection. It also has a leather smell that leaves your car smelling brand new.
6. Time for windows! These E-Cloth Window Cleaning Microfiber Cloth Sets are the best. Just add water, no additional cleaner is needed.
-
TIP: Although additional cleaner is not needed, I started using Rain-X 2 in 1 Glass Cleaner + Rain Repellent because……kids, they are a mess! The amount of things thrown on my windows is ridiculous. This helps for easy on the go clean up.
7. Last but not least, the carpets! These are bound to get dirty no matter how hard you try to keep them clean. Rubber washable mats are so much easier to keep clean, but if you have carpet like I do, this spot cleaner comes in handy.
-
TIP: Pretreat any stains with Folex then load your spot cleaner with water and a cap full of Pet Carpet Cleaning Formula to get all those tough stains out.
8. Add some car fresheners of choice and you are all set! Now your car is looking brand new and you didn’t even have to leave the house.
Storage
To stay organized, I like to keep all my cleaning car detailing supplies in my 18” Rolling Tool Bag. It has wheels so that it can easily be moved around the car while cleaning. It has several pockets to keep everything organized and a wide open top so that you can easily see anything you need while cleaning.
I also keep my 12” Tool tote in the back of my car to hold my jumper cables, an extension cord and some car safety items I don’t want loose in the back.
All DONE!
Shop These Tools & Materials
For a quick video look into this car detail, click here!
Follow me on Instagram for more DIYs, tips and tricks. Here you will find me in stories sharing live step-by-step tutorials, and you are the first to know what’s new and coming to the blog! Hope you see you there!
If you use any of these tips or tricks, I would love to see it! Tag me on IG @rusticrosehomestead or use #rrhdiy so I can share your work.
This post contains affiliate links. If you make a purchase through my links I will make a small commission the helps maintain this blog and fund Instagram projects. Thank you so much for your support!
Sponsored by HART Tools


Comments will load here