

This post contains affiliate links. If you make a purchase through my links I will make a small commission to help maintain this blog and fund Instagram projects. Thank you for your support!
Do you have ugly tile in your home that you can’t stand to look at but don’t know how to replace? If so, you have come to the right spot. I’m going to show you how you can quickly transform your space with—the power of paint. Yup, you heard me right, PAINT! Paint is a magical thing in the DIY world. If you don’t like it… paint it. And that’s exactly what I did in our boy’s bathroom. Now let me show you how!
For a how to video series on painting tile, click here!


Material List
-
Sandpaper (optional)
-
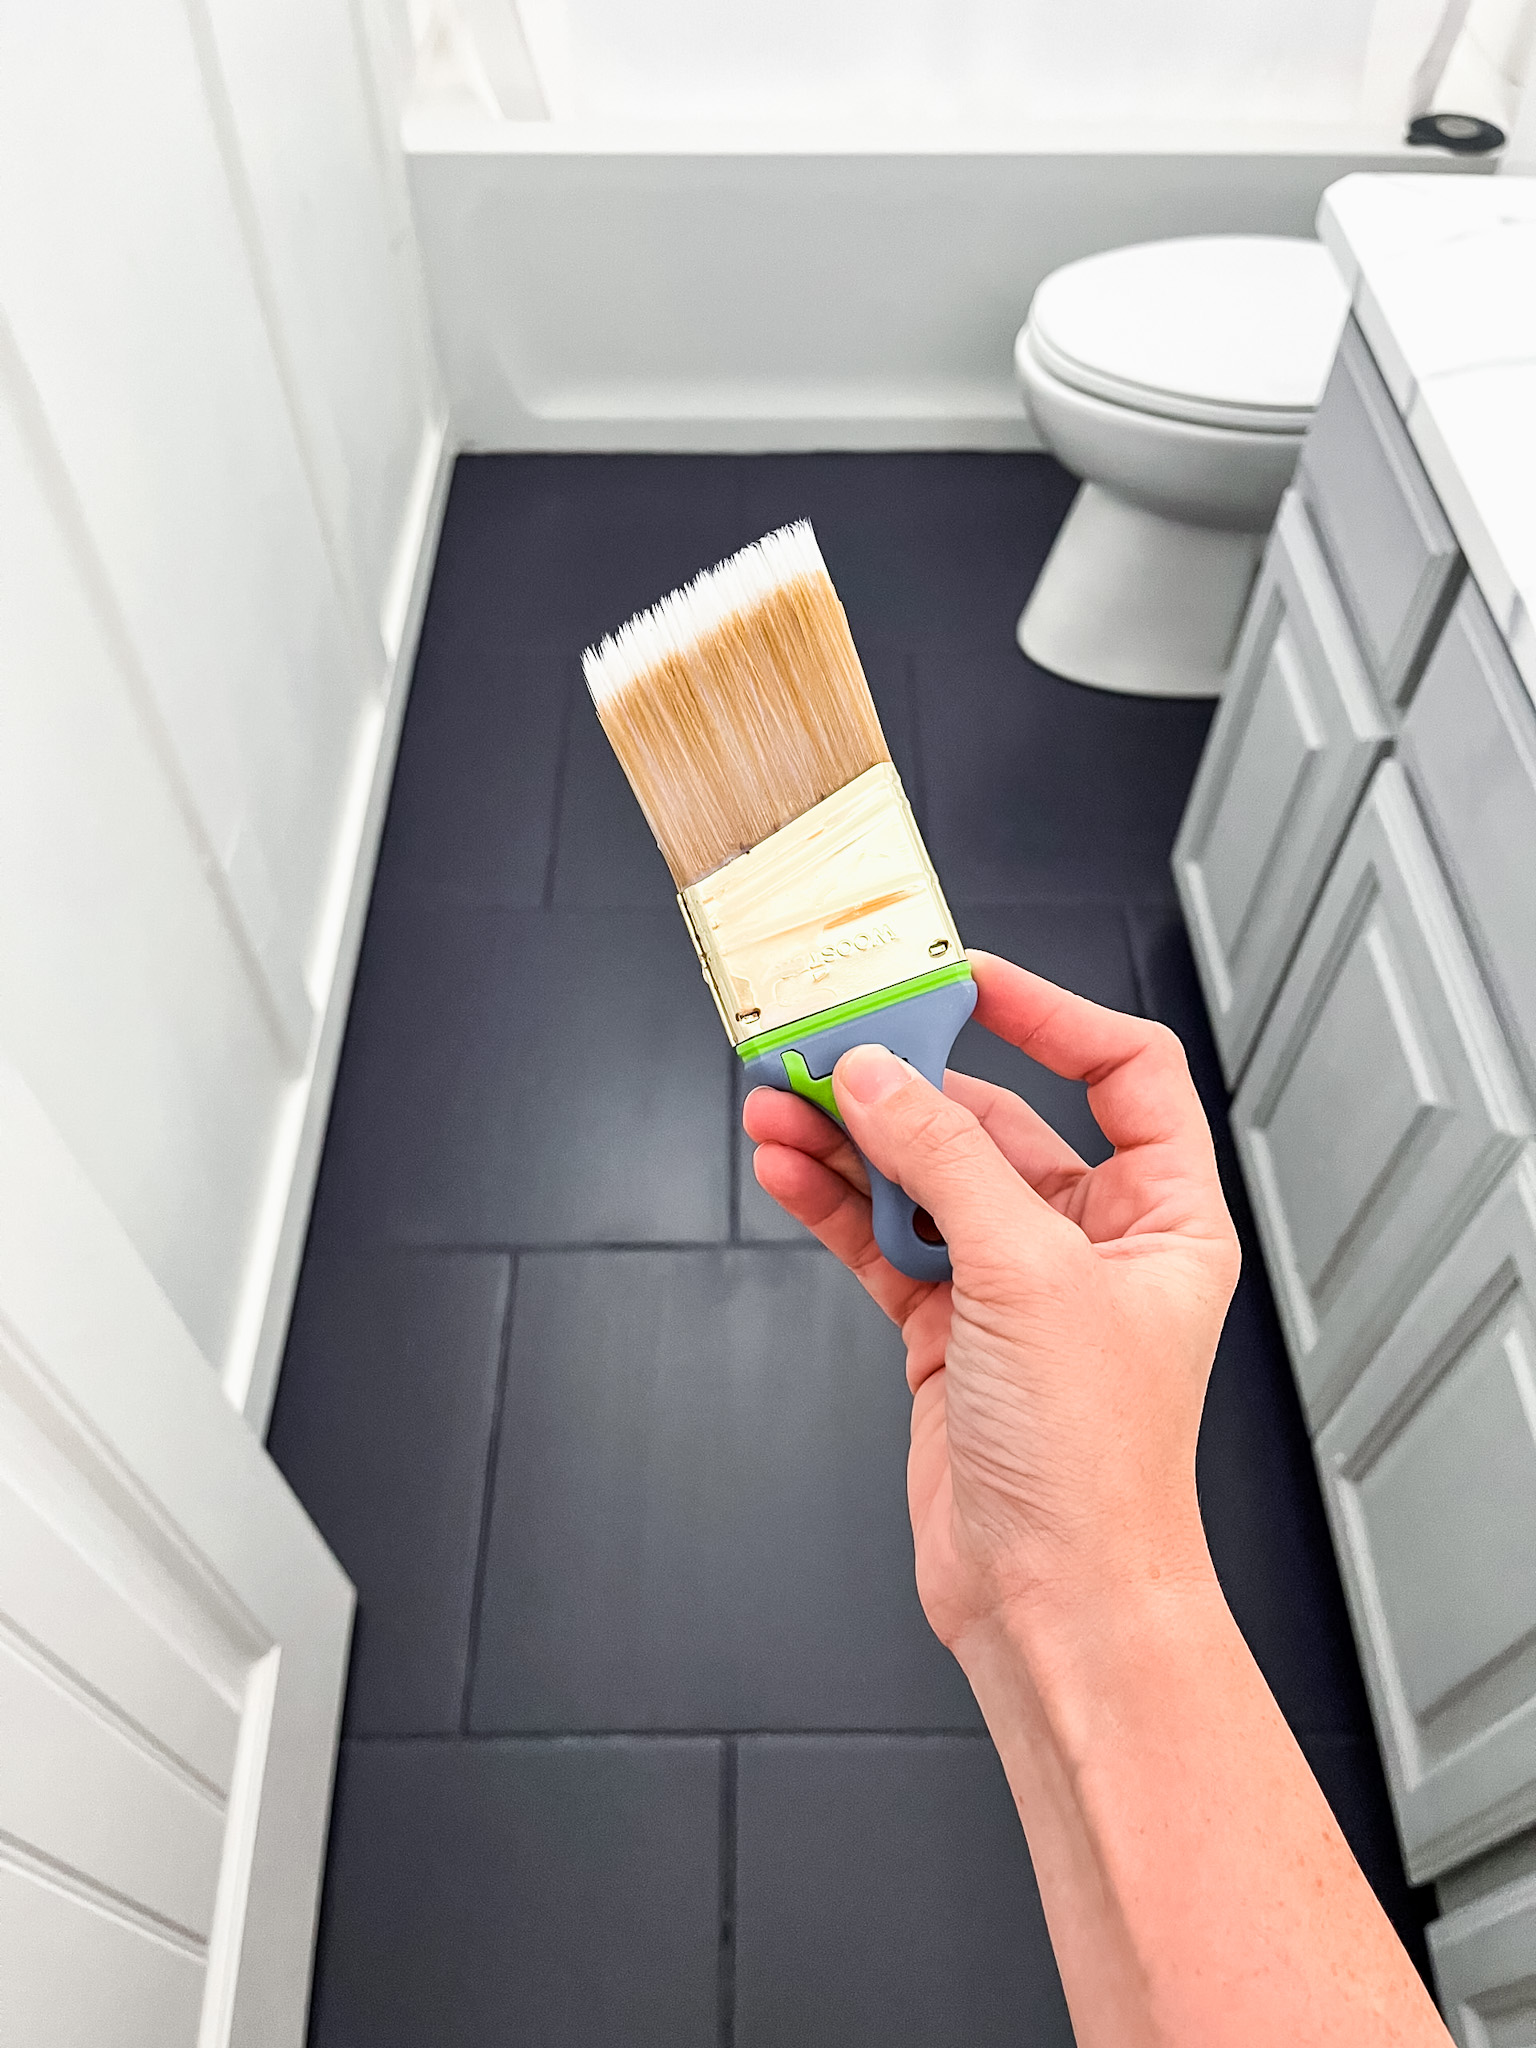
I like to lightly sand just about anything if I am going to paint. This isn’t something you have to do, but I highly recommend it. You don’t need to do anything crazy; lightly sand and wipe clean.
-
Prep Your Floors
The first and most crucial step in painting your floors is to properly prep. First sweep/vacuum your floors, then lightly sand. Sanding is not required, but I always like lightly sanding anything I paint, including tile flooring.
After you have lightly sanded or swept (if you choose not to sand), spray floors down with Krud Kutter to get all the grease/grime off your floors. This is a crucial step in helping your paint adhere correctly.
When you finish cleaning your floors, tape off any areas you don’t want to be painted.
Prime
Now that your floors are cleaned and prepped, it’s time to prime. So, if you follow me on IG, you’ll know I painted these bathroom floors two years ago, and they didn’t hold up. This was because I used the wrong paint. I knew this when I first did it, but I thought maybe if I used a million layers of sealer, it would hold up….. it did not. So learn to form my mistakes here!
Start by priming your floor using Behr Premium Concrete and Masonry Bonding Primer. Apply using a 3/8 in. nap roller. Allow the primer to dry for 2 hours before applying a base coat of paint.
-
Note: When I first used this primer, I thought I was doing something wrong. It looked so weird. Don’t worry; this is normal on tile flooring. Make sure you don’t have puddles of primer (as shown in photo below) and brush it all out using your roller or paint brush.
For a video on this step, click here!

Paint
After waiting 2 hours for the primer to dry, it’s time to apply your base coat of Behr Premium Interior/Exterior Porch and Patio Floor Paint. This paint has excellent coverage. I almost went with one coat but decided on two just to be safe.
-
NOTE: Paint will be dry to the touch in 1 hour; however, you need to wait 4 hours before adding a second coat.
For a video on this step, click here!


Seal
Ok, so this sealer is tricky. After reading the reviews, I ALMOST didn’t use it. But, I decided to go ahead and try it myself because I felt it would be best for the job.
After multiple failed attempts, I finally found the best method for applying this sealer. The key to getting this sealer dang near perfect was THIN laters.
What I did wrong; first, I used a 1/4 inch nap roller as Behr recommended on the back of the paint label. This didn’t work. It didn’t look horrible. You can see it here.
Then I tried using a paintbrush, but that didn’t look good either. It was even worse when it dried. You could see the milky brush strokes which drove me crazy.
The third time is a charm, right? Nope! Failed again. This time I used a foam roller, and It left a bit of a texture, and I wanted this to look smooth.
After three failed attempts, I went back to square one, read reviews, and decided to try something different. So I got a foam roller and a paint brush. I put a minimal amount of sealer onto the paintbrush, and if an excessive amount of sealer came off the brush, I rolled it with a foam roller to blend it all back out. I let it dry for an hour, and the finish was perfection!
-
NOTE: Sealer will be dry to the touch in 1 hour; however, you need to wait 4 hours before adding a second coat.
To see what not to do, click here!
To see what did work, click here!


Final Look
Follow me on Instagram for more DIYs, tips and tricks. Here you will find me in stories sharing live step-by-step tutorials, and you are the first to know what’s new and coming to the blog! Hope you see you there!
If you use any of these tips or tricks, I would love to see it! Tag me on IG @rusticrosehomestead or use #rrhdiy so I can share your work.
This post contains affiliate links. If you make a purchase through my links I will make a small commission the helps maintain this blog and fund Instagram projects. Thank you so much for your support!


Comments will load here