This post contains affiliate links. If you make a purchase through my links I will make a small commission to help maintain this blog and fund Instagram projects. Thank you for your support!
Shopping for a ceiling fan can be a little overwhelming. There are so many different styles and different features. You also have to decide if it’s something you can install on your own or if you need to call in an electrition.
You want to make sure you pick the best fan for the space you are working in and be installed safely. I will share a few tips and tricks, how I chose the fan I did, and how I installed it.
Choosing a Fan
The first thing you want to make sure of when shopping for fans is looking for the correct size. You don’t want the fan to be too small or too big. For me, this was very easy because there was already a fan in the room that was the perfect size. I didn’t like the way it looked. The old fan was dated, so I wanted an upgrade.
If your room does not already have a ceiling fan, here is a helpful reference below.
-
Small room: 29-36 inches
-
Medium room: 36-48 inches
-
Large room 50-54 inches
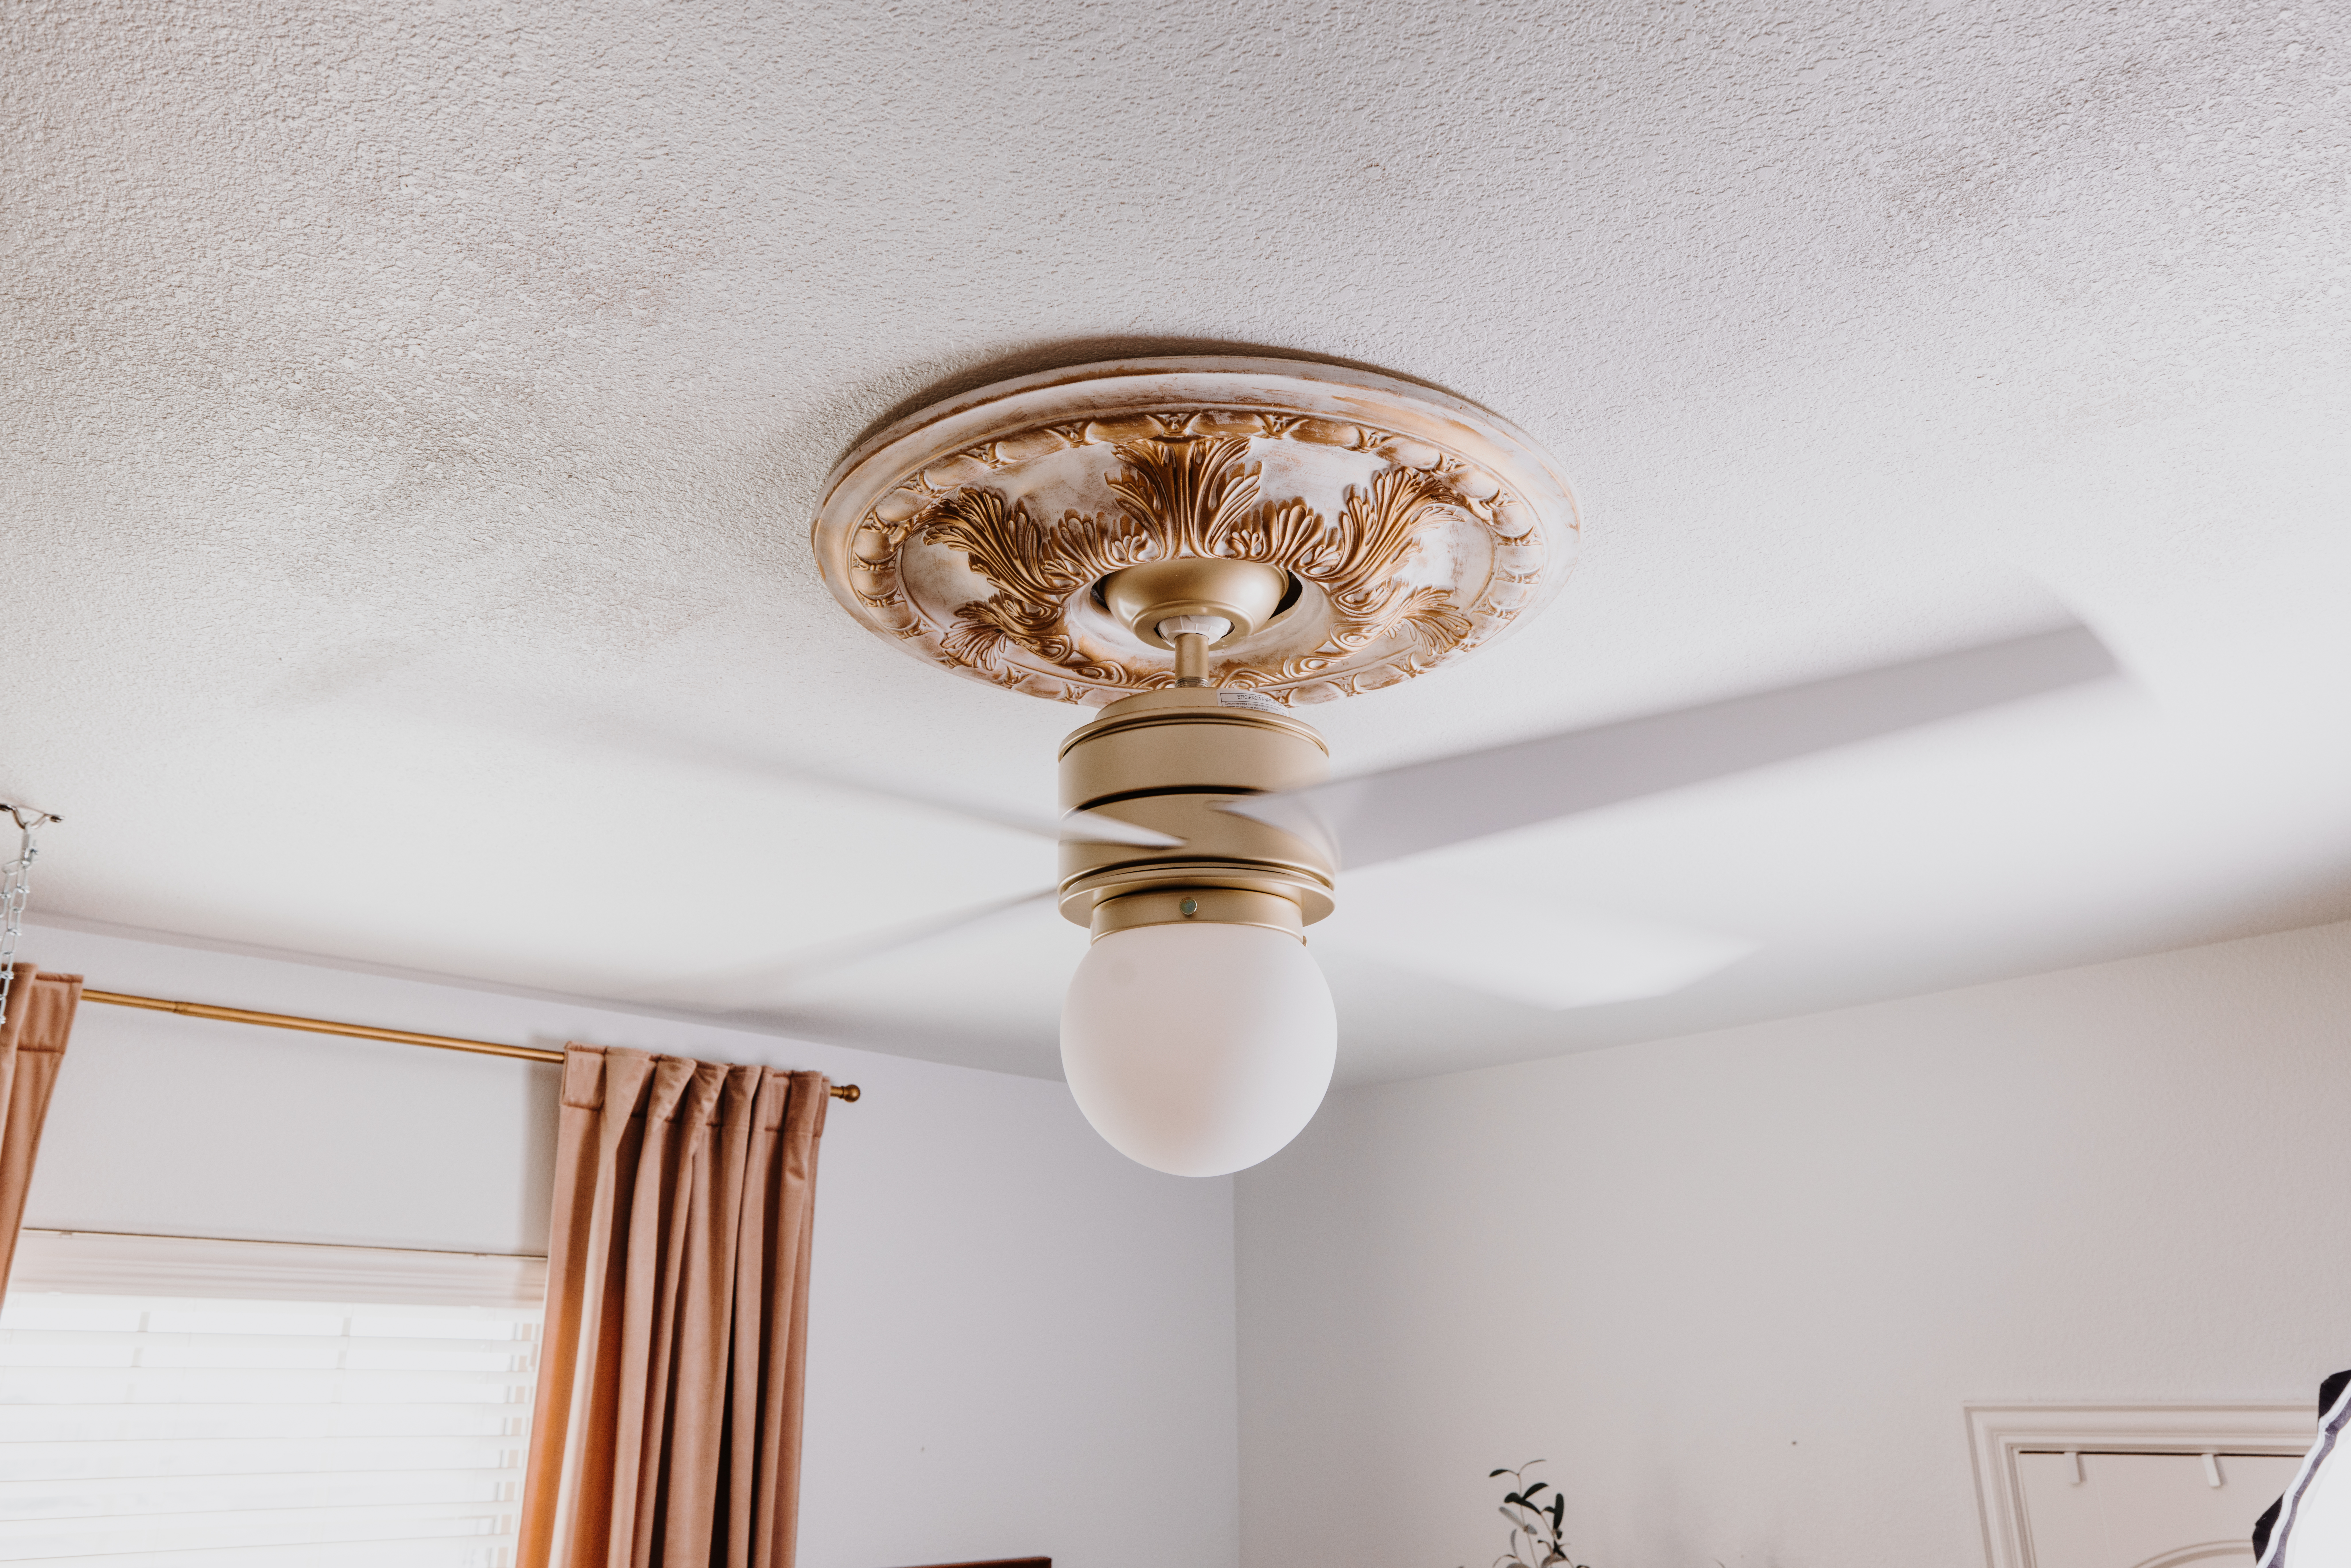
The room I was working in is about 12ftx14ft and I went with the 52 inch Hepburn with LED Light by Hunter Fan Company.
The second thing you want to do when shopping for a fan is to make sure that your new fan will look good in the room you are working in. For this step, I highly recommend creating a mood board.
-
NOTE: I use Canva; you can use it on your desktop or phone. There is a free version and a paid-for version. Both of which you can create a moldboard.
The room I am working on is the nursery. This used to be my son’s nursery, and now that we are getting ready to have another baby, a girl, I am making over this whole space. So for me, I created a mood board from scratch. If you already have your room designed the way you want and are just getting a new fan, create a mood board based on the items you already have in your room. This will help give you an idea of what the new fan will look like with your decor.
How to Install
Okay, so before I dive into the install process, I’ll say that after starting the installation, I had to call an electrician to help me because my wiring was not like anything I had ever worked with before.
If your wiring is standard (come to find out mine was not), then installing a fan is very simple and can certainly be done on your own. Hunter Fan Company sends you a great step-by-step guide that makes the installation process very easy to follow.
Materials Needed
Getting Started
The first thing I did which I found very helpful, was to unbox everything and read through your install guide so that you have a good idea of what comes first and last.
-
Turn off the power to the room you are working in
-
Use your wire tester to verify power is off
-
Remove the old fan
The following steps are listed in more detail in the Hunter Fan install guide that comes with your fan. They can also be found here, so refer to the guide if you need help with any of these steps!
4. Install the ceiling bracket
5. Wire the ceiling fan
This is where I ran into some issues. The install guide is very detailed and shows you where to connect each wire. The problem was that my wires looked a lot different from those shown in the manual. I also had lots of other colored wires and was confused about what wire went where. Because this is electrical, and I wanted to play it safe, I called my neighbor who does electrical work.
He came over and quickly discovered that the wiring in our house was not standard in this room. Each room was on its own breaker except for this one and one other. The builders had run wiring from another room into the room where I was installing the fan. That’s why there were extra wires, and they were all connected differently. He had to rewire everything so that the fan would still work and not pull too much electricity from the other room. He informed me that typically, each room has its breaker. When I turned the power off in the nursery, the power also shut off in the boy’s room, which explains why that happened.
6. Install the canopy/motor housing
7. Install the blades
8. Install lighting
9. Sit back and enjoy the new view!
Sponsor for this Post
Hunter Fan Company: Hepburn with LED Light 52 Inch Modern Brass
Follow me on Instagram for more home decor/design and DIY. Here you will find me in stories sharing live step-by-step tips, tricks and tutorials, and you are the first to know what’s new and coming to the blog! Hope you see you there!
This post contains affiliate links. If you make a purchase through my links I will make a small commission that helps maintain this blog and fund Instagram projects. Thank you so much for your support!


Comments will load here