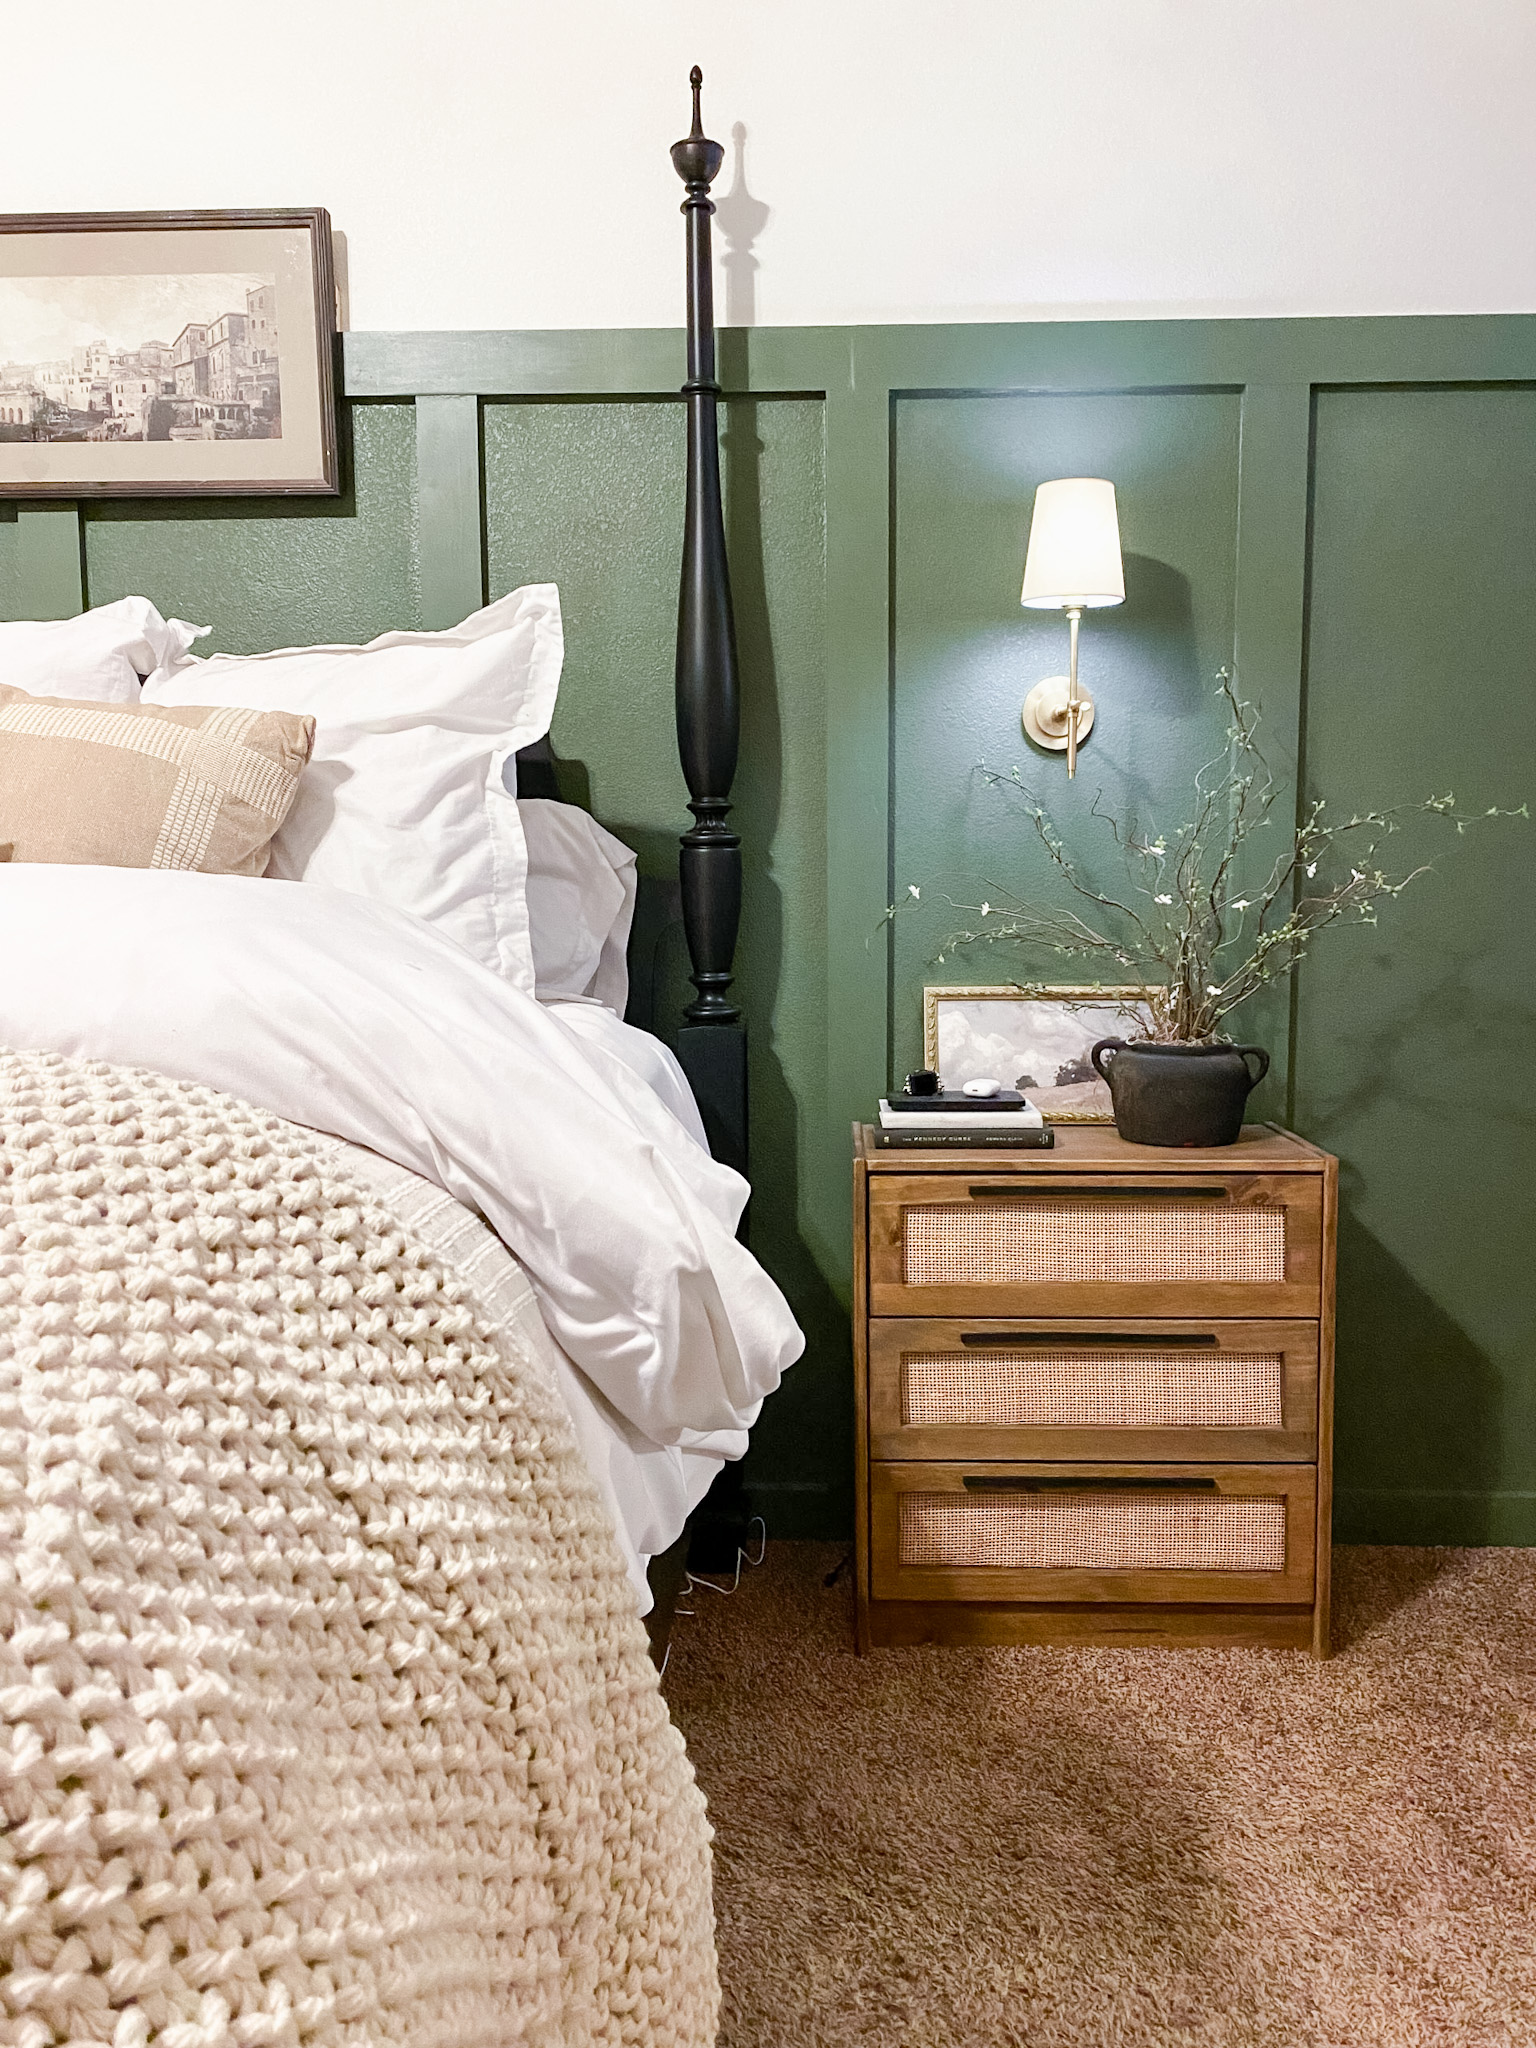


For this bedroom makeover, I knew I wanted wall sconces on each side of the bed. I debated just leaving the bedside lamps because I didn’t have the hardwiring for the sconces. After I refinished my Facebook marketplace vintage bed find, I knew I had to find a way. Let me show you how I pulled it off without hardwiring any lighting!
This post contains affiliate links. If you make a purchase through my links I will make a small commission. These purchases help me maintain this blog and fund Instagram projects.
Tools
Material List

How to Install
-
Find out where you want your light to be. Use your tape measure to make sure your measurements are correct before making any holes.

2. Mark where your holes will be and where you will be securing the back plate the the wall.

3. Use your stud finder to see if there are any studs where you have marked.

4. Drill holes where you made your marks
-
NOTE: If you did not drill into a stud, make sure you use a drywall anchor before securing to the wall with screws.


5. Use 2 screws to attach the back plate to the wall, using the holes you drilled.

6. Place the light fixture to the plate backing and secure using the three outer screws that came with your light.


7. Hot glue your puck light to the light fixture.
-
NOTE: Find a good placement before hot gluing. I placed mine so that I could change the batteries without removing the puck light.

8. Add your shade and ENJOY!!

I got a lot of questions when I shared this on Instagram and Tik Tok so I am going to answer a few.
Q: Are the lights bright?
A: Not really. This is what I wanted, nothing too bright and something I could even dim super low. If you are looking for something bright, I recommend these rechargeable light bulbs from Amazon.
Q: Do you have to hot glue the puck light every time you change out the battery?
A: Not necessarily. I hot glued these in a way that I would not have to. Depending on which puck lights you buy, you should be able to glue the front edge of the light so that the back is removable without having to take it off the fixture.
Q: What did you do with all the wires? Did you remove them?
A: Nope, I just simply tucked them in between the backplate and the light fixture. You could use painter’s tape to hold the tape down if they are wanting to pop out.
If you have any more questions, leave a comment below and I will try my best to answer them!
Follow me on Instagram for more budget-friendly DIY and home renovations. Here you will find me in stories sharing live step-by-step tutorials, and you are the first to know what’s new and coming to the blog! Hope you see you there!
If you use this light trick, I would love to see it! Tag me on IG @rusticrosehomestead or use #rrhdiy so I can share your work.
This post contains affiliate links. If you make a purchase through my links I will make a small commission the help maintain this blog and fund Instagram projects.


Comments will load here