

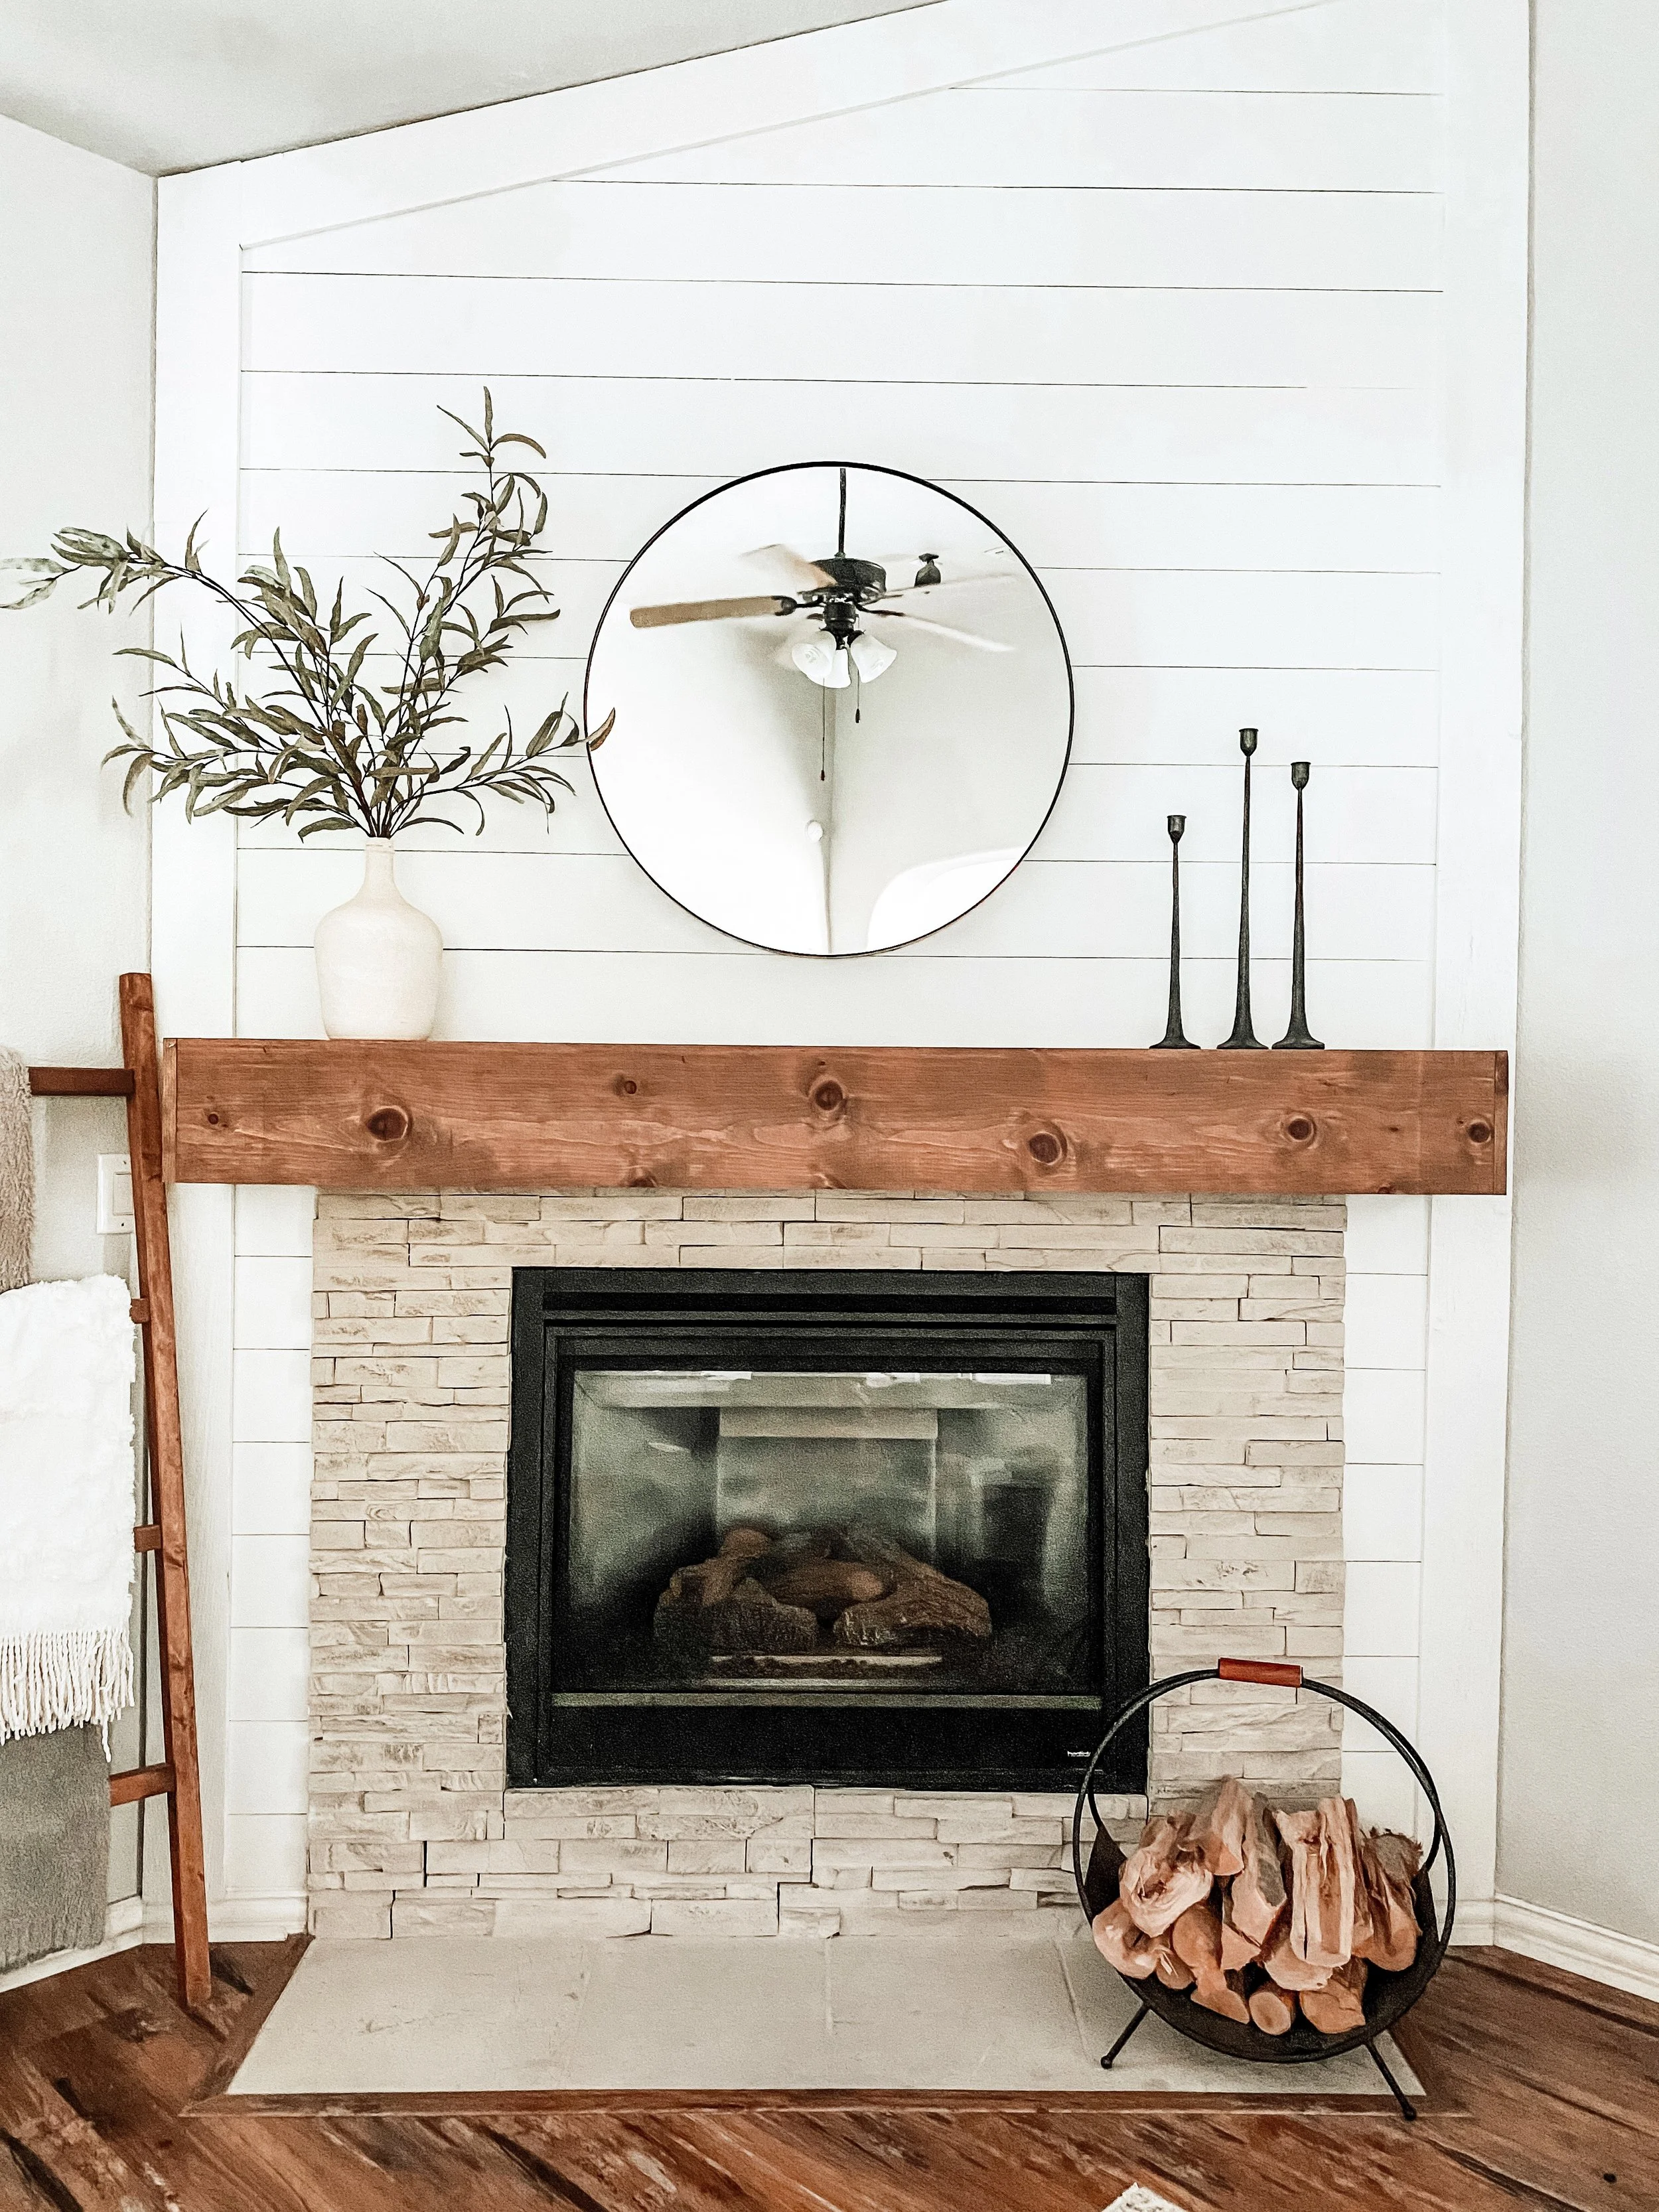
The mantel you see above was most certainly not the mantel that was here the day we moved in. The mantle before was plain and boring. I knew something needed to change, and fast. I wanted a wood beam look, but wooden beams can get expensive, so I decided to build a faux wood beam cover. Let me show you how!
Before we get started, let me show you want this space looked like before (photo below). Pretty bad, huh?

This post contains affiliate links. If you make a purchase through my links I will make a small commission the help maintain this blog and fund Instagram projects.
Tools

Material List

Lumber List
-
1x10x6 boards
-
I used White Wood Common Boards for my project. Measurements will vary depending on the size of your existing mantel.
-
Cut List
This list will look different for each project. I would suggest cutting your side pieces when you get to that part of the build instead of cutting right away.
-
(2) Cut down your 1x12x6 to cover over the top of your mantel as well as the front of your mantel. You will have two of the same size pieces.
-
NOTE: Make sure you add 1.5 inches (the width of your wood x 2) to your measurements so that the front pieces of wood are long enough to hide the edge of the side pieces.
-
-
(2) Cut down your 1x12x6 boards for your two side pieces. To find out the length you will need, measure the length and width of each side.

Time to Build
Now that you have your wood pieces cut, let’s start building
-
The first thing you want to do is connect your front and top piece using your nail gun.
-
NOTE: Make sure that your top edge piece is behind your front pieces as shown in the photo below.
-

2. Grab your tape measure and measure the side areas. After you get the correct measurements, you’ll want to cut your two size pieces from your 1x12x6

3. Now that your side pieces are cut, you will want to attach the pieces to each side.
-
NOTE: Make sure your side pieces are on the inside of your front and top piece of wood as shown in the photo below

4. Wood fill all your holes using wood filler
5. Sand using your sander
6. Stain using your stain of choice
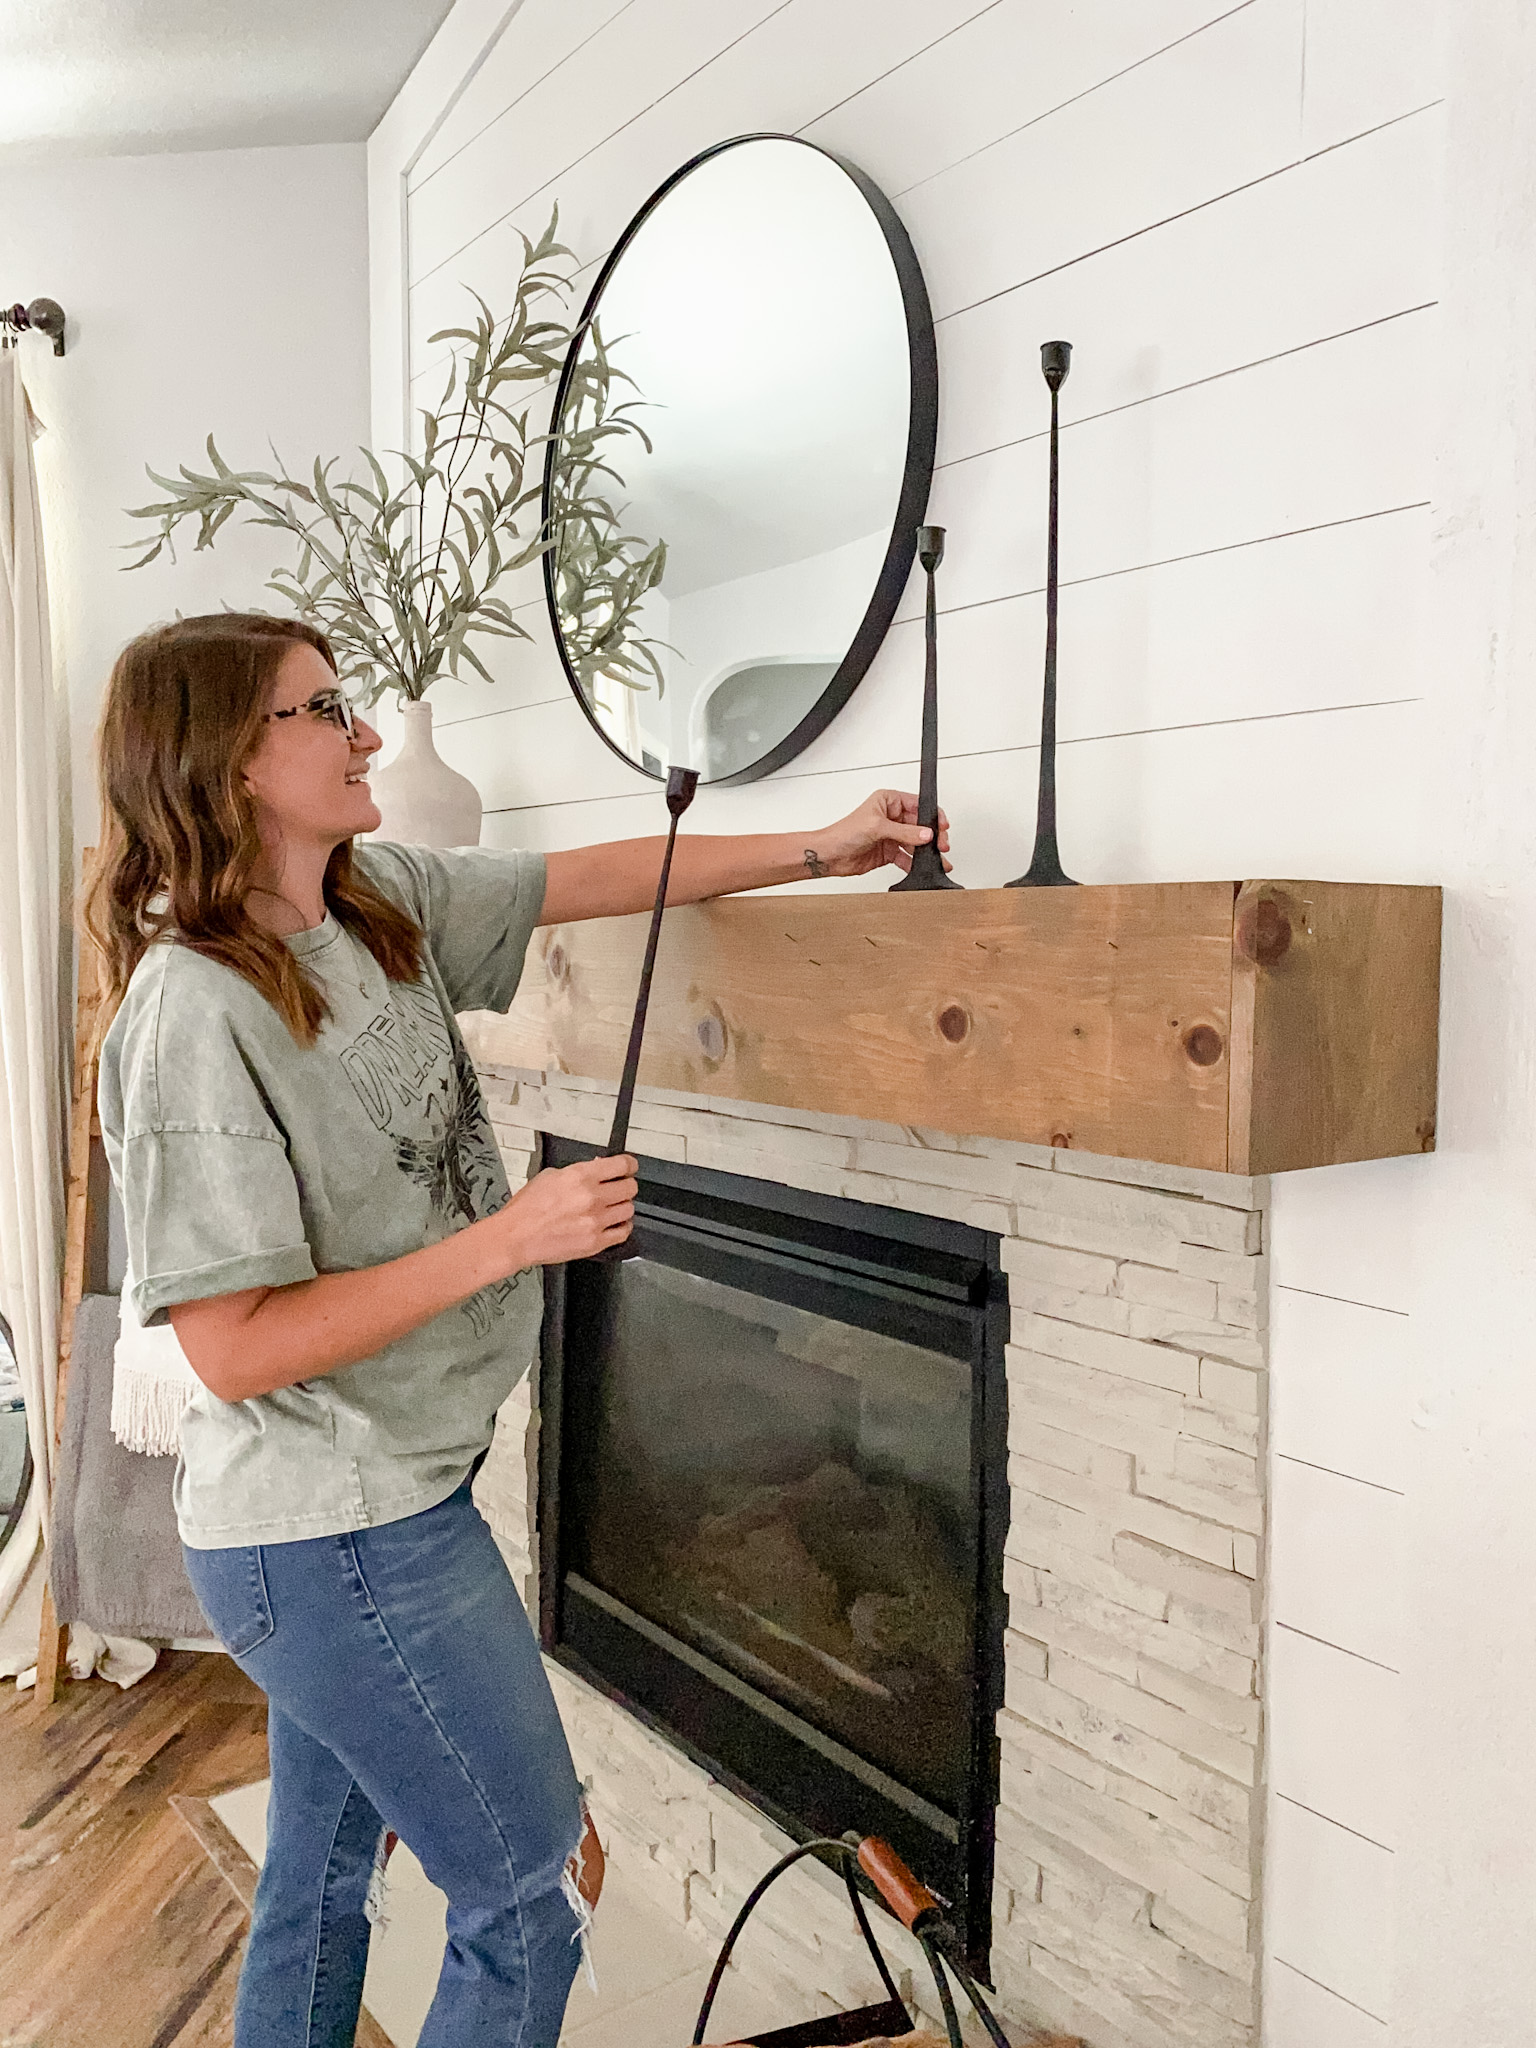
7. Place cover over your mantel and attach using your nail gun
Since I had also added shiplap and lime-washed our brick, I wanted to show you another mantel I built in a different home (photos below). This gives you a better look at the transformation when the only thing you are doing is adding a mantel. It’s a super easy and affordable way to make a huge impact! Pretty awesome, huh?


Follow me on Instagram for more budget-friendly DIY and home renovations. Here you will find me in stories sharing live step-by-step tutorials, and you are the first to know what’s new and coming to the blog! Hope you see you there!
If you build a mantel for your home, I would love to see it! Tag me on IG @rusticrosehomestead or use #rrhdiy so I can share your work.
This post contains affiliate links. If you make a purchase through my links I will make a small commission the help maintain this blog and fund Instagram projects.


Comments will load here