

This post contains affiliate links. If you make a purchase through my links I will make a small commission to help maintain this blog and fund Instagram projects. Thank you for your support!
Sanding is my least favorite part of any furniture flip or DIY project. If done incorrectly, it can take a lot longer than it should. It could also prevent your project from revealing its full potential. Let me share my favorite tips and tricks to getting a perfectly smooth finish on your next sanding project!
Tools
Material List
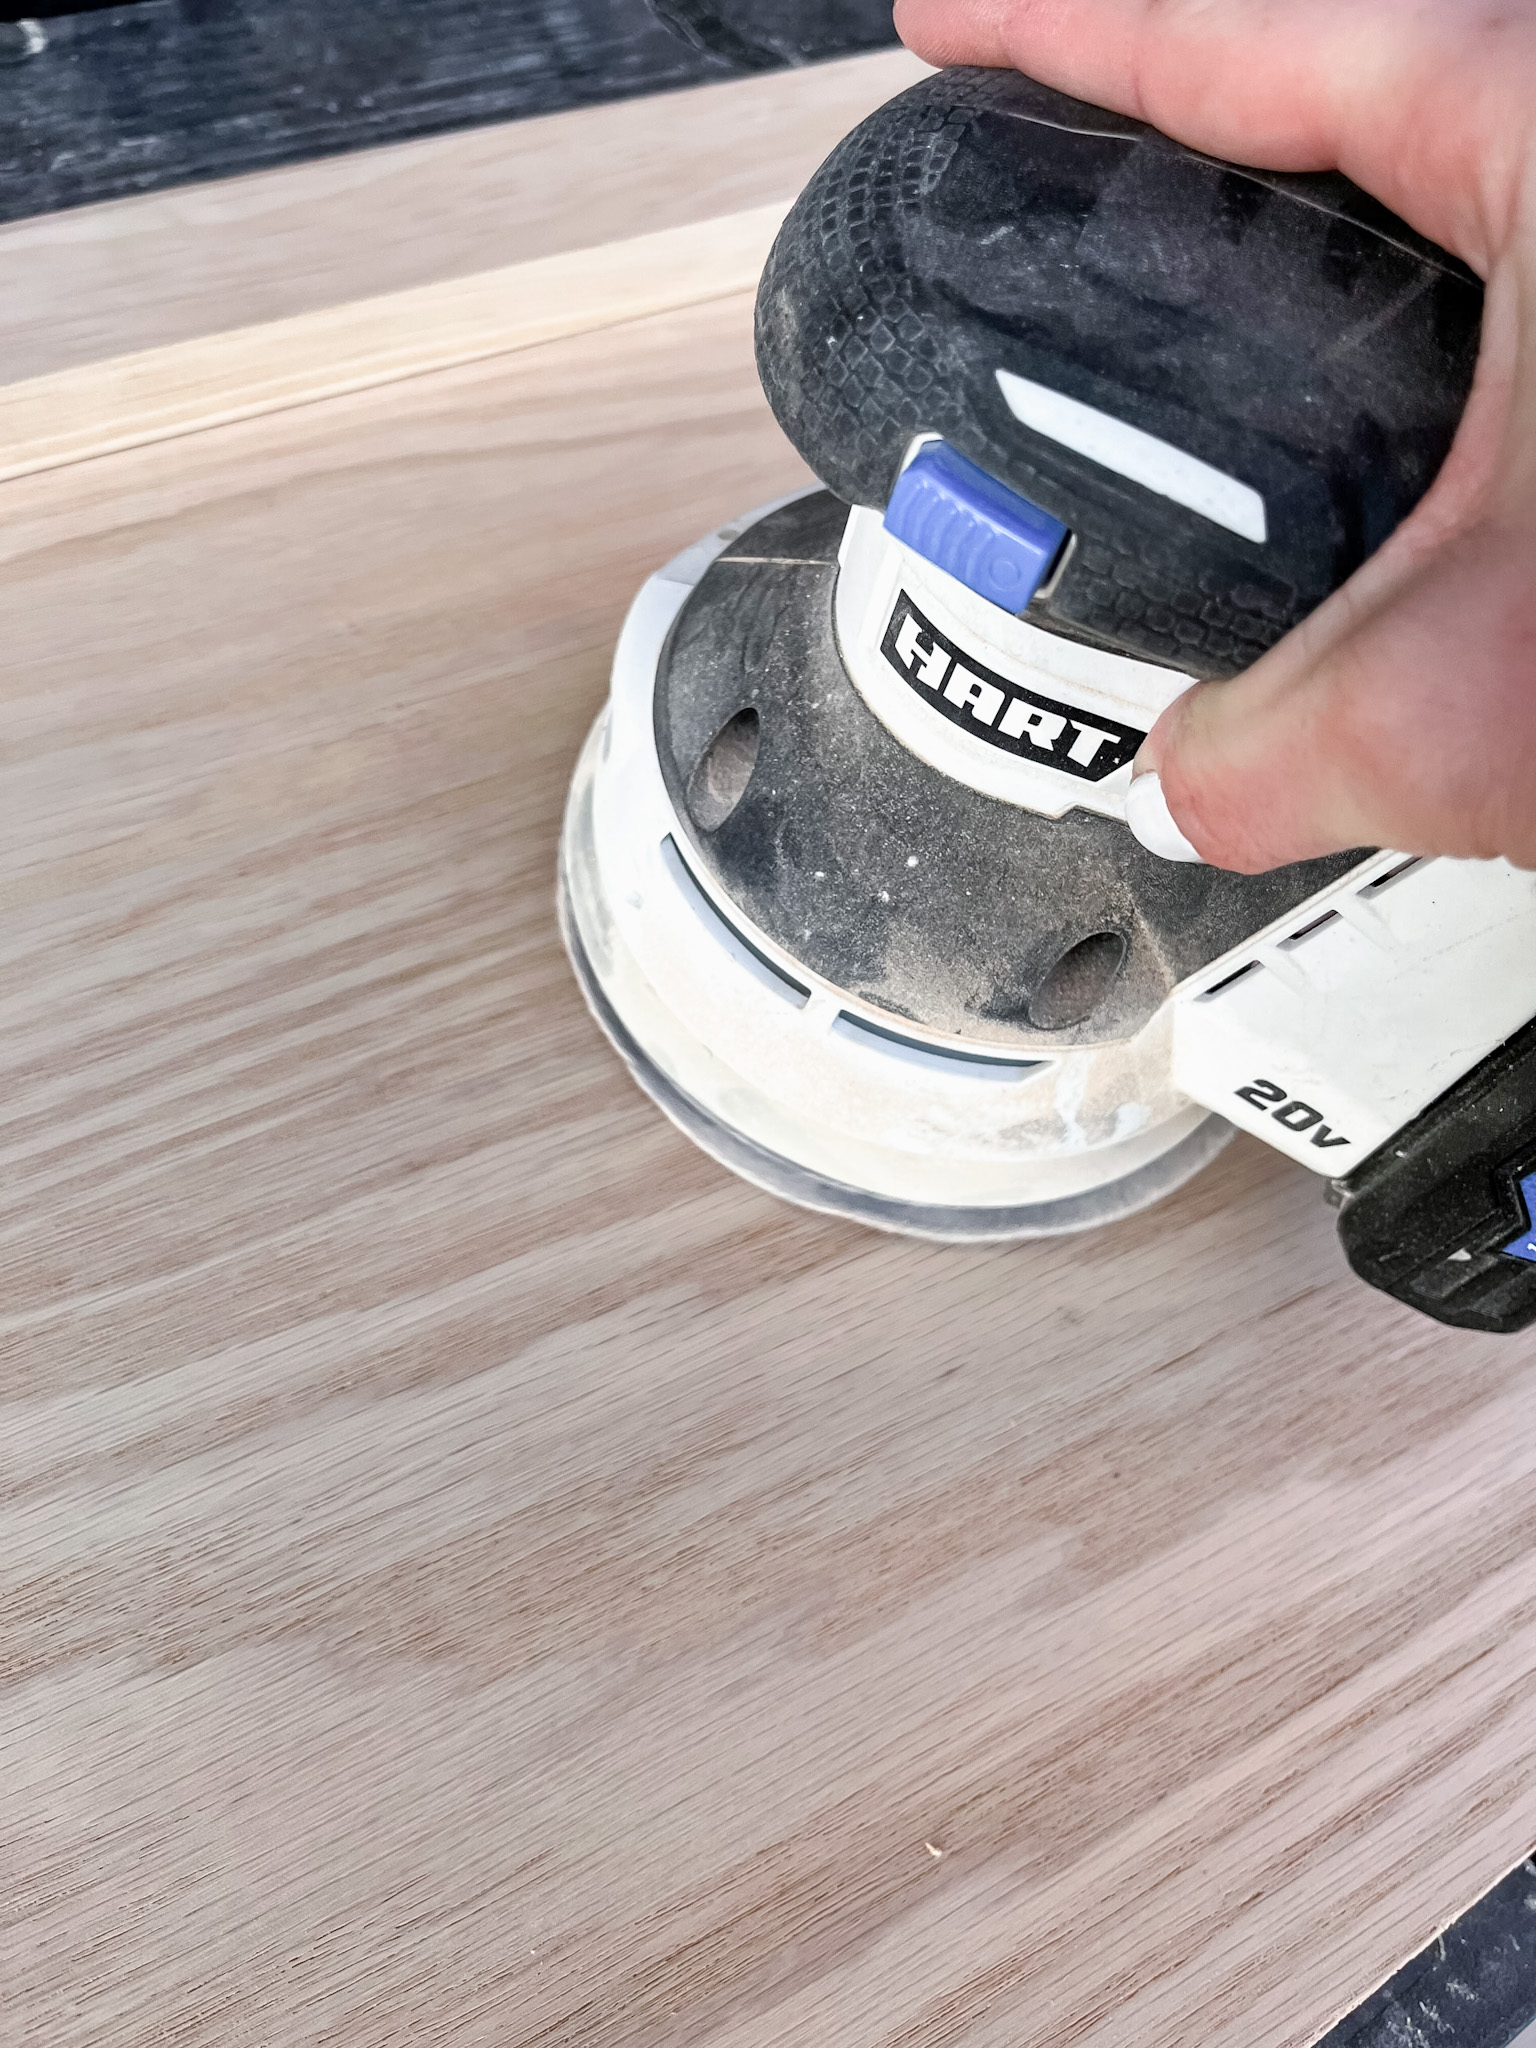
Using an electric sander will be the first helpful step in making your sanding job go by quicker than sanding by hand. This is my favorite orbital sander I use on just about every sanding project. The second and most important helpful step in making your sanding job go by quicker and more efficiently is using the correct type of sandpaper.
Sand Paper
It’s important to know what the different grits of sandpaper are used for and when to use them. Below you will see a chart found on the back of each HART sandpaper package. This chart shows the grit number, how coarse the grit is, and the use for each one.

Steps in Sanding
When sanding, you will follow the guide shown above. You will start with your 60 grit, working your way down to a very fine 220.
When working with wood that is rough, rigid, or painted, it is important to start with a 60 grit sandpaper. This is a coarse grit used for stripping your wood/furniture piece.
-
NOTE: When you start sanding with a 60 grit, do not expect your wood to be smooth. In fact, it will be rough and sometimes scratchy. Don’t worry, it won’t look this way for long.

After you have stripped your piece with 60 grit sandpaper, you will use a medium 80 grit sandpaper to start prepping your surface for a smoother finish.

After prepping your piece with 80 grit sandpaper, you will use a fine 120 grit sandpaper to start the beginning stages of smoothing your wooden surface. This is where you will start to see your wood become much smoother.

The final step in sanding is using a very fine 220 grit sandpaper. This will finish off your project leaving your wood smooth as can be.
-
NOTE: If you plan to paint the piece you are working on, buy a 220 grit sanding block and sand your piece after the paint has dried. This will smooth your paint without taking any of the paint off. DO NOT use an electric sander for this part.

Tips While Sanding
-
Be sure to sand with the grain of the wood, not against it. If you sand against the grain of the wood you will create scratches that will be noticeable during finishing touches such as paint or stain.
-
Change your sanding discs out as needed. Once you see that the disc is either worn or dull, it is time to replace it. This will help you sand more efficiently.
Finishing
After you have finished sanding your piece correctly, wipe it down with a tack cloth. This will get all the sanding dust off your piece and allow you to prepare for paint, stain, or sealer. Whatever you choose, you will notice that a perfectly smooth wood finish will leave you with a beautiful, professional-looking piece.
-
NOTE: If you decide to stain your piece, be sure to use a wood conditioner before staining. Sometimes stain can be blotchy and this will prevent that from happening.
Shop These Tools & Materials


Follow me on Instagram for more DIYs, tips and tricks. Here you will find me in stories sharing live step-by-step tutorials, and you are the first to know what’s new and coming to the blog! Hope you see you there!
If you use any of these tips or tricks, I would love to see it! Tag me on IG @rusticrosehomestead or use #rrhdiy so I can share your work.
This post contains affiliate links. If you make a purchase through my links I will make a small commission the helps maintain this blog and fund Instagram projects. Thank you so much for your support!

Sponsored by HART Tools


Comments will load here