

Adding a beautiful accent wall in your home doesn’t have to be hard and doesn’t have to be expensive. Why is this board and batten so easy compared to others you may see? I have textured walls and typically, you want to smooth these walls out but you don’t have to. I wanted this to be a quick, easy and affordable transformation, so I left my textured walls alone. Doing this saves time and money. If you want to smooth out your walls you would either need to skimcoat your wall or buy a backing board. For this tutorial, I am going to show you how to build your board and batten without having to do either one of those things to your existing wall. So, who is ready? Let’s get started!
This post contains affiliate links. If you make a purchase through my links I will make a small commission the help maintain this blog and fund Instagram projects.
Tools
Material List
-
Paint materials
Lumber List
-
1x4x6 trim boards
-
I used Weaber lumber for my project. This lumber is a little more expensive but…. It’s worth spending the extra money. The wood was perfection. Not a single piece arrived damaged; it was smooth as silk and didn’t require any sanding ( aside from the ends I cut). For a cheaper option of wood, you can find 1x4x6 Whitewood common boards here.
-
For this project, I used a total of 15 boards. Each project will be different depending on the size of your wall and how many spaces you would like in your design. To determine how much lumber you will need, as well as the spacing between each section CLICK HERE and use this helpful calculator.
-

Here is what mine looked like with the measurements for my space
Cut List
This list will look different for each project
-
(9) Cut down your 1x4x6 for your centerboard pieces. I cut mine at 65 inches and used 9 of them.
-
Cut down your 1x4x6 boards for your top and bottom trip pieces. To find out the length you will need, measure across your wall and multiply it by 2 (for top and bottom). For my project, I needed (4) 1x4x6s and (2) 1x4x4s.
-
NOTE: For my project, I removed my old baseboards because they were old and too small. If you have good baseboards you want to use, you won’t need to replace them and you won’t need a bottom trim, only a top!
-

Time to Build
Now that you have all your wood pieces cut, let’s start building.
-
The first thing you want to do is find all the studs in the wall you are working on. To do this, grab your stud finder and some painter’s tape or marker of some sort. Drag the stud finder across the wall and mark each stud as it lights up.
-
If you have removed your trim for this project, the first thing you want to do is put your bottom trim pieces back up, using your1x4x6s. For this, I’m going to show you the perfect trick to make sure your boards are nice and smooth with tight seams that you won’t be able to see.
-
Things to grab: Nail gun, level, miter saw.
-
NOTE: If you did not remove your trim and use your existing trim, skip to the next step.
-
-
To create the perfect, seamless look, you want to cut a bevel cut at the end of your trim board using the 45-degree angle setting. To do this, adjust the bevel cut knob located on your saw.
If you are unsure what a bevel cut is, here is a reference photo showing a bevel cut vs. a miter cut.


5. Place your baseboards down and use your level to make sure they are level. Once they are level, use your nail gun to nail into the studs.

6. After your baseboards are secure, it’s time to start adding your centerboards. Grab your measuring tape and place each board where they will need to go.
7. Using your level, make sure each board is straight.
8. Use your nail gun to nail each board into the studs.


9. After all your centerboards are placed, lay your top trim pieces on top of the centerpieces. Make sure each board is level and nail into the studs.

Prep for Paint
Now that your board and batten is all up, it’s time to prep for paint.
-
Fill in holes with wood filler
-
Lightly sand over wood filler once dried
-
Caulk the edges of each board where the board meets the wall
-
NOTE: Make sure that you get paintable caulk like the one I have linked here
-
-
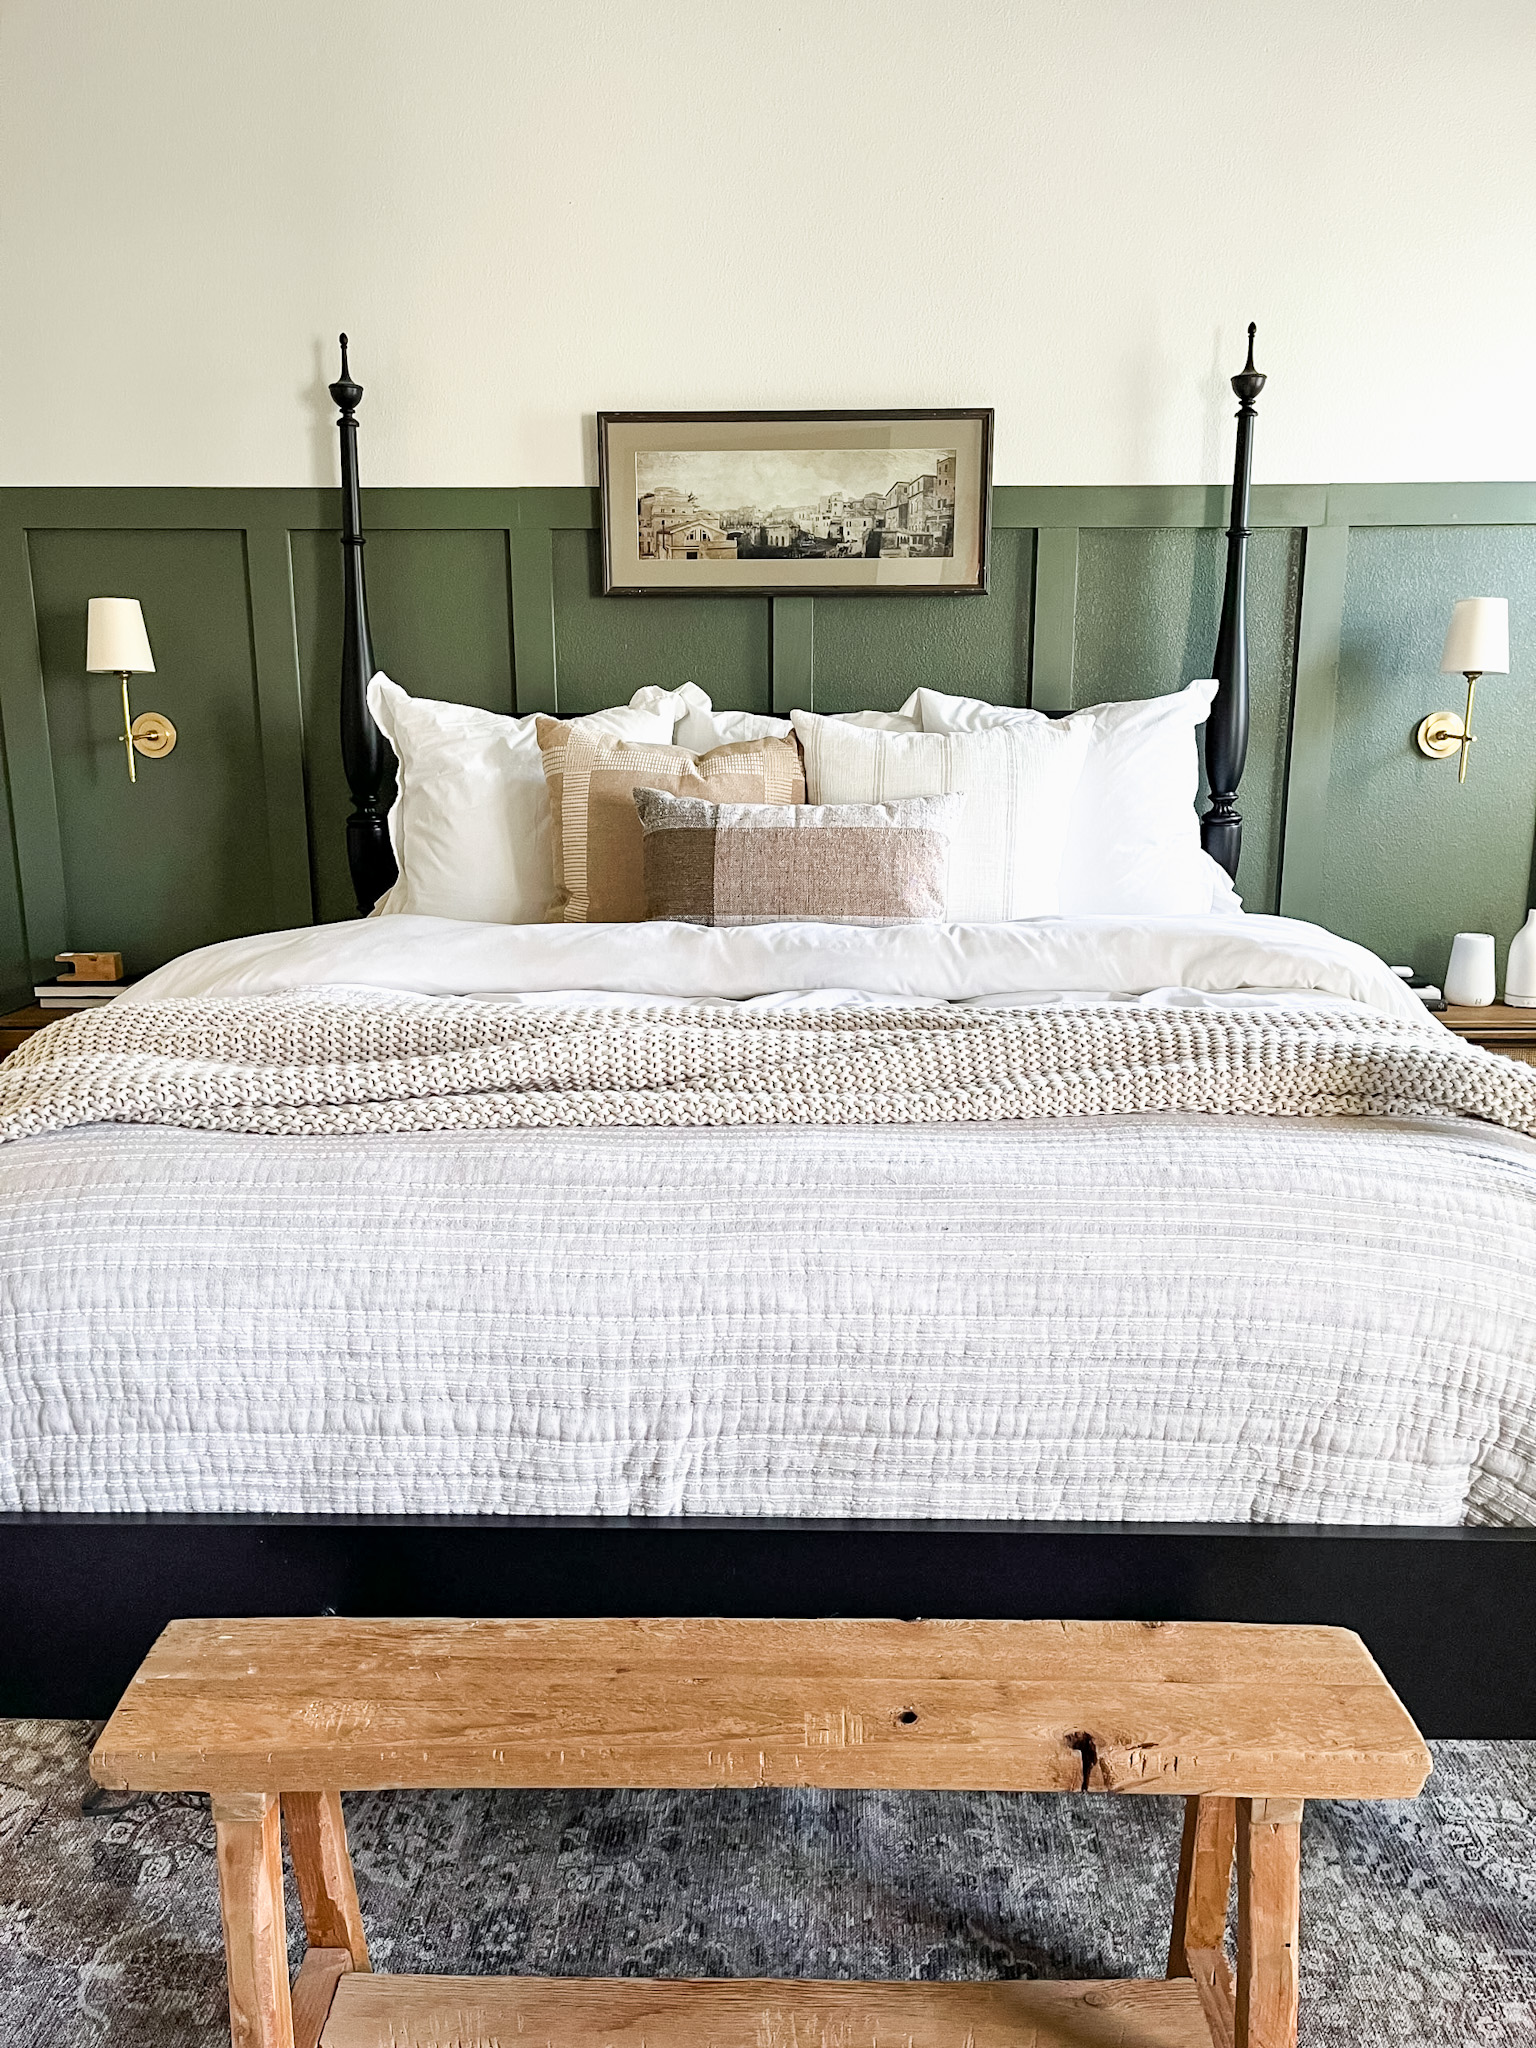
PAINT and you are FINISHED!!!!


Follow me on Instagram for more budget-friendly DIY and home renovations. Here you will find me in stories sharing live step-by-step tutorials, and you are the first to know what’s new and coming to the blog! Hope you see you there!
If you build this in your home, I would love to see it! Tag me on IG @rusticrosehomestead or use #rrhdiy so I can share your work.
This post contains affiliate links. If you make a purchase through my links I will make a small commission the help maintain this blog and fund Instagram projects.


Comments will load here